A pallet of HDPE bottles leaves the line straight, ships; two days later the customer sends photos: bottles leaning in the carton, a sidewall sucked flat, a neck that no longer takes the cap. Rejecting the batch is expensive; changing the machine is more expensive. All three complaints look alike in a photo, yet warpage, paneling and shrinkage each point to a different first check.
The short answer: name the defect, then check in this order
Warpage is a twisted or bent shape; paneling is a sidewall pulled inward; shrinkage is a dimension out of tolerance. Check the wall-thickness map first, then mold cooling balance, demold temperature, and finally hot-fill or stacking load. Adjust the parison profile only after the section measurements point to it.
Three failures that look alike in a photo
Shop floors use the words loosely, but the mechanics differ, and so does the owner of the fix: mold and cooling, wall map, resin or the filling line. Sorting the complaint takes a sample and a tape measure, not a new machine.
- Warpage. The part is twisted, bowed or out of square: it rocks on a flat surface, the handle leans, the neck axis is no longer vertical. The usual driver is differential shrinkage — one side of the mold, one wall zone or one cavity cooling at a different rate. Read it as a cooling or wall-map signal first, not a resin verdict.
- Paneling. A flat sidewall is drawn inward, often with a crease or an oil-can pop when pressed. It happens when the outside cools before the inside releases, or when a hot fill and later cooling create a vacuum the wall cannot resist. Thin panels and uneven cooling make it worse.
- Shrinkage. The shape is straight but a dimension is out: neck diameter, thread, height or width beyond the drawing tolerance, often on every cavity. Mold shrinkage allowance, cooling time and resin grade are the inputs; confirm the grade's data with the supplier before changing the tool.
- Pigment effect. Warpage that appears only in a coloured batch, with the same mold and settings, points to the colourant changing shrinkage. Run a natural-resin comparison before you move the die head.
| Defect | What you see | First check | Evidence to keep |
|---|---|---|---|
| Warpage | Twist, bow or lean; bottle rocks, handle pulls aside | Wall map, then cooling balance | Section measurements by height and position |
| Paneling | A flat sidewall drawn in, with a crease or oil-can pop | Panel thickness, cooling time, fill temperature and headspace | Panel thickness map and fill record |
| Shrinkage | Neck, thread or height outside the drawing tolerance, usually every cavity | Mold dimensions, cooling time, resin shrinkage data | Drawing, resin datasheet, measured part |
| Colour-related warp | Warpage only in a coloured batch, same mold and settings | Natural-resin comparison, colourant statement | Paired natural and coloured samples |
| Hot-fill or stacking creep | Straight at take-off, deformed after filling or storage | Fill temperature, headspace, stack load | Fill record, stack height, storage conditions |
Swipe the table to see all columns →
The check order: wall map, cooling balance, demold temperature, load
Each step is cheaper than the next, and each can remove a suspect before you spend money. Measure first, change one variable at a time, and keep the cavity number with every sample.
- Wall-thickness map. Cut sections at the neck, shoulder, body and base, measure four points around each circumference, record the minimum and maximum. If the thin zone sits where the part twists or panels, the wall map is the lead. Only then review die gap, die centering and programmer points.
- Mold cooling balance. Compare flow and return temperature on every circuit; look for a blocked, air-locked or scaled channel. A mold that runs one side hotter shrinks that side differently and can twist a part even when the wall map looks acceptable. Confirm the controller holds both halves at the set point.
- Demold temperature. Measure the part surface as it leaves the mold and check cooling time, mold-open delay and take-out alignment. A part ejected while still soft can distort under its own weight, in the gripper or on the conveyor; no parison change corrects that.
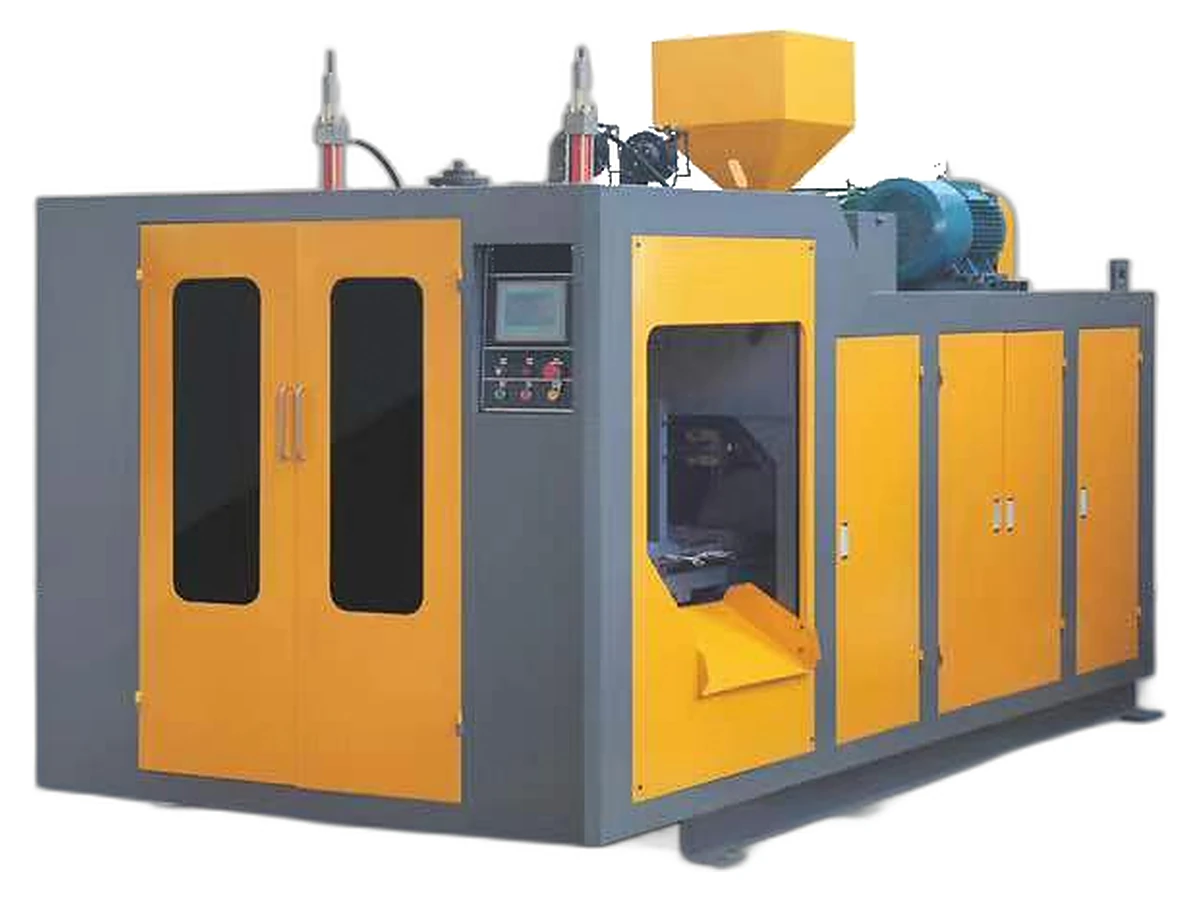
- Hot-fill or stacking load. If the bottle is straight at take-off and deforms after filling or a week in storage, the machine is probably not the cause. Check fill temperature, headspace and vacuum, then the stack load. On the 20–50 L platform, the ES-30L (215 kN clamp, 580 × 740 mm platen, 350–800 mm daylight) and ES-50L (260 kN, 880 × 780 mm, 400–1000 mm) are matched to the mold and load, not nominal volume; confirm both against the drawing.
The measurement method is covered inwall-thickness variation. If the container is a 20 L drum that only fails in the stack, read20 L chemical drum productionand check the20–50 L platformbefore specifying a machine.
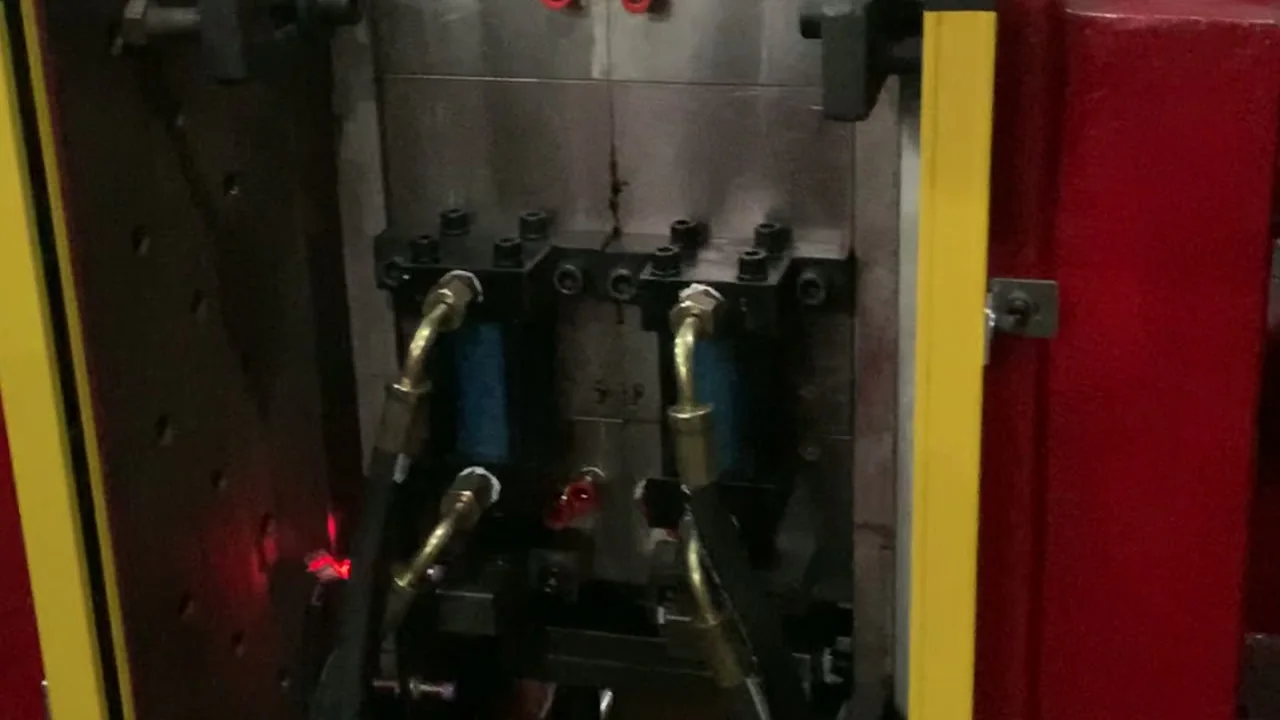
The clip below is a representative two-cavity 5 L jerrycan run. Read it for the extrusion, clamp and take-out sequence, not as warpage evidence: the machine, mold and configuration may differ, and warping is judged on measured parts.
A worked example: the 20 L bottle that failed at the bottom of the stack
A 20 L HDPE bottle leaves the machine straight, passes the leak test, and deforms only in the bottom layer of a two-high pallet after two weeks in a warm warehouse. The first reaction is to change the parison profile; work through the evidence instead.
- Measure at take-off. If the part is within tolerance once cold, the machine and mold are making a straight bottle, and the complaint belongs to the fill or the stack.
- Describe the deformation. A panel drawn inward follows a thin wall, a label recess or a vacuum; a lean that follows the pallet corner follows load and storage temperature.
- Check the wall where it fails. A thin base corner or panel lowers stiffness, so a stack that worked at one height can fail higher, or in a warmer warehouse.
- Compare colour. If the batch is coloured, repeat the measurement on a natural-resin part; a colourant that changes shrinkage will mimic a cooling fault. Confirm with the resin supplier before changing the die.
- Change one variable and repeat. Raise the wall in the failing zone through the die gap or programmer, or reduce the stack height and storage temperature, then measure the same points. A change that is not re-measured is not a fix.
Clamping force does not decide whether a bottle holds a stack. It is checked against mold projection area and blowing pressure, not volume alone, and the wall map plus a top-load check show whether the part can carry the load. Confirm both against the drawing and a trial.
What to send for a quotation
A quotation for a warping problem is only as good as the samples behind it. Send the following, and mark what is measured and what is still an assumption.
- Drawing or 3D file with wall targets and critical dimensions
- Container volume, weight and annual output
- Resin grade and datasheet, including colourant and regrind
- Part photos at take-off, after cooling and after filling or storage
- Wall-thickness map by height and clock position, with cavity number
- Fill temperature, headspace, stack height and storage conditions
- Cavity count, mold data and machine model
- Destination voltage, frequency and inspection documents
Send the files through thecontact pageand state whether the part is already deformed at take-off. That answer decides whether the review starts at the mold or at the filling line.
Source: E-SHION product data. Specifications are subject to change without notice; customization is available.
This guide is written for production and procurement decisions. It uses published figures where available and avoids unverified performance claims.