A 25 L lubricant oil canister usually fails in two places: the handle root when a full canister is lifted, or the base corner after a few layers of pallets. Either one turns a full load into a cleanup, a return and a customer who now inspects every delivery. The purchase is not really a machine; it is a canister that keeps its handle, wall map and stacking strength batch after batch. This page works back from the canister to the model, the mold and the numbers to send.
The short answer: 25 L canister, 20–50 L platform, ES-30L first
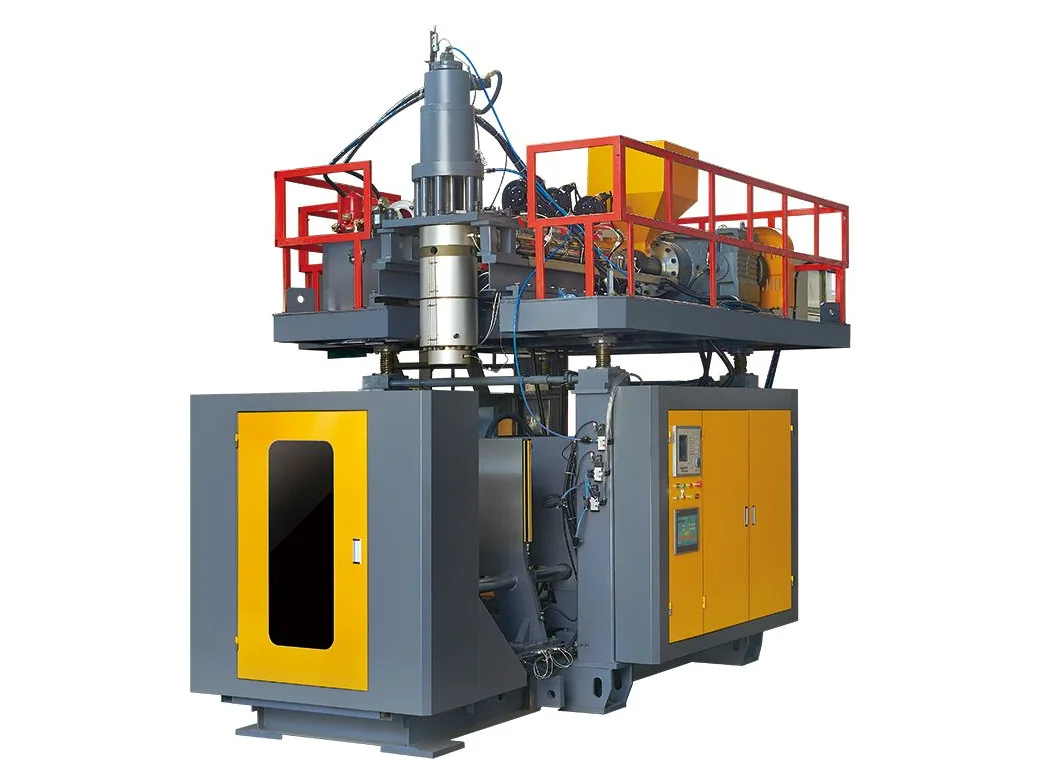
For a 25 L oil canister, start with the single-station 20–50 L platform and price the ES-30L first. The series covers 1–6 cavities and 1–6 layers, so cavity count is a project decision. The ES-50L comes in when the same line also runs 50 L containers, or when the mold layout needs its larger 880 × 780 mm platen. A double-station machine is sized for 0.1–16 L, which puts it outside this job. Plain rule: if the canister is 20 L or over, start on the single-station 20–50 L platform; if it is 16 L or under, put both the 0–16 L single- and double-station platforms on the table.
- The canister drawing: weight, wall map, handle geometry, neck and base. Your mold, platen and die head are chosen from it.
- The output target: canisters per hour or per shift, and the hours the line really runs.
- The resin and fill: HDPE grade, regrind allowance and the oil, including filling temperature. These set the resin specification and the wall target.
The platform itself is described on the 20–50 L single-station page, and the general container case is covered in 20–50 L container production.
The handle is the part that decides the mold
An integral handle is formed in the same cavity and blow as the body. The parison has to feed the handle and the body at once, and the mold, not the machine, carries the risk. The cavity has to form the handle, the pinch-off at the handle root has to be clean, and the trim line has to leave a comfortable carrying surface. Material that goes into the handle is material the body does not get, so the die-gap profile — the wall-thickness programme — has to be built for the whole part.
The neck is the second tight point. On an automatic filling line, a 25 L canister is closed with a cap, so neck ovality shows up as a cap that will not seat or a seal that weeps. Check blow-pin alignment, neck cooling and the trim of the neck flash before blaming the resin. Neither the handle nor the neck is fixed by a stronger clamp.
- Carry check: fill to nominal volume, lift by the handle and hold, then look at the handle root for stress whitening.
- Stack check: load the canisters the way your pallets are built and watch the base corner and shoulder.
- Neck check: cap with your own closure and run a leak check on your filling line.
Wall map and stacking: the numbers your customer will measure
A wall map records thickness at agreed points: body panels, shoulder, base corner, handle root and pinch-off. Measure it on cut sections at fixed heights, not by eye and not by the weight of one sample. A canister that measures well on the label panel but runs thin at the base corner can pass a spot check and still lean in the second pallet layer. Agree the target map and its measuring points on the drawing, then repeat those measurements on trial parts.
Stack load travels down the shoulder and through the base corner. On this type of canister, the handle is for carrying, not for stacking: a canister that is easy to carry still has to stand on its base under load. Tell the supplier the stack height and pallet pattern you will use, because they affect where the wall has to be thicker.
Output: start from grams per canister, then the measured cycle
Extruder output is published in kg per hour, so the first arithmetic is weight, not litres. Divide hourly output by the weight of one canister to get the material ceiling. Then apply the formula: canisters per hour = cavities × good parts per cavity per cycle × cycles per hour, where cycles per hour is 3600 divided by the measured cycle. Plan with the lower of the two.
| Model | Container size | Clamp force | Platen | Screw diameter | Output | Installed power | Machine weight |
|---|---|---|---|---|---|---|---|
| ES-30L | 30 L | 215 kN | 580 × 740 mm | 80 mm | 100–120 kg/h | 100–110 kW | 10 t |
| ES-50L | 50 L | 260 kN | 880 × 780 mm | 90 mm | 110–160 kg/h | 105–120 kW | 13 t |
Swipe the table to see all columns →
Take 1.2 kg per canister as an arithmetic example only; your drawing gives the real weight. On the ES-30L, 100–120 kg/h becomes roughly 83–100 canisters' worth of resin per hour. At an illustrative 60-second cycle, one cavity gives 60 canisters per hour, inside that ceiling; two cavities give 120, above it. A two-cavity 25 L mold would need a longer cycle or a larger extruder, which is why cavity count follows shot weight and measured cycle, not platen size.
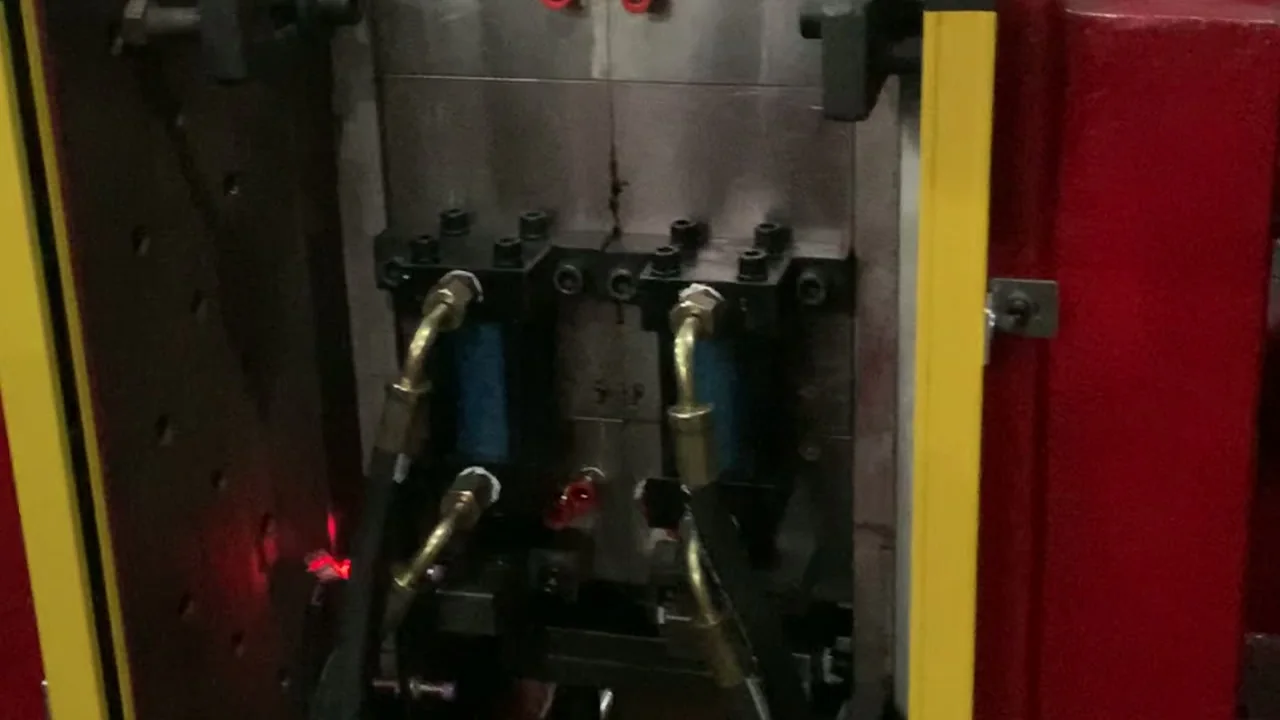
The clip is useful for the relative scale of machine and container; it is not your canister and not a cycle-time claim. The proof is a trial on your mold: weight per canister, the wall map at the marked points, the handle under load, and the neck fit.
What to send for a quotation
A quotation can only answer your canister if the inputs match the drawing. These are the items that change the model, mold and price:
- 2D and 3D canister drawing, with weight, wall map and handle geometry.
- Output target in canisters per hour or per shift, plus the shift pattern you run.
- HDPE grade, regrind allowance and the oil, including filling temperature.
- How many cavities you want, and whether the tool is new or already on your floor.
- Site conditions: headroom, power, compressed air, cooling water, and the port you ship to.
- A sample or clear photos of the canister, including the handle, neck and base.
With those inputs, the answer should name the model and cavity count, define the mold scope and auxiliaries, and state the assumptions behind the price. Market references put 5–30 L extrusion blow molding equipment at about USD 40,000–90,000, and 30–50 L machines at about USD 60,000–120,000; a 25 L canister falls in the 5–30 L band, so start there and confirm the model in the quotation. Blow molds are quoted from the drawing: a simple 2-cavity bottle mold at USD 2,000–5,000 and larger multi-cavity tools at USD 15,000–35,000, with lead time commonly 20–60 days after drawing approval. Compressor, chiller, grinder and conveyor are separate. These are market ranges, not E-SHION prices; the final figure depends on model, mold, cavity layout, material, drive and control, and destination.
Send the drawing through the contact page, or use the quotation button on this page. For the process behind the wall map, see blow molding wall thickness control; for the neighbouring container case, see 20 L chemical drum production.
Send the drawing and three numbers — weight per canister, output target and acceptable cycle — and the reply can land on a model, not a range.
Source: E-SHION product data. Specifications are subject to change without notice; customization is available.
This guide is written for production and procurement decisions. It uses published figures where available and avoids unverified performance claims.