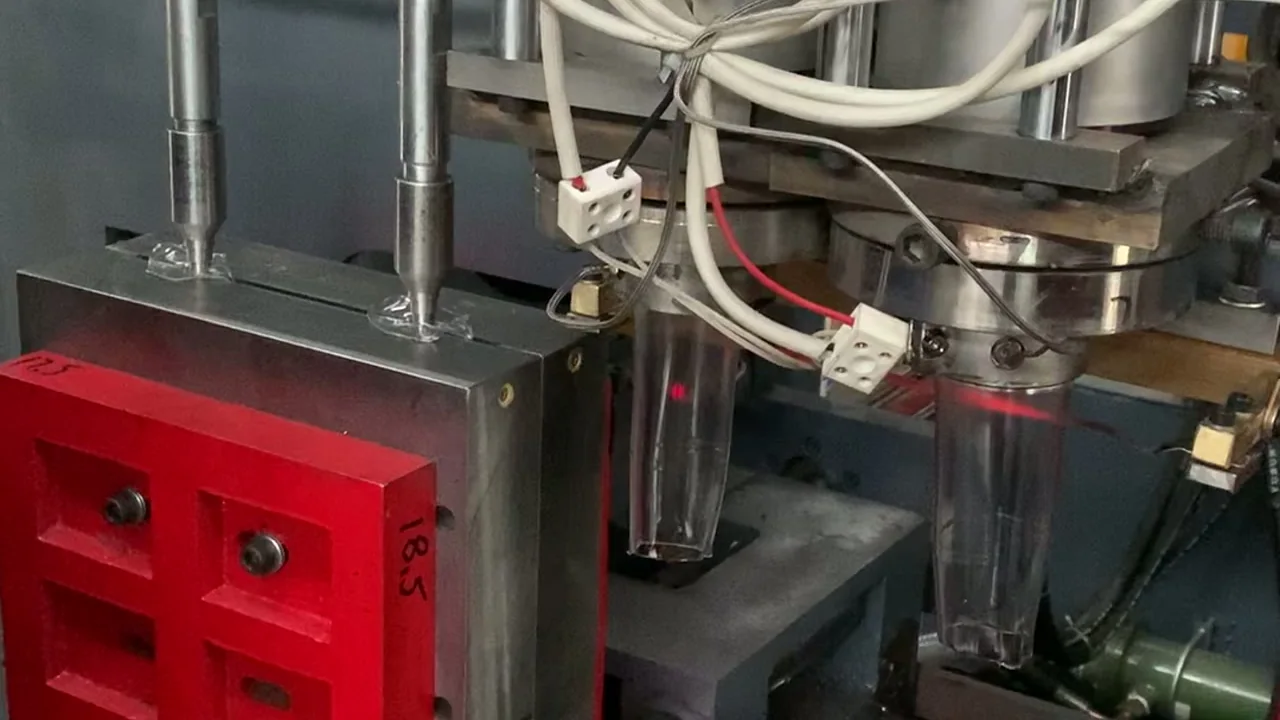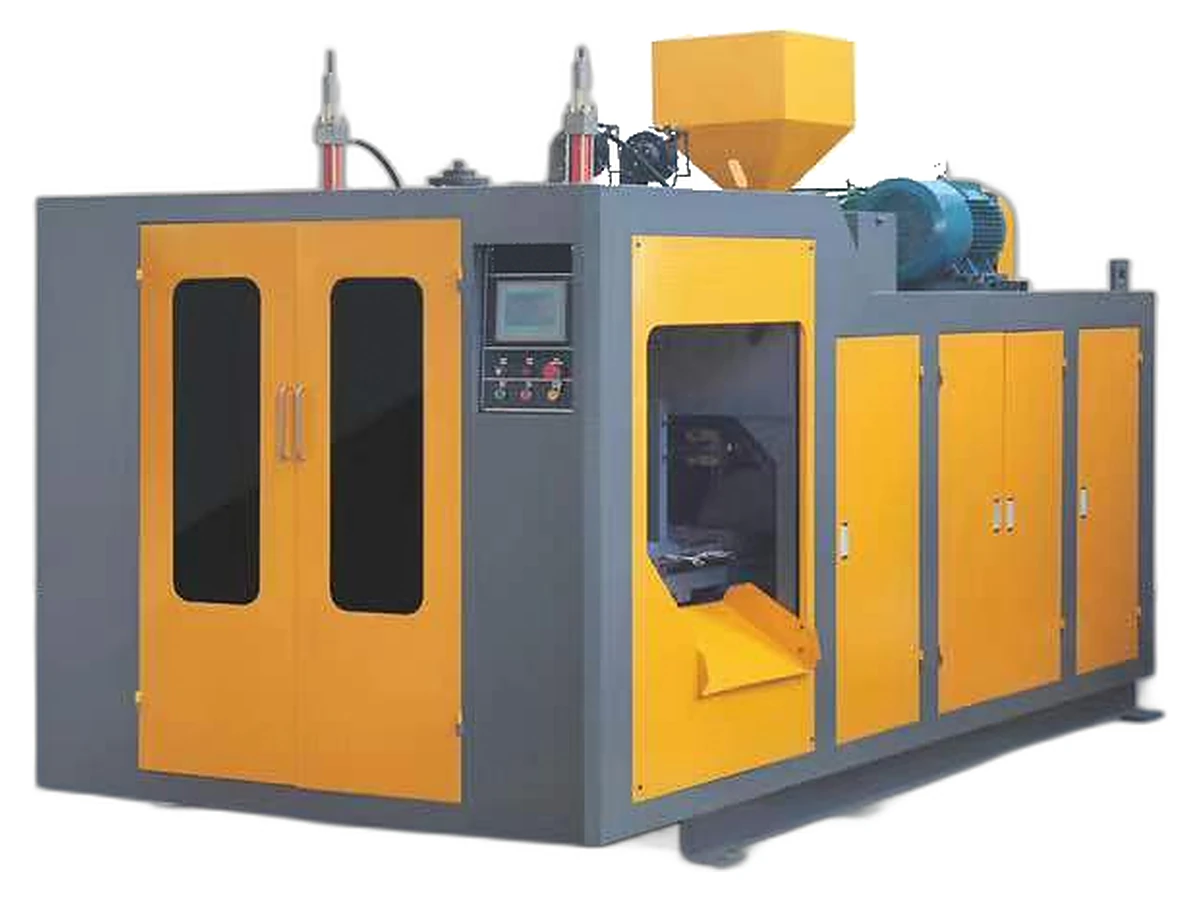
A PETG cosmetic jar that splits at the neck during filling, or cracks on a retail shelf three days after capping, costs far more than the jar: it stops the line, forces a re-pack, and puts the rest of the lot under suspicion. The crack itself is rarely random. Its location and its timing usually point to one of five causes, and knowing which one you are looking at decides whether you adjust the process, change the cap, or go back to the mold.
Why PETG jars crack at the neck and shoulder
Start with timing and location, not with the machine settings. PETG jars most often crack from molded-in stress after fast cooling or over-blowing, heavy wall sections, trim and thread damage, cap interference or over-torque, or chemical attack from alcohol and essential oils. An immediate crack and a delayed crack usually point to different causes, so record when the crack appeared.
PETG gives clear jars their glass-like look, but the same stiffness that makes the jar feel premium also makes a sharp thread root or a thin-to-thick transition less forgiving. A crack that opens while the cap is being applied is usually mechanical: thread interference, torque, or a trim line that was never cleaned up. A crack that appears hours or days later is more often stress-driven, with the cap load or the product itself finishing the job that molding started.
The five causes, ranked by frequency
The list is ordered the way these cases usually present in a defect review, from most common to least. Use it as a checklist, not a verdict: two causes can be present in the same jar, and the second one is often what turns a marginal part into a leaker.
| Cause | Where the crack usually starts | When it appears | First check |
|---|---|---|---|
| Molded-in stress (fast cooling, over-blowing) | Neck thread root or shoulder radius | Minutes to 48 hours, often at capping | Blow pressure, cooling time, mold-temperature uniformity |
| Heavy wall section | Shoulder or thick-to-thin transition | Hours to days, often under load or stacking | Wall-thickness map and parison profile |
| Trim and thread stress | Thread start or trim line | At capping or within the first day | Trim quality, thread start, reaming and deflash |
| Cap interference or over-torque | Thread flank, often a vertical split | At capping, sometimes hours later | Cap dimensions, application torque, liner fit |
| Chemical attack (alcohol, essential oils) | Shoulder and body, often several hairlines | Days to weeks, usually under stress | Formula contact, fill level, stress history |
Swipe the table to see all columns →
A five-step check before you change the mold
Work from the cheapest change to the most expensive. Most cracking complaints are settled before anyone touches steel, and this sequence keeps a process tweak from being mistaken for a mold problem.
- Confirm when and where it cracked. Fill and cap a sample from the suspect cavity, number the jars, and inspect them at one hour, 24 hours and seven days. Record the exact point where each crack starts.
- Measure the neck. Check thread dimensions, ovality and cap fit against the drawing, then apply the production torque with a torque tester instead of judging by feel.
- Map the wall. Cut two jars from the same cavity and measure wall thickness at the neck, shoulder, body and base. Look for a thick section feeding a thin one.
- Review the process record. Compare blow pressure, cooling time, mold temperature and cycle time with the settings used for a good lot, and flag any recent change.
- Check the product. Confirm formula, fill level and contact time, especially for alcohol-based or essential-oil products, and store filled samples under the same conditions.
Change one variable per trial and keep a reference jar from the previous lot. If two settings move at once, a good result tells you nothing about which one worked, and a bad result sends you back to the start.
Immediate cracks versus cracks that appear days later
Timing is the cheapest diagnostic you have. Cracks that open at capping, at leak testing or within the first shift are dominated by mechanical causes: cap interference, over-torque, a rough trim line or an out-of-round neck. Cracks that appear days later, especially along a stress line from the thread root or shoulder, point more often to molded-in stress or chemical attack, and sometimes both. In our trial records we map each crack location to a cause and count cracks at 24 hours and at seven days for the same lot, because a jar that passes the first check can still fail the second.
When annealing or a mold change is the real fix
Process settings have limits. If a jar still cracks after the neck, torque and wall profile are correct, the remaining stress has to be removed or designed out. Annealing below the material's distortion point can relax molded-in stress, but it adds a step, takes floor space and may affect dimensions and clarity, so treat it as a bridge rather than a production plan. A mold change is the durable fix when the thread root radius is too sharp, the shoulder has a thick section that cannot be cooled evenly, or the trim line sits in a high-stress area. Let parts decide, not opinions: crack location mapped to cause, neck torque test results, and an anneal run on the same lot for comparison.
Compare machine and mold options on thePETG double-station pageor thesingle-station 0-16 L range, and read howPETG clear jars are producedand how the same stress logic applies toHDPE container stress cracking. To have a cracked part reviewed, use thecontact page.
What to send for a quotation
A PETG jar quotation is only as good as the details behind it. Send the following and the reply can propose a realistic machine configuration, mold and cycle estimate instead of a generic price.
- Jar drawing with capacity, neck finish, thread specification, wall target and tolerances.
- Material grade and appearance: clear, tinted or frosted, plus any recycled-content target.
- Product to be filled, including alcohol or essential-oil content, and the fill temperature.
- Cap and closure drawing, liner type, and the application torque used on your line.
- Target output, cavity count, shift pattern, and destination country for voltage and safety configuration.
Source: E-SHION product data. Specifications are subject to change without notice; customization is available.
This guide is written for production and procurement decisions. It uses published figures where available and avoids unverified performance claims.