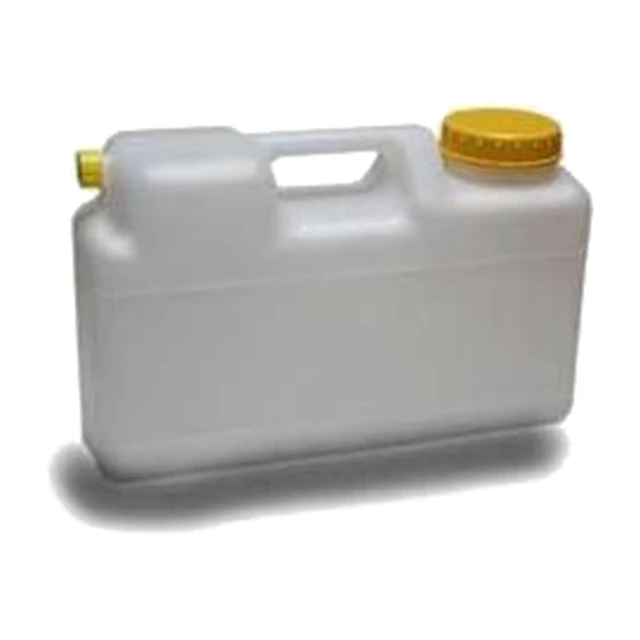
A 30 L HDPE drum passes the leak test at the filling line, ships, sits in a warehouse, and splits at a base corner six weeks later. Nothing was dropped and nothing was over-pressurized; the batch looked fine on the day it was made. Buyers usually meet this failure as a complaint, not as a production defect, and the first instinct is to blame the machine. The decision that follows — change the resin, change the mold or change the machine — depends on which of three inputs actually failed.
The short answer: ESCR is a time-dependent failure
Environmental stress cracking (ESCR) is delayed cracking under a chemical and a sustained stress acting together. A short leak or drop test does not reproduce it, because the damage grows over weeks. Treat a late crack as evidence about three inputs — resin molecular weight and distribution, molded-in stress, and the chemical actually filled — not as a random defect.
Three inputs decide whether a container cracks
Each input can be checked separately, and each has an owner: the resin supplier, the converter and the product being filled. Changing the machine before you know which input failed is how a project pays twice.
- Resin: molecular weight and molecular-weight distribution set the resin's resistance to slow crack growth. Ask for the grade's ESCR data, then confirm the grade and lot actually used against the resin datasheet. A different grade can change the result more than a different machine.
- Molded-in stress: wall-thickness variation, uneven cooling, a tight base-corner radius, a high regrind share and over-pack all leave stress in the part. The parison programmer and die-gap profile, die centering and cooling time are the process levers; confirm the settings on a trial, not on a data sheet.
- Chemical exposure: the product, its concentration, the fill temperature and the dwell time decide the severity. Surfactant-based products are the classic ESCR case, which is why the full-bottle test uses a surfactant solution, but the real product and the real fill level are what you test against.
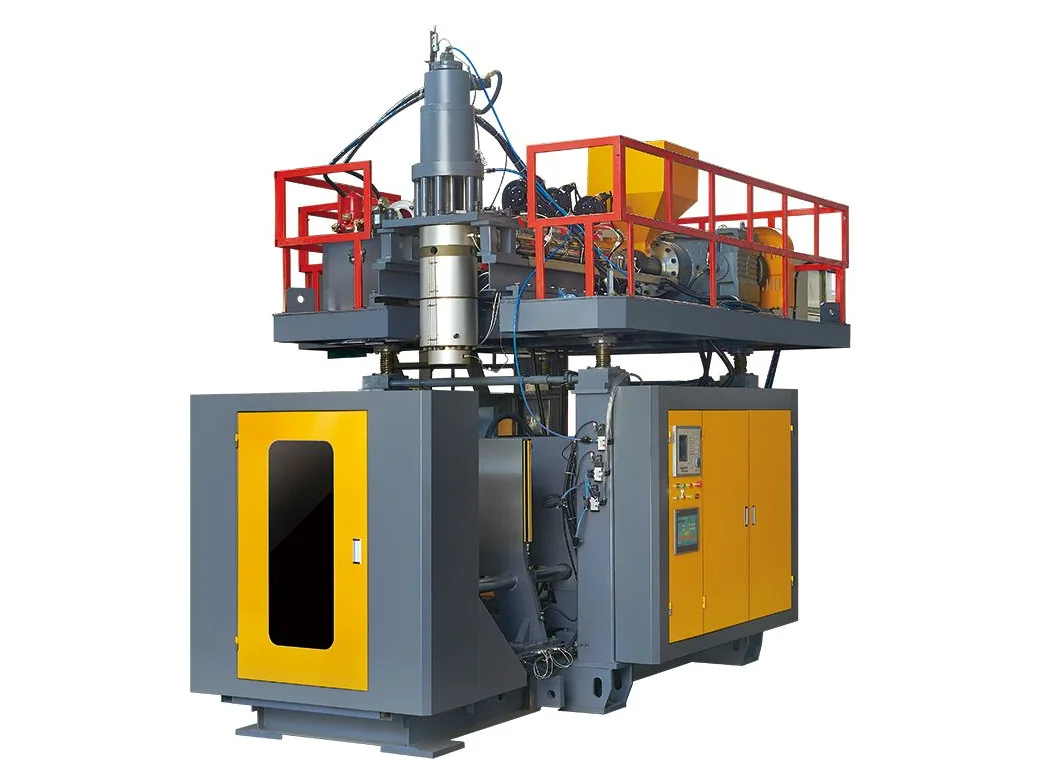
If the failed container is in the 20–50 L range, start from theES-30L and ES-50L platform. If the symptom is wall variation rather than a crack, readwall-thickness variationbefore changing resin.
Where the crack starts tells you what to check
ESCR does not pick a random spot. It starts where stress concentrates and where the wall is thinnest or cools fastest. Read the failure location first, then confirm each cause against the drawing, the mold record or a sectioned part — not against a hunch.
| Location | What you may see | Process or design contribution | How to confirm |
|---|---|---|---|
| Base corner | A crack radiating from the corner radius, often after stacking or weeks of storage | Tight radius, thin wall or fast cooling at the corner | Section the part, measure the corner wall, compare the radius with the drawing |
| Handle root | Split at the handle-to-body junction | An abrupt transition, uneven blow, local thinning | Measure thickness around the root; check mold finish and blow conditions at the trial |
| Neck and thread | Crack or split near the neck, sometimes with ovality | Trim finish, blow-pin alignment, neck cooling | Measure neck ovality and thread; check the trim tool and blow-pin alignment |
| Pinch-off seam | Split along the bottom weld line | Weak pinch-off, die gap or temperature outside the proven window | Inspect the seam, run a leak/hold test, review die-gap and temperature records |
| Body away from stress points | A fine crack network with no obvious thin spot | Resin grade or chemical mismatch rather than a process fault | Confirm the resin grade and lot; run a filled-pack test with the actual product |
Swipe the table to see all columns →
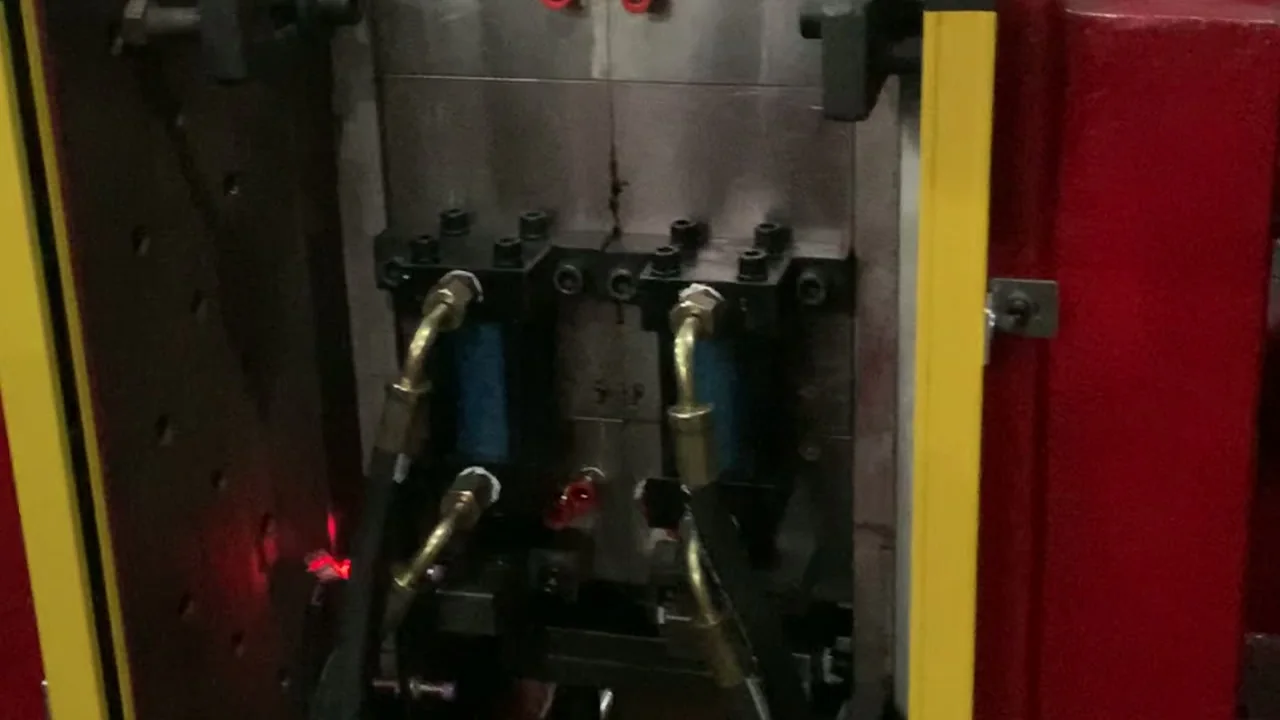
The clip below is a representative 30 L mold and container view from the 20–50 L platform. It is useful for reading the machine layout and take-out, not for judging ESCR: the resin, container and test scope in your project may differ, and stress cracking is decided after filling, not on the shop floor.
A worked example: the drum that passed every test
Take a 30 L HDPE drum, the size the ES-30L platform is built for (30 L, 215 kN clamp, 580 × 740 mm platen), filled with a surfactant-based cleaner and stored for six weeks before it splits at the base corner. The leak test at the filling line never saw it, because that test lasts minutes and uses water or air. Work through the diagnosis in this order, and each step either removes a suspect or gives you a change worth quoting.
- Locate and section: measure the wall at the failed corner and compare it with the drawing. A thin corner with a tight radius is a design or process lead, not yet a resin verdict.
- Confirm the resin: grade, lot and the supplier's ESCR data. Reducing the regrind share is the cheapest change to test before you buy a new grade.
- Reproduce it: run a filled-pack test with the actual product at the real concentration, fill temperature and dwell, plus a water-filled control. ASTM D1693 bent-strip F50 can screen grades, ASTM D2561 full-bottle surfactant testing is closer to service, and ISO 16770 FNCT is an accepted alternative. Agree the pass/fail hours with the customer before the first bottle is filled.
- Change last: cooling and parison settings, the mold radius, the resin grade or the machine. Then repeat the test — a fix that is not re-tested is only a hope.
The timeline matters as much as the test method. A warehouse that holds six weeks of stock needs a test plan that covers that dwell; a line-side leak check cannot stand in for it. Put the storage period, fill temperature and product concentration into the test request, or the lab will test a container you do not actually ship.
What to send for a quotation
A quotation for a cracking problem is only as good as the failure data behind it. Send the following and mark which items are confirmed and which are still assumptions.
- Drawing or 3D file with wall-thickness targets and the base-corner radius
- Resin grade and datasheet, including the regrind policy actually used
- Product, concentration, fill temperature and expected storage time
- Container volume, annual output and target cycle
- Cavity count and any existing mold data
- Destination voltage, frequency and inspection documents
- Photos of the failed part with the crack location marked
Send the files through thecontact pageand tell us whether the crack appears before or after filling. That single answer changes the machine and mold review.
Source: E-SHION product data. Specifications are subject to change without notice; customization is available.
This guide is written for production and procurement decisions. It uses published figures where available and avoids unverified performance claims.