A leaking seam or an oval neck can turn a pallet into sorted scrap, delay a shipment and trigger a complaint. The real cost is the shift spent guessing which setting caused it.
Quick answer: classify the defect first
Work from the signature, not a list of settings. A defect that follows the die head or material lot is upstream: material, temperature, die centering, die gap or parison sag. One fixed to the same cavity is local: that cavity's blow pin, cooling or mold surface. The plain rule: follow the parison upstream, follow the cavity to the station. Change the profile last.
Contain the suspect parts first
A defect caught at the machine costs scrap; one found after shipping costs sorting, freight and trust. Mark the last good check, isolate everything made since, and keep a good part, a bad part and a cut section.
Timing is evidence: start-up, a material change, a mold change or a single shift each points to a different cause. Write the time, lot, mold number and settings on the sample tag, or a slow drift will look random.
Five common defects and the first step
The table is a check order, not a diagnosis. A symptom can have more than one cause, and the cause can sit in material, die, clamp or cooling. Confirm each row with the drawings and a cut section.
| Defect | Likely cause | First check | Prevent by |
|---|---|---|---|
| Bubbles or holes | Moisture, contamination or melt too hot | Check lot, regrind, drying and melt temperature | Incoming checks, drying, stable temperature |
| Weak or leaking seam | Clamp force below projection area × blowing pressure; worn land; blow timing | Cut the seam; check clamp force, land and timing | Size clamp from mold, maintain land |
| Oval neck | Neck cooling, blow-pin alignment or neck wall thickness | Check neck cooling and pin centering; measure fixed points | Neck cooling, alignment checks |
| Uneven wall | Die centering, profile control, head temperature or parison sag | Mark thin zone by height and clock; check die centering | Parison control, wall map per cavity |
| Surface streaks | Die-lip contamination, degraded material or mold damage | Clean and purge the die; inspect the mold at the streak | Cleanout, temperature control |
Swipe the table to see all columns →
A sequence that narrows the cause
Most investigations run long because several variables change at once. Temperature, profile, clamp and blow timing interact; change two and the result cannot be read.
- Define the reject measurably: seam leak, neck diameter, bubble location or minimum wall; agree the limit before the trial.
- Confirm material grade, lot, regrind, drying and melt temperature; moisture and contamination cause bubbles no die change will remove.
- Check die centering, die gap, head temperature balance and parison path; a swinging parison cannot give a stable seam.
- Check clamp force against projection area × blowing pressure with a safety margin; do not add clamp force to cover a worn land or cold mold.
An example: a 5 L HDPE bottle leaks at the seam on one cavity after a mold change. Cut a seam section, check that cavity's land, blow-pin height and cooling, and leave the machine-wide clamp alone until the local checks are done.
What the clip shows, and what it cannot
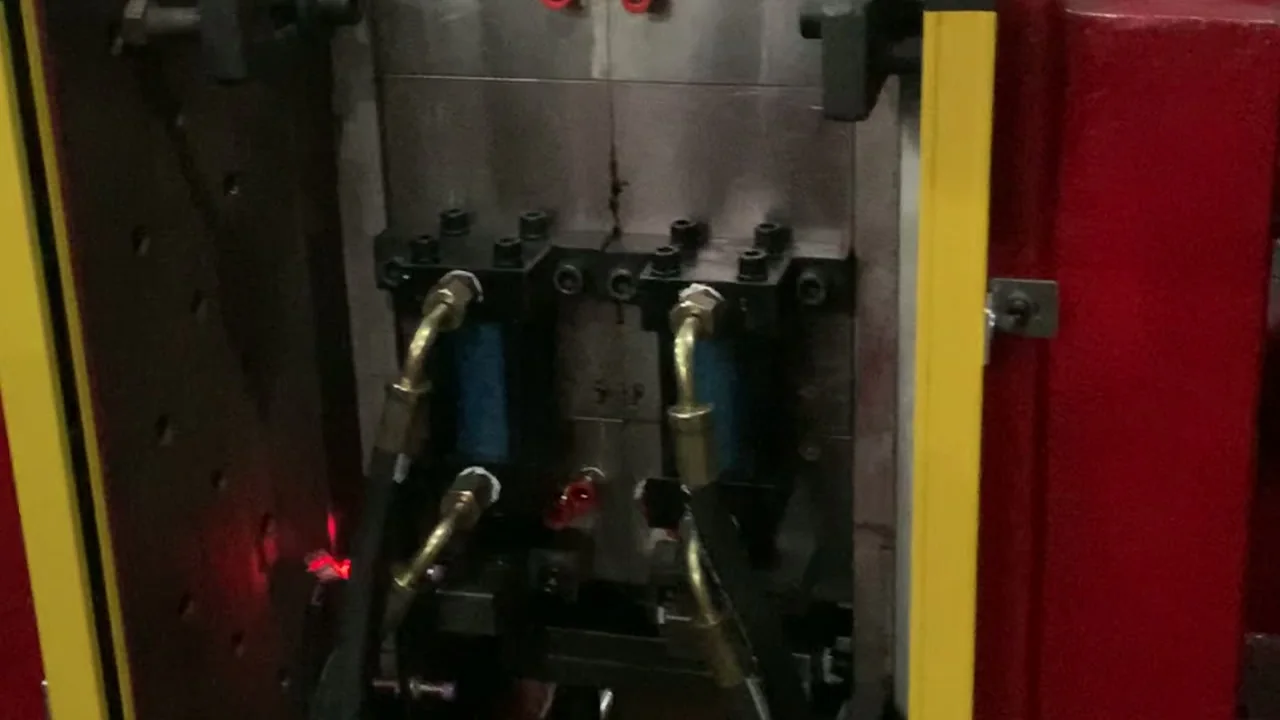
The clip shows a representative 5L run at the clamp, mold and take-off area: a shared reference for the sequence, not a measurement of your part.
If the parison is visible, watch for swing; it points to die centering, temperature or extrusion speed. A weak seam at one height points to the land, clamp force or blow timing. Neck drag or ovality points to cooling, ejection or handling. The clip cannot measure seam strength or wall thickness.
A defect catalogue for blow molding products
A defect name is only useful if it points to a first check. The catalogue below groups the faults buyers ask about most often by what the part looks like, where it appears and what to inspect first. Use it after containing the suspect parts: classify the defect, then change one variable at a time.
| Defect | What you see | Likely causes | First check | Prevention |
|---|---|---|---|---|
| Warping or ovality | Body out of round, base rocking, neck offset | Uneven cooling, residual stress, short cooling, hot part stacked too early | Mold temperature balance and cooling time | Balanced cooling, adequate clamp time, fixture cooling |
| Local thin wall | Light shows through, weight low, top load weak | Die gap, parison sag, programmer profile, off-centre mandrel | Cut section at four points | Centre die, set programmer, stabilise melt temperature |
| Neck distortion | Neck oval, thread damaged, cap will not seal | Neck cooling, blow-pin alignment, trimming, ejection | Neck gauge and blow-pin centring | Dedicated neck cooling, aligned blow pin, correct trim |
| Pinch-off leak | Leak at the seam or base, weak weld line | Pinch-off geometry, mold wear, low melt temperature, contamination | Seam section and pinch-off edge | Correct pinch-off, maintain mold, raise melt temperature if cold |
| Bubbles or voids | Bubbles in the wall, voids at thick sections | Moisture, trapped air, low back pressure, decomposition | Resin moisture and melt temperature | Dry resin, vent, check screw and temperature profile |
| Black specks | Dark points or streaks in the wall | Carbonised material, worn screw, dirty die, regrind contamination | Purge and inspect the melt | Clean die and screw, control regrind, reduce residence time |
| Short shot or incomplete part | Missing section, incomplete base or handle | Insufficient parison length, low blow pressure, cold mold, venting | Parison length and blow pressure | Set parison length, check pressure and vents, raise mold temperature |
| Surface marks or die lines | Lines, grooves or dull bands on the surface | Die damage, mold polish, parison drag, release agent | Die lip and mold surface | Polish die and mold, remove drag, stop excess release agent |
Swipe the table to see all columns →
How to use the catalogue without chasing symptoms
Start with containment: quarantine the suspect parts and mark the cavity, shift and time. Then classify the defect by location and repeatability. A fault that follows one cavity points to the mold, die or take-out; a fault that moves across cavities points to material, temperature or the extruder. Record the change and the result. Changing die gap, temperature and blow pressure in the same trial makes the next sample unreadable.
For wall distribution, see wall thickness variation. For a tube that curls before the mold closes, use parison curl troubleshooting; for a structured line check, see blow molding machine troubleshooting.
What to send for a quotation
A useful reply starts with the part and the process state, not one photo. Send these so the answer can name the check and the machine.
- Container drawing or 3D file with the defect marked.
- Material grade, lot, regrind ratio and drying method.
- Defect photos with a ruler, height, clock position and cavity.
- Machine model, die-head type, clamp, blow and cooling settings.
- Neck diameter, seam section, min/max wall and leak-test method.
- Start time, affected quantity and any material, mold or shift change.
- Target output, cavity plan, shift pattern, destination voltage and frequency.
For wall thickness, read wall-thickness variation patterns and wall-thickness control. Compare the 0.1–16 L single-station platform or send files through the contact page.
Source: E-SHION product data. Specifications are subject to change without notice; customization is available.
This guide is written for production and procurement decisions. It uses published figures where available and avoids unverified performance claims.