
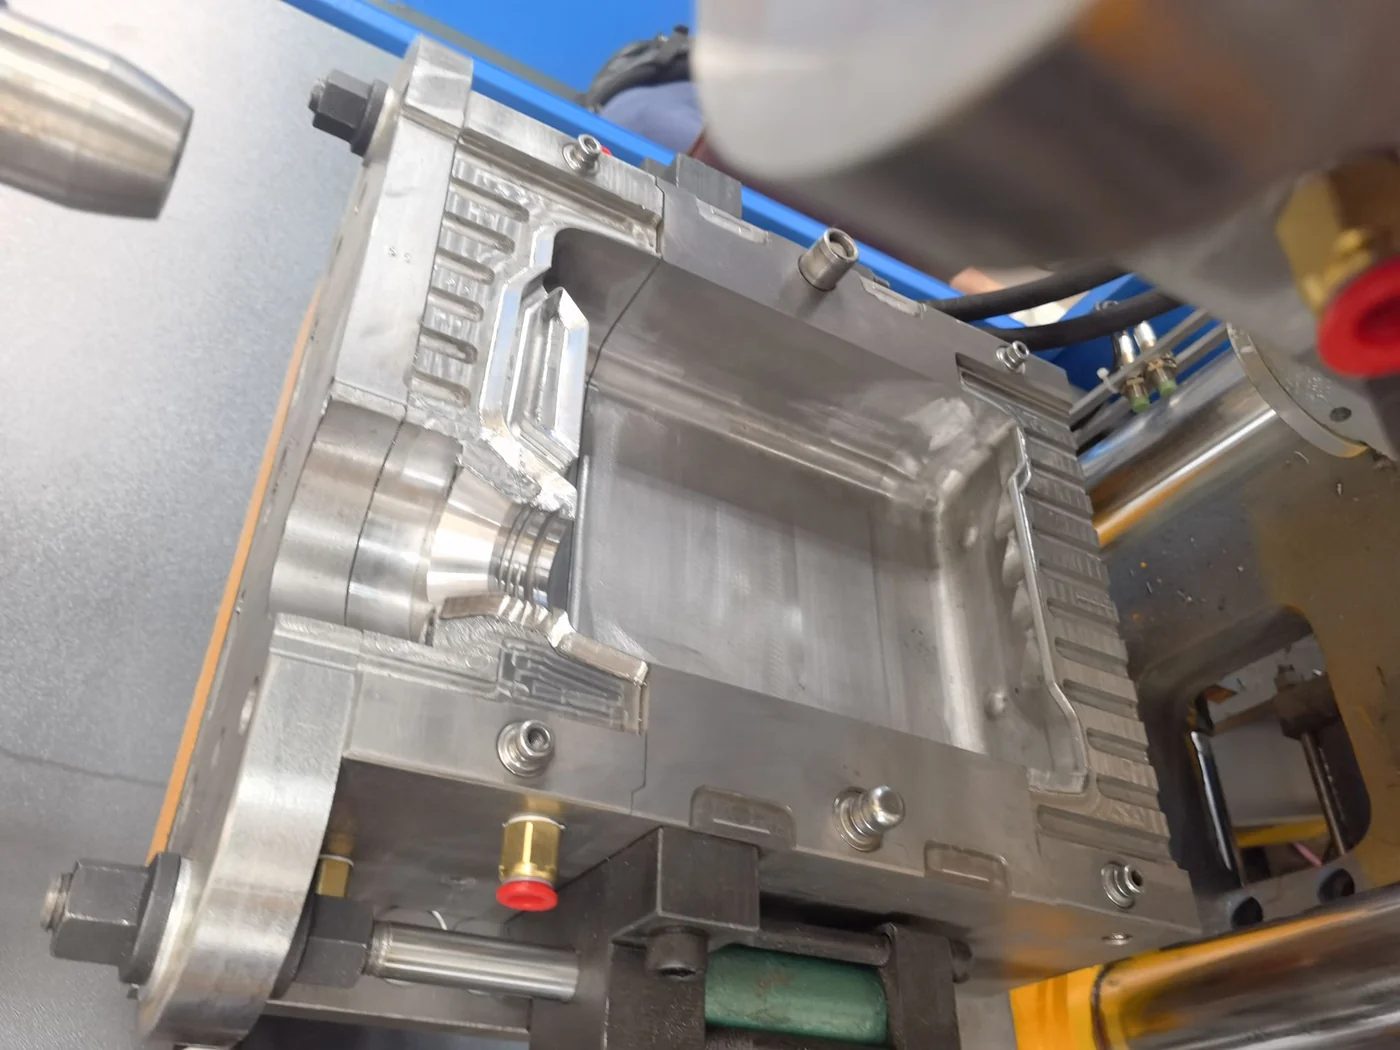
The machine stops mid-shift, the alarm screen lights up, and every minute of downtime is bottles you will not ship. Most crews start by opening the electrical cabinet. A better first move is to work down a short, safe list in the order failures actually happen: air supply, heaters, hydraulic pressure, clamp, then the PLC alarm itself. This guide gives you that list, so the first 15 minutes narrow the fault instead of spreading it.
The first 15 minutes: check in this order
Check the compressed-air supply first, then barrel and die-head heaters, then hydraulic pressure, then clamp movement and the PLC alarm history. In most cases the fault sits in one of these five links, and each can be checked in two to three minutes without opening a guarded panel.
Air comes first because it is the cheapest check and one of the most frequent stops. The model tables for this range list a normal supply of 0.6–0.8 MPa. If the inlet gauge sits below that while the machine is idle, the fault is upstream — compressor, dryer, filter, regulator or a leaking quick-coupling — not in the blow pin. Read the gauge at the machine inlet, not at the compressor.
Heat is second. A barrel or die-head zone that will not reach setpoint is usually a failed heater band, a loose contactor or a thermocouple that has come out of its pocket. Compare the screen value with the zone you are standing next to, and confirm the thermocouple is seated before you change any setting. Raising the setpoint to force a slow zone hides the fault and can overheat the material.
Hydraulic pressure is third. Low pressure at the pump gauge explains a slow clamp, a weak blow-pin stroke and a machine that alarms only under load. Check oil level and oil temperature before the pump: hot, thin oil and a partly blocked cooler both show up as falling pressure after an hour of running. A relief valve adjusted to compensate hides the real wear.
Fault patterns also depend on the platform you run. Compare thesingle-station 0–16 L rangewith thedouble-station 0–16 L range, or send the details through thecontact page.
Symptom, likely cause, first check
The table is ordered the way a shift leader should work: cheapest and most frequent first. Keep a printed copy at the machine. It supports the manufacturer's manual and your lockout procedure; it does not replace either.
| Symptom | Likely cause | First check |
|---|---|---|
| Blowing pressure will not build; bottles stay soft | Low air supply, leaking coupling or blocked filter | Inlet gauge 0.6–0.8 MPa; drain the filter; check couplings |
| A zone will not reach setpoint; heat alarm | Heater band, contactor or thermocouple | Screen value against the actual zone; thermocouple seated |
| Clamp is slow or will not lock | Low hydraulic pressure, sticking valve, safety gate not made | Pump gauge; gate switch; valve response |
| Oil runs hot; pressure drops after an hour | Cooler, oil level or relief valve | Oil level and temperature; cooling-water flow |
| Parison curls or swings; wall thickness varies | Die gap, temperature profile, parison sag | Die centering and gap; profile; measured cycle time |
| PLC alarm with no obvious mechanical fault | Interlock, sensor or safety circuit | Alarm history; sensor LED; gate and guard switches |
Swipe the table to see all columns →
Read the alarm code against the manual before you reset. A code that returns within one cycle is a real fault, not a nuisance. Clearing it again and again is how a small hydraulic leak becomes a pump failure, and how a heater problem becomes a burnt screw.
When the clamp will not lock
A clamp fault is the one buyers ask about most, because the machine looks ready but will not cycle. Work in this order, and write down what you find at each step.
- Safety gate and guard switch: the PLC will not command a close if the circuit is open, even when the gate looks shut.
- Pressure at the pump gauge: low pressure points to the pump, relief valve or a leaking cylinder seal, not to the clamp mechanism.
- Mould height and platen setting: a mould taller than the setting will stall the close; confirm against the mould drawing.
- Directional valve response: a sticking spool shows as a clamp that moves, pauses, then alarms.
- Clamping force against the mould: force must suit the mould projection area and blowing pressure, not container volume alone.
A clamp alarm that returns after a reset usually has one of two signatures. If the clamp stops in the same position every cycle, look at the mould height setting and the guard switch. If it stops at a different point each time, look at hydraulic pressure and valve response. Note the stop position for five cycles; the pattern tells you which half of the circuit to open.
Parison and wall-thickness faults follow a different chain: die gap, temperature profile, die centering, parison sag and measured cycle time. Two focused guides cover the detail:
parison curl troubleshootingandblack spots in blow molded parts.
What to send for a quotation
Troubleshooting gets the machine running again. If the next step is adding or replacing a machine, prepare these points and the proposal will be faster and more accurate:
- Container drawing or sample: volume, neck finish, wall thickness and weight.
- Material and layer structure: HDPE, PP, or a multi-layer structure with EVOH.
- Cavity count you need and the output per shift you are planning.
- Your current model, or the alarm and stop pattern you want to solve.
- Power supply, compressed-air supply and the free floor area at the destination.
- Destination country, because voltage, plugs and documentation change the configuration.
Send the details to doris@e-shionmachine.com or WhatsApp +86 151 6778 9726. E-SHION MACHINERY is based in Taizhou, Zhejiang, China. Price depends on model, mould, cavity layout, material, drive and control, and destination; confirm the final configuration and price in the quotation.
Source: E-SHION product data. Specifications are subject to change without notice; customization is available.
This guide is written for production and procurement decisions. It uses published figures where available and avoids unverified performance claims.

