A 5 L jerrycan that looks correct on a drawing can still fail at the handle, at the neck thread or along the pinch-off line — and by then the steel is cut. For buyers specifying a jerrycan mold, the decisions that decide scrap and field failures are made before the first cut: the parison path around the handle, rib depth against the local blow-up ratio, neck position for filling and pouring, and where inserts and vent plugs sit. Fixing these on the drawing costs a meeting; fixing them in hardened steel costs a new mold.
How should a jerrycan mold route the parison around the handle?
Design the handle around the parison, not the other way round. The parison must travel from the die head, around the handle core and back into the body without being stretched thin. That calls for a generous handle cross-section, a controlled die-gap profile and a blow sequence that captures the handle area before the body inflates.
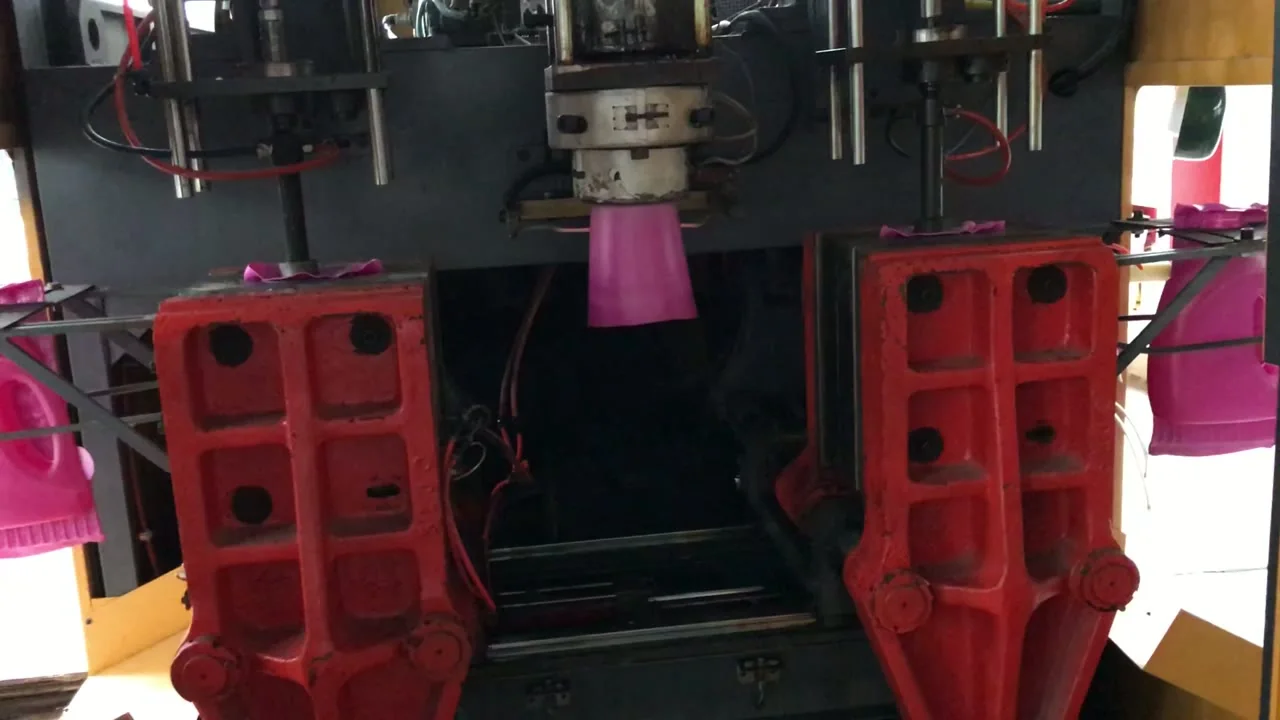
In an integral-handle jerrycan, the handle opening is formed by a steel core that the parison drapes over. Too cold, and the parison will not follow the core; too hot, and the bridge sags and thins. Set the die-gap profile and parison length for the actual container height, then check the handle opening on the first shots. Sharp inner corners at the handle root are the usual reason a handle splits in a drop test.
Why rib depth is limited by blow-up ratio
Ribs stiffen a 5 L or 20 L body, but every rib is also a local stretch. A deep, narrow rib pushes material into a corner where the wall thins, and it becomes a crack starter instead of a stiffener. The limit is the blow-up ratio at that point on the container, not a number copied from another mold. Keep the rib root wide and the bottom radius generous, and confirm depth against the parison diameter and the wall thickness measured on trial parts. Vertical ribs resist bulging; horizontal ribs stiffen the hoop.
Neck placement, inserts and vent plugs
The neck has two jobs: letting the filler in cleanly and letting the user pour without glugging. A centered neck is simplest for the blow pin and for filling lines, but on a rectangular jerrycan it makes pouring awkward. Moving the neck toward one end improves pouring and leaves room for a vent plug at the other end, at the cost of a longer parison path to the far corner. Put the neck on a flat, reinforced boss, keep the thread concentric with the blow-pin axis, and check ovality after cooling.
Every insert adds a pocket, a core or a small slider, and each one adds machining hours and trial time. Brass threaded inserts, a level indicator, a vent plug and a drain boss are common on 10 L and 20 L jerrycans. Decide them on the drawing: moving an insert after the mold is cut usually means re-cutting the cavity or a welded repair. Vent plugs are often the cheapest way to fix pouring behavior, but they need a clean seat and a matching thread.
5L jerrycan: single-cavity or two-cavity layout?
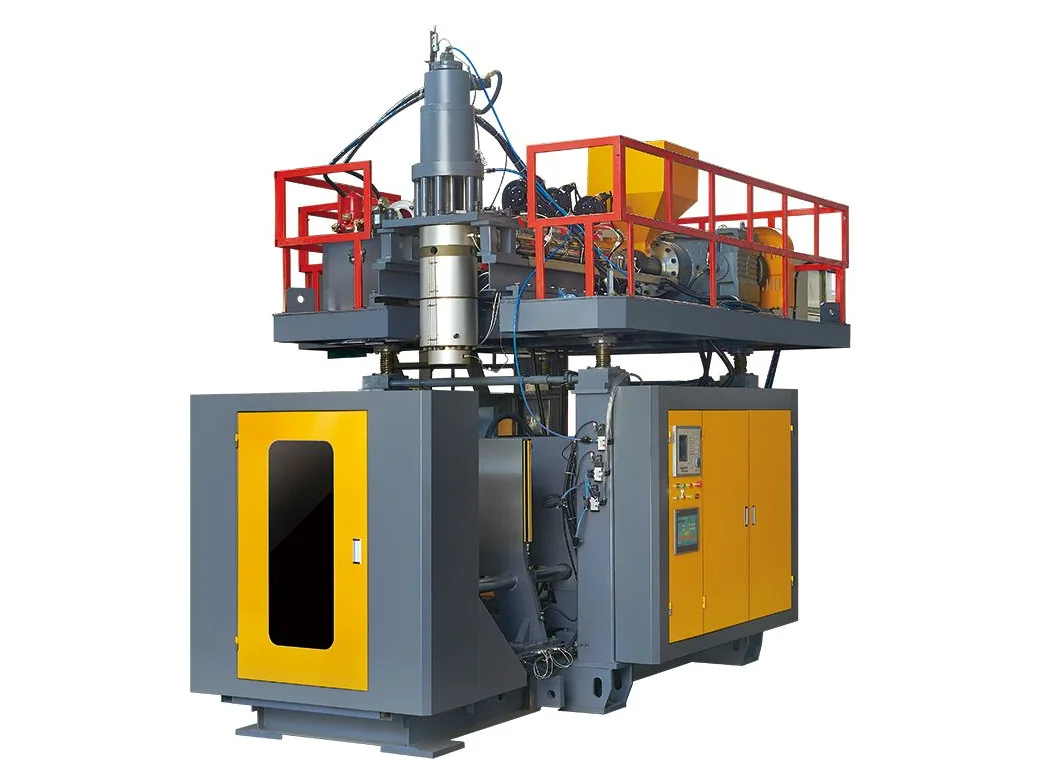
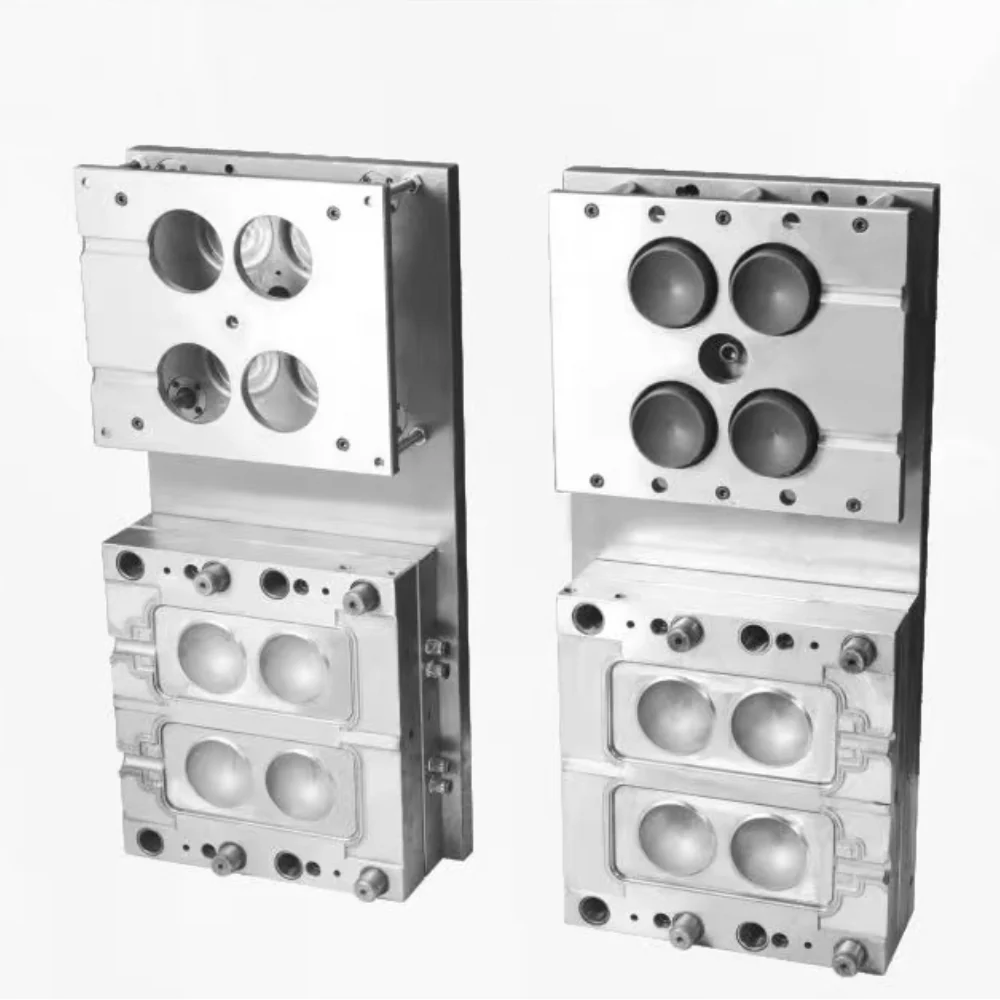
Cavity count is a production decision before it is a mold decision. A single-cavity 5 L mold is cheaper to build, easier to vent and faster to change over; a two-cavity tool doubles parts per cycle only if the extruder can plasticize enough material and the take-off can keep pace. If the layout is quoted on an ES-30L, the 580 × 740 mm platen sets the outer limit. Pinch-off land, venting and shrinkage still decide whether it runs cleanly: the land must weld the parison without a thick tail, air must escape at the handle and last-filled corners, and cavity dimensions must allow for shrinkage measured on a cooled part.
| Decision point | Single-cavity | Two-cavity |
|---|---|---|
| Cavity spacing | One cavity, simple water circuit | Center distance must clear the handle core and both blow pins; confirm on the mold drawing |
| Output per cycle | One part | Two parts, capped by extruder plasticizing capacity and take-off rhythm |
| Mold cost and lead time | Lower tool cost, shorter build | Higher tool cost and more balancing work |
| Clamp and platen | Fits smaller machines | Check platen size, tie-bar spacing and clamp force |
| Best fit | Several sizes, frequent changeovers | One stable design at steady volume |
| Trial focus | Handle thickness and neck ovality | Both cavities: wall thickness balance and pinch-off |
Swipe the table to see all columns →
What a mold trial should show
The useful output of a mold trial is not a good-looking bottle but measured parts and a defect log. E-SHION layouts for 5 L, 10 L and 20 L jerrycans show cavity spacing, handle-core position and blow-pin locations; we share the layout for discussion, not customer-owned drawings. Three defects come up again and again:
- A web across the handle opening: the parison sealed over the handle core instead of being blown through. Check parison temperature and the pre-blow timing.
- A thin handle bridge: material stretched too far around the core. Check die-gap profile, parison length and the radius at the handle root.
- Neck ovality: the neck cooled out of round or was pushed by the blow pin. Check neck cooling, blow-pin alignment and take-off timing.
Fill the container to its declared weight, hang it by the handle from a fixed hook and hold it for a set time, watching for whitening at the handle root; then repeat with a shock load. Record load and time, and compare parts from each cavity. The pass value belongs to your container specification, not the machine, so agree it with your customer before the trial.
Compare thesingle-station 20–50 L rangewith the0–16 L range, and readblow molding process parametersbefore the trial.
What to send for a quotation
A mold quotation is only as good as the input. The list below is what the mold and machine quotation is built from.
Send the drawing through thecontact pageand we will mark the handle, neck and insert points that need a decision.
- Container drawing: height, width, depth, corner radii, handle opening and neck position, with tolerances.
- Volume, filled weight and the load the handle must carry.
- Material grade (HDPE, HDPP or another PE) and whether regrind is allowed.
- Neck thread and insert list, with the thread standard and vent or drain positions.
- Cavity count, target output per shift and the available machine or platen size.
- Color, surface finish, labeling and the destination country.
- Any drop-test or stacking requirement from your customer.
Source: E-SHION product data. Specifications are subject to change without notice; customization is available.
This guide is written for production and procurement decisions. It uses published figures where available and avoids unverified performance claims.