A new mold arrives, the first container comes out with thin corners or a weak pinch-off, and the team starts turning dials. Hours later the machine runs, but nobody can say which setting fixed it. A starting window prevents that: a known place to begin, a fixed order of adjustment, and a written record of what the resin needed.
The starting window in one paragraph
Begin with four settings, not twenty: melt temperature in the middle of the resin supplier's band, the lowest blow pressure that still fills the mold, cooling driven by the thickest section, and a die gap that produces an even parison. Change one variable at a time, keep the cycle time measured, and write every result down.
Four parameters that define the window
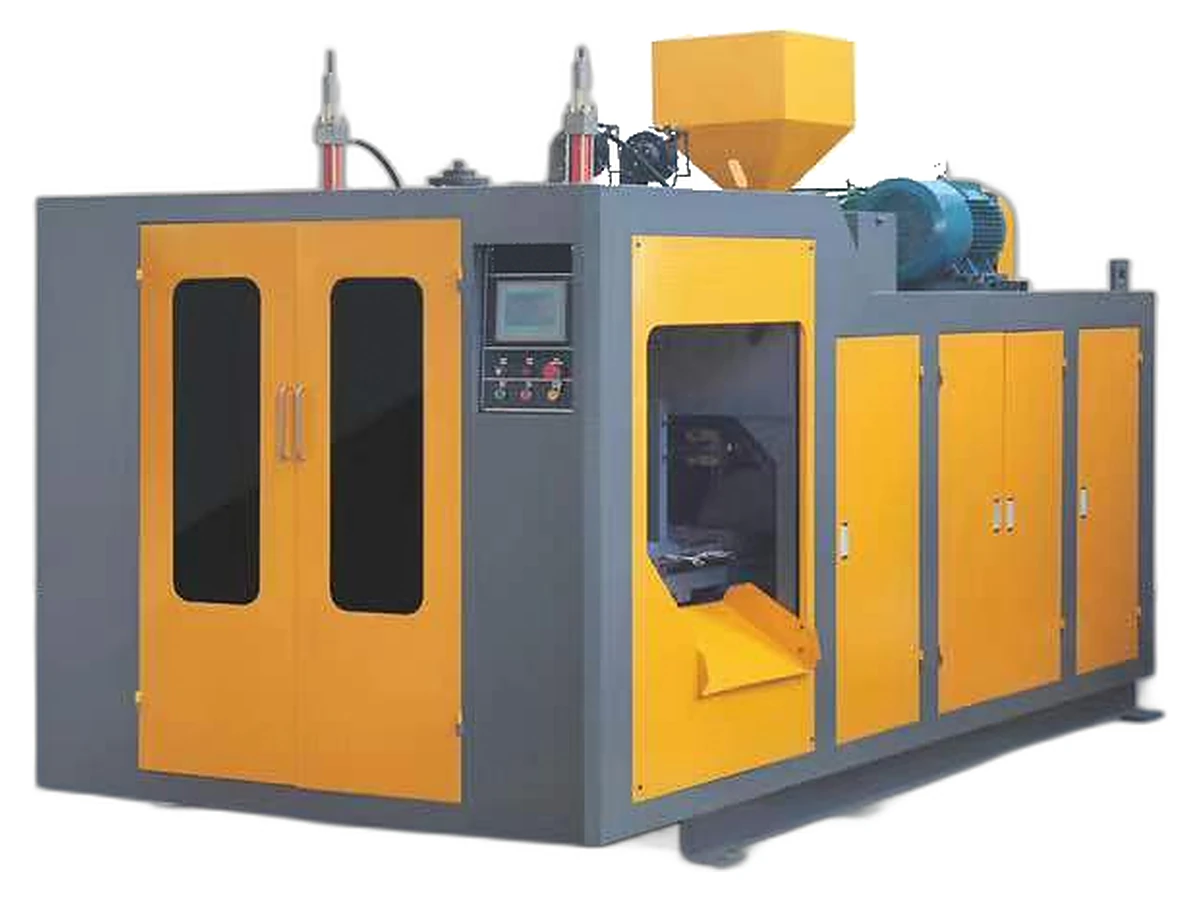
Most trial-and-error starts because an operator changes everything at once. On an extrusion blow molding machine the window is set by four parameters that interact, and the order you adjust them matters as much as the values. Get the order wrong and every later adjustment fights the one before it.
- Melt temperature: it sets parison strength. Too hot and the parison sags under its own weight; too cold and the pinch-off weld stays weak.
- Blow pressure: high enough to fill corners and handle details, low enough not to over-pack thin walls.
- Cooling: set by the thickest section, because that is what decides when the part can be released without distortion.
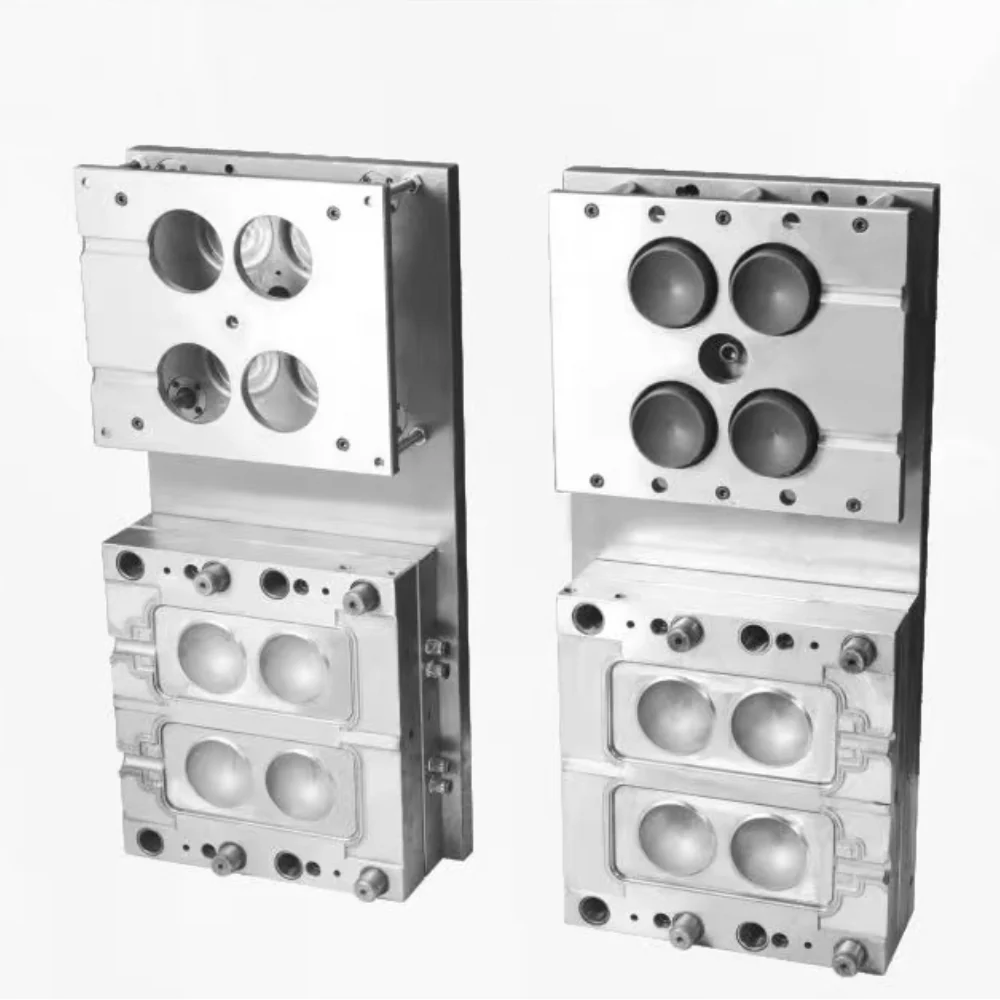
- Die gap and parison profile: the parison programmer shapes wall thickness, while die centering and temperature uniformity decide whether that profile lands where you set it.
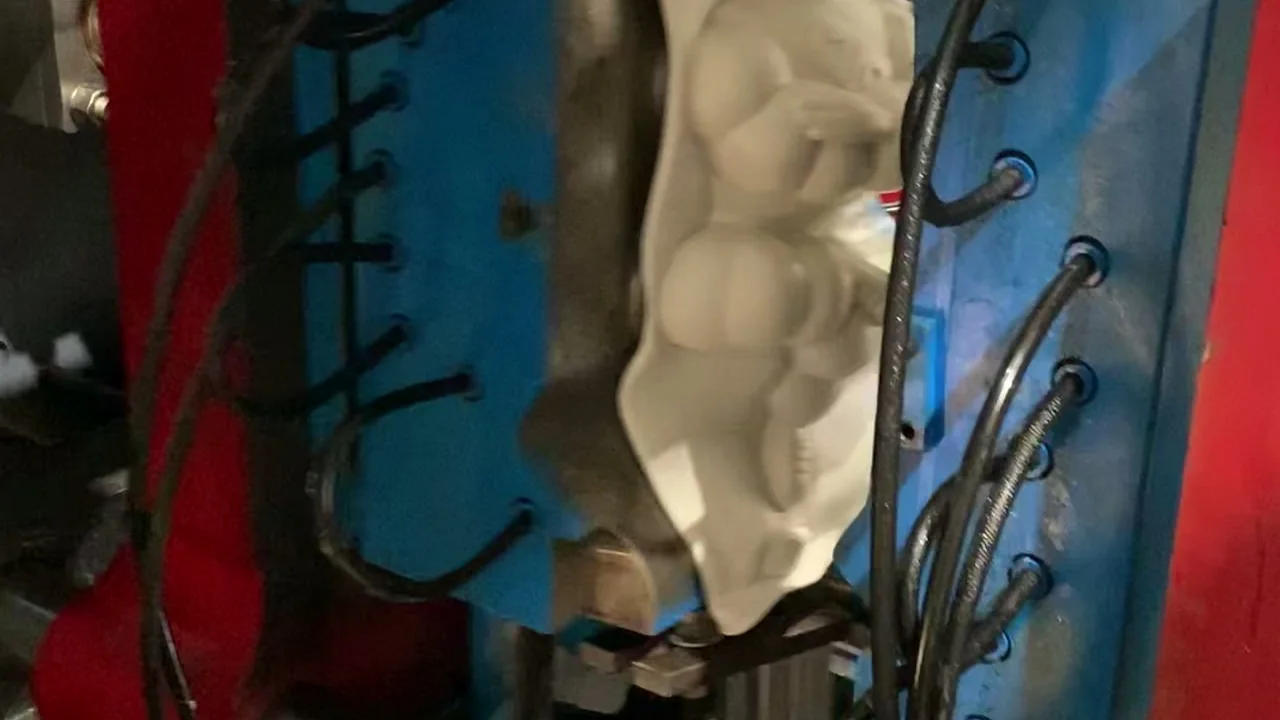
Two of these four are easy to see on the machine and two are not. Melt temperature and blow pressure show up immediately on the container; cooling and die gap show up as wall-thickness variation, warpage or a weak pinch-off after a few hundred cycles.
The window moves with the resin, so read it with theblow molding material selection guideand theblow mold temperature guide. Machine limits such as clamp force, platen size and output are listed on thesingle-station 0–16 Landdouble-station 0–16 Lpages.
Starting windows by material
The table gives direction, not a recipe. It tells you which way to move first and which material will punish a wide swing. Read the real numbers from the resin datasheet, then confirm them on your machine with a short trial.
| Parameter | HDPE | PP | PVC | PETG | Confirm on the datasheet |
|---|---|---|---|---|---|
| Melt temperature | Middle of datasheet band; wide window | Middle to upper band; watch sag | Lowest, narrowest band; short residence | Moderate band; dry resin, avoid overheating | Melt band and MFI |
| Blow pressure | Start low, raise until corners fill | Start low; more for stiff sections | Low and gentle; avoid over-blowing | Low to moderate; protect clarity | Rated air pressure |
| Cooling and mold temperature | Set by thickest section | Set by section; stiff grades release earlier | Uniform and gentle; avoid hot spots | Uniform mold temperature; decides clarity | Mold cooling layout |
| Die gap and parison | Even wall; control sag on large parisons | Similar to HDPE; support a sagging parison | Tight control; least forgiving material | Clean, polished flow path; avoid marks | Die and mold drawing |
Swipe the table to see all columns →
One pattern matters more than the cells: HDPE and PP forgive a wider melt band, PVC has the narrowest window and the least patience for long hot residence times, and PETG is decided as much by moisture and mold-temperature uniformity as by melt temperature. PVC is the most heat-sensitive of the four, so confirm the stabilizer and residence time with the compound supplier.
From starting window to a stable cycle
A window is only useful if it becomes a repeatable cycle. Take a 5 L HDPE bottle in a two-cavity mold as an illustration. The aim of the first trial is not one good bottle; it is a record that tells the next operator where to start. One good bottle proves nothing; a repeatable cycle proves the window.
- Dry and confirm the resin: grade, lot and moisture status, because moisture shows up as bubbles, holes or haze.
- Set melt temperature in the middle of the datasheet band and let it stabilize before judging the parison.
- Start blow pressure low and raise it in small steps until corners, handles and neck details are sharp.
- Set cooling from the thickest section, then reduce it only if the part releases cleanly.
- Adjust the die gap and parison profile last, then record the measured cycle time and wall thickness on every cavity.
Once the cycle repeats, calculate output honestly: cavities × good parts per cavity per cycle × cycles per hour, where cycles per hour is 3600 divided by the measured cycle time. Use the measured number rather than the nameplate figure. A double-station layout can raise output, but the extruder's plasticizing capacity is the ceiling, so confirm the pair on a trial rather than by arithmetic alone.
What to send for a quotation
A quotation is only useful if it matches the mold and the resin. Send these items and the proposal can name a model, a cavity layout and a realistic trial plan.
- Container drawing: volume, weight, neck finish, wall-thickness target and handle details.
- Resin grade and datasheet: polymer, MFI, density, additives, colour and moisture limit.
- Mold status: new or existing, cavity count, mold drawing, cooling layout and die-gap profile.
- Target output and shift pattern, so the model is sized on measured cycle time.
- Plant utilities and destination: voltage, air pressure and flow, chiller capacity, country and timeline.
If the resin is still open, thematerial selection guideand thePET versus PETG comparisonnarrow it quickly; for a machine quotation, use thecontact page.
Source: E-SHION product data. Specifications are subject to change without notice; customization is available.
This guide is written for production and procurement decisions. It uses published figures where available and avoids unverified performance claims.