A child-resistant closure is a system, not a bottle feature. The closure supplier designs the thread and the opening sequence; the molder forms the neck; the filler assembles and tests the pack. A bottle that looks right can fail because the neck is oval, the thread is shallow or the sealing surface is not flat. Start with the closure drawing and the test path, not with a machine datasheet.
The short answer: the pack passes, not the machine
ISO 8317 covers reclosable child-resistant packaging; 16 CFR 1700.20 is the US protocol. Both test the assembled closure and container with a panel of children and adults. The molder's job is dimensional: hold the neck within the closure supplier's drawing, supply first-article samples, and keep the process stable. The filler or brand owner validates the pack.
What the neck has to hold
The table lists the neck parameters that decide whether the closure engages and seals. The exact limits come from the closure drawing, not from a generic bottle standard.
| Parameter | Why it matters | How to check |
|---|---|---|
| Neck diameter | The closure must engage without forcing or rattling | Go/no-go gauge and first-article measurement |
| Ovality | An oval neck can jam the closure or leak | Measure at the thread and sealing surface |
| Thread form | Depth, pitch and start position control the opening sequence | Compare with the closure drawing and a trial cap |
| Sealing surface | Flatness and finish decide leakage after reopening | Optical or contact check; fill test |
| Removal torque | Too low opens easily; too high fails the adult panel | Torque test on the assembled pack |
Swipe the table to see all columns →
When extrusion blow molding fits a CRC bottle
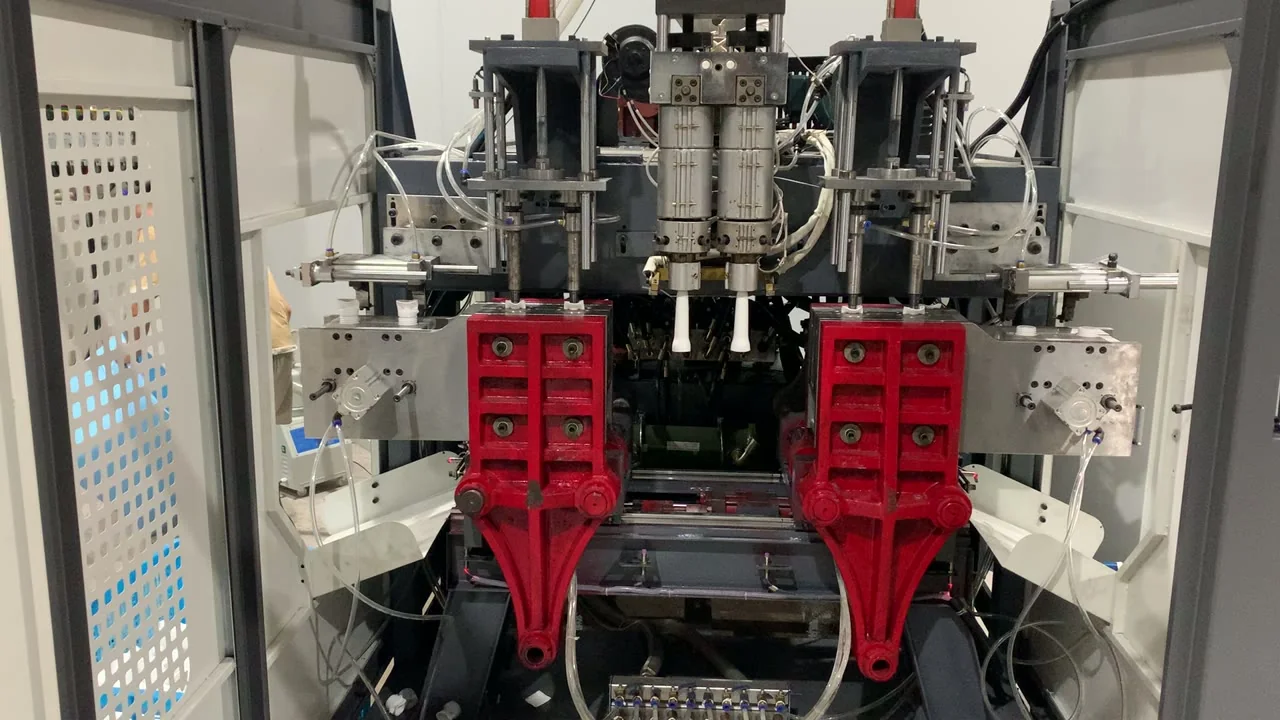
Plan the first article before the mold is cut. Ask the closure supplier for the neck drawing, the application torque and the expected removal torque. Then make a trial mold or a single-cavity sample, measure the neck at four quadrants, and assemble the closure by hand. Send the measured sample to the filler for a panel test. If the neck is oval or the thread is shallow, fix the mold before the cavity count is increased; a multi-cavity mold multiplies the same error. Keep the measurement record with the cavity number so a later change can be traced. Also check the head spacing: a 65–85 mm neck on a small bottle leaves little steel between cavities, so the mold designer may need to reduce the cavity count or change the layout. The cheapest first article is one cavity that proves the neck, not four cavities that repeat the same problem.
CRC bottles are often injection molded because the neck needs tight dimensions and the body can be thin. Extrusion blow molding fits when the container is a 0.1–2 L HDPE bottle with a wide enough neck, a moderate wall and a volume that does not justify an injection mold. The head spacing on a multi-cavity layout is the first limit: a neck that is large relative to the cavity pitch may leave too little steel between cavities.
Small-bottle production is covered in1L–2L small bottle production, and the label side incontainer labelling by market.
What to send for a quotation
A CRC project needs the closure and the test path, not only the bottle. Send these with the enquiry:
- Bottle and closure drawings, with the neck thread and sealing surface.
- Closure supplier and the intended opening sequence.
- Resin, volume and wall target.
- Target market and the test protocol: ISO 8317 or 16 CFR 1700.20.
- Cavity count and the head spacing available on the proposed model.
- First-article quantity and who will assemble and test the pack.
Compare the0.1–16 L single-station rangeanddouble-station range, then send the drawings through thecontact page.
Source: E-SHION product data. Specifications are subject to change without notice; customization is available.
This guide is written for production and procurement decisions. It uses published figures where available and avoids unverified performance claims.