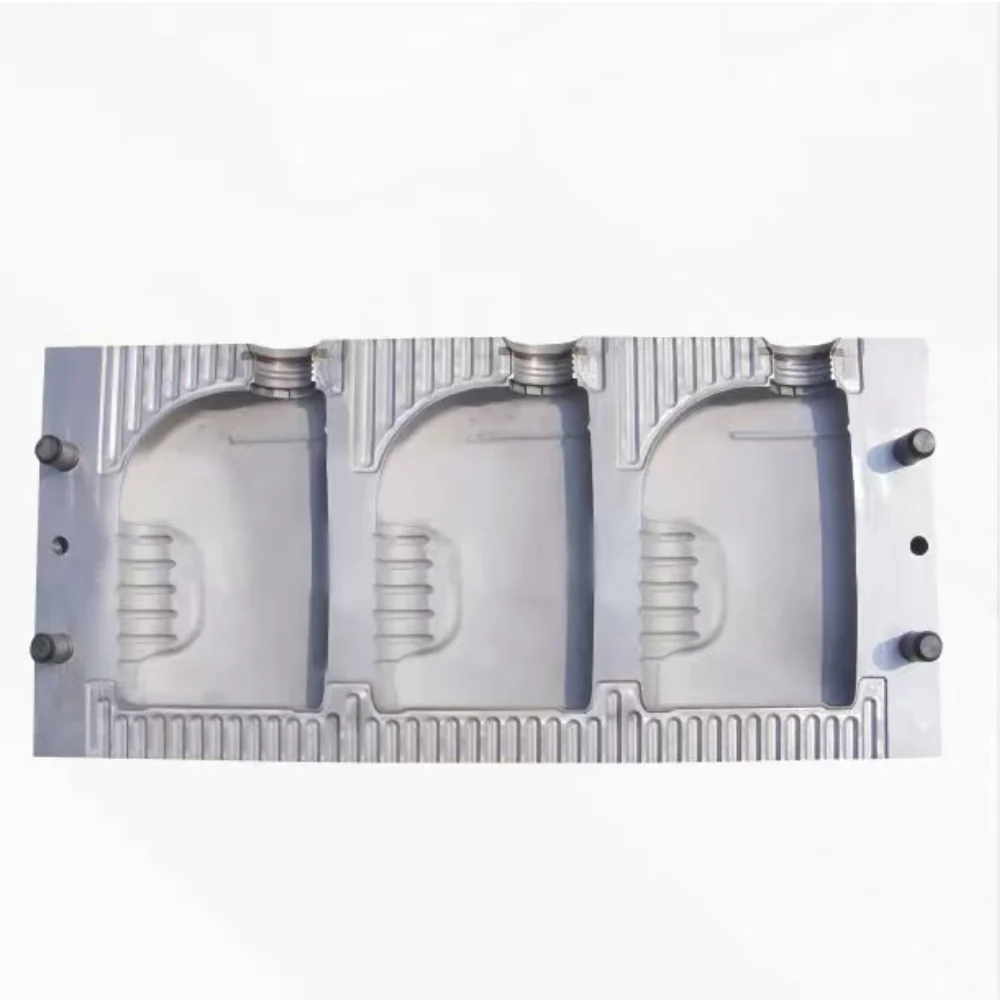
A blow mold usually costs less than the machine it runs in, yet it decides when that machine stops. When a tool dies in the middle of an order, the real loss is not the price of steel but the days of output lost while a replacement is cut, fitted and sampled. Buyers asking how long a blow molding mold lasts are really asking how to plan that risk: how many shots, which features fail first, and whether refurbishment can carry the tool to the next order.
How Many Shots Does a Blow Mold Last?
Some toolmakers quote up to about 1,000,000 shots for a well-maintained steel blow mold, and lower figures for aluminum. Treat any such number as a supplier statement, not a warranty. The pinch-off land, the neck insert and the vent grooves usually set the real limit long before the cavity surface does.
Shot count is a wear budget, and several conditions spend it faster: abrasive regrind or filled compound, clamp force set too high for the mold's projection area, hard water in the cooling circuit, and flash trimmed by hand against the parting line. A shot figure should always travel with the conditions it assumes: material, wall thickness, measured cycle time and service interval.
- Material: filled compounds, PVC and heavy regrind abrade the cavity and the land faster than virgin HDPE.
- Clamp force: check it against mold projection area and blowing pressure; excess force adds wear at the land and can close vents.
- Cooling water: scale in the channels raises mold temperature and distorts shrinkage.
- Handling: dropped halves, pry bars on the parting line and unprotected storage damage the sealing faces.
- Service rhythm: cleaning vents and touching up polish at fixed intervals costs far less than re-cutting a land.
The Three Points That Fail First
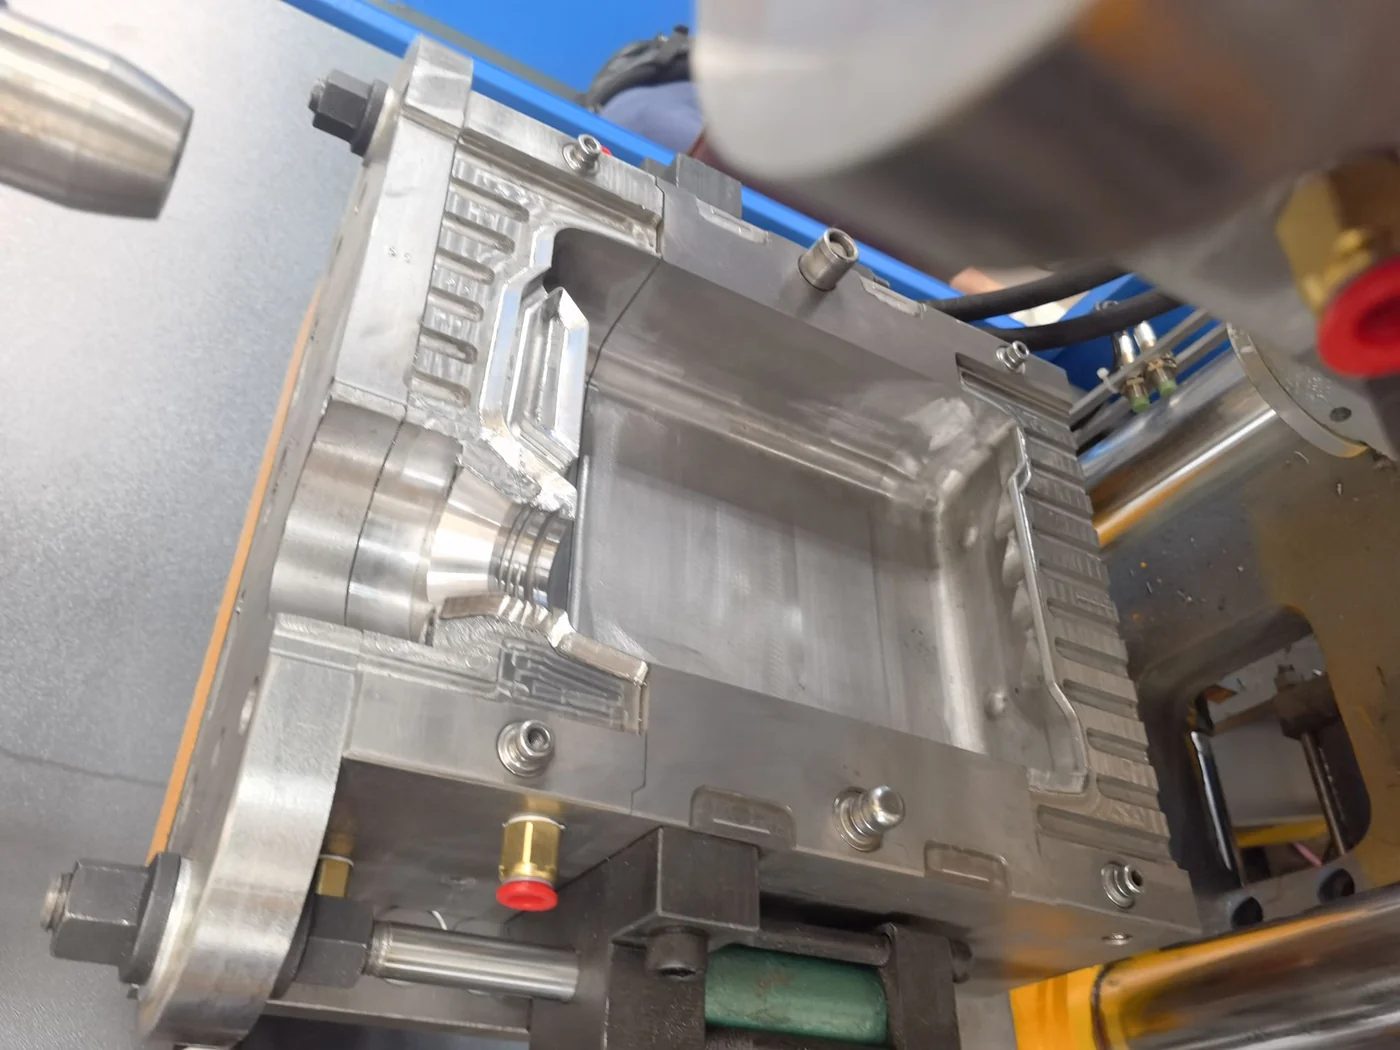
The pinch-off land is the narrow edge that squeezes the parison shut and welds the flash. Every cycle it presses against its matching half, so the edge rounds over. Early signs are stringy flash, a weak base weld and leakage in a drop test. The land can be resurfaced, but each pass removes material and the land height must return to the drawing. Ask how many passes the insert allows before replacement, and keep that number in the tool file.
The neck insert forms the thread and the sealing surface. It is usually a separate piece because it wears fastest and is cheapest to change. Watch for ovality, thread flash, a cap that will not seat and leaks at the seal. Replacing one insert is a small job next to re-cutting a body cavity, so the insert design matters when the tool is ordered.
Vent grooves let trapped air escape from the last corners to fill. Once they clog with flash dust or are polished shut, the symptom is a burn mark, a short corner or a patchy gloss. Clean them with brass and solvent, not a grinder, and have them re-cut before the cavity surface is marked.
Mold Life and Wear-Point Service Table
| Mold feature | First sign of wear | What to check | Action |
|---|---|---|---|
| Pinch-off land | Stringy flash, weak base weld | Land width and edge radius against drawing | Resurface; replace insert when passes are used up |
| Neck insert | Thread flash, cap leak, ovality | Thread profile and seal seat | Polish or replace the insert |
| Vent grooves | Burn marks, short corners, dull patches | Groove depth and cleanliness | Clean with brass; re-cut if closed |
| Cavity surface | Marks transferred to the bottle | Polish condition and water marks | Touch up polish; check cooling |
| Cooling circuit | Longer cycle, uneven wall | Flow rate and water quality | Descale, check chiller set point |
| Guide pins and bushes | Parting-line mismatch, flash step | Wear and alignment | Replace pins or bushes; re-align halves |
Swipe the table to see all columns →
Refurbish or Replace: Where the Line Falls
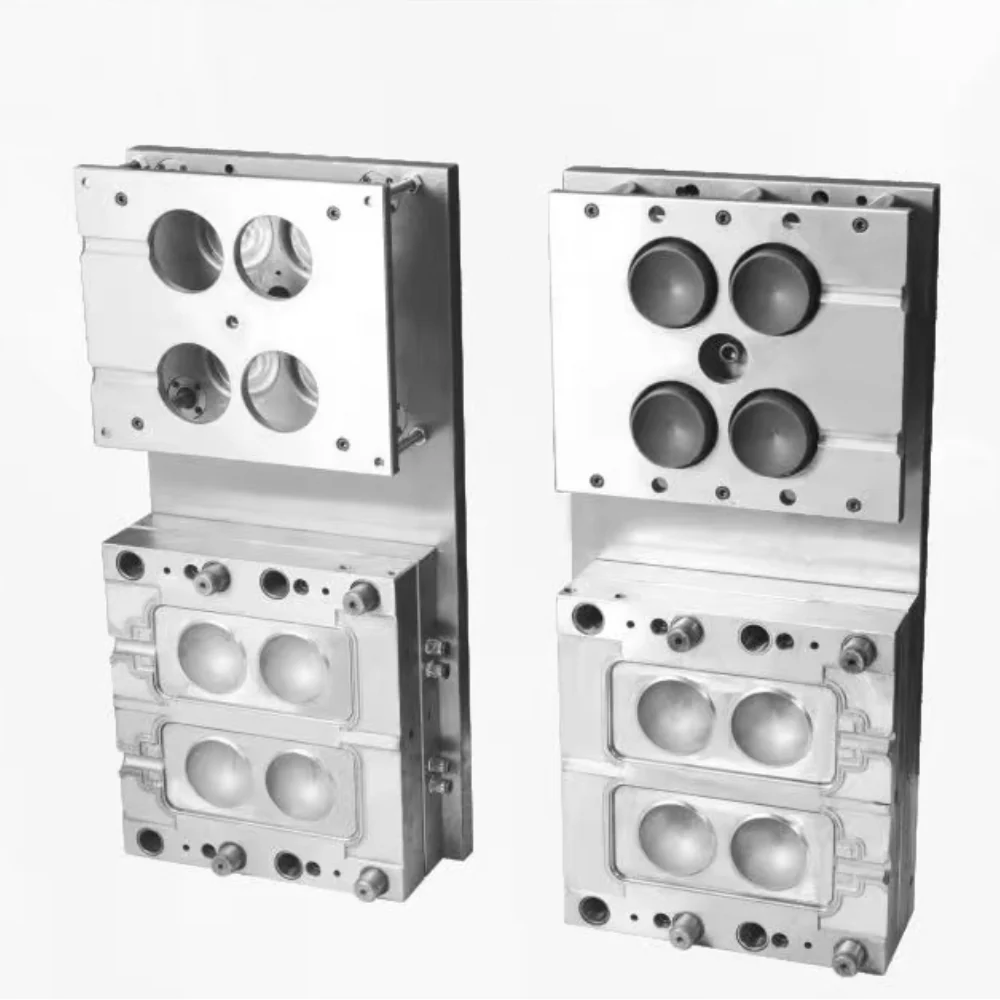
Refurbishment makes sense while wear is confined to the land, insert and vents, and while the tool still holds wall thickness and neck dimensions. It stops making sense when the land has used its resurfacing allowance, when the parting line or cavity needs welding, or when the repair quote approaches a large share of a new tool. Market bands run roughly USD 2,000–5,000 for a simple two-cavity bottle mold and USD 15,000–35,000 for larger multi-cavity tools; add 20–60 days of lead time, because a repair also stops the line. Confirm the final figure in the quotation.
Consider a 10 L HDPE container tool on a single-station machine. When the base seam starts leaking, the first check is land width, not a new mold. If resurfacing allowance and a spare neck insert are available, a repair keeps the tool running. If both are used up, compare the new-tool quote with the cost of lost output month by month.
Life also depends on the cooling circuit and on how the tool is installed. Seecooling circuit and chiller sizingandinstallation and commissioningfor the checks that prevent avoidable wear.
What to Send for a Quotation
- Container drawing: volume, neck finish, wall thickness target and whether there is a handle.
- Mold condition: photos of the land, neck insert and vents, plus the shot count if you record it.
- Repair history: how many times the land was resurfaced and which inserts were changed.
- Machine details: model, clamp force, platen size and current measured cycle time.
- Output plan: annual quantity and the month you need the tool back in production.
For the container side, see12 L container productionand1–2 L small bottle production. Machine options are on thesingle-station 0–16 Landdouble-station 0–16 Lpages, orcontact uswith your mold photos.
Source: E-SHION product data. Specifications are subject to change without notice; customization is available.
This guide is written for production and procurement decisions. It uses published figures where available and avoids unverified performance claims.