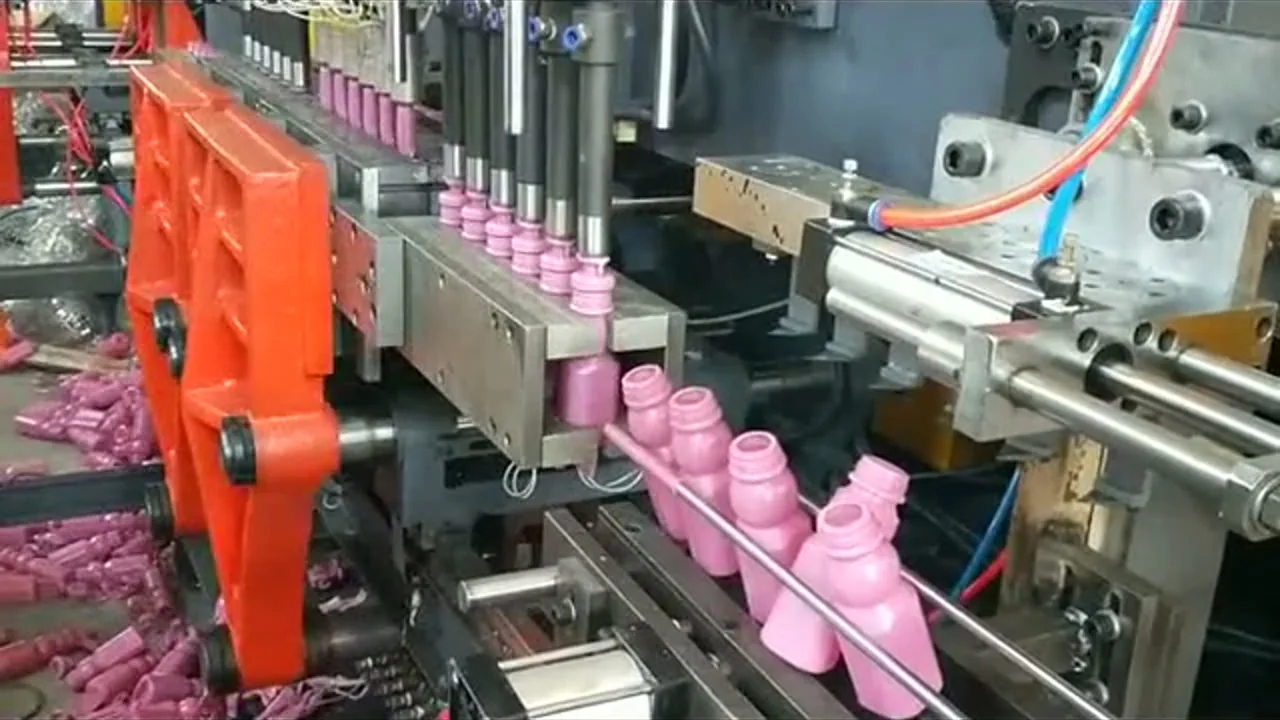
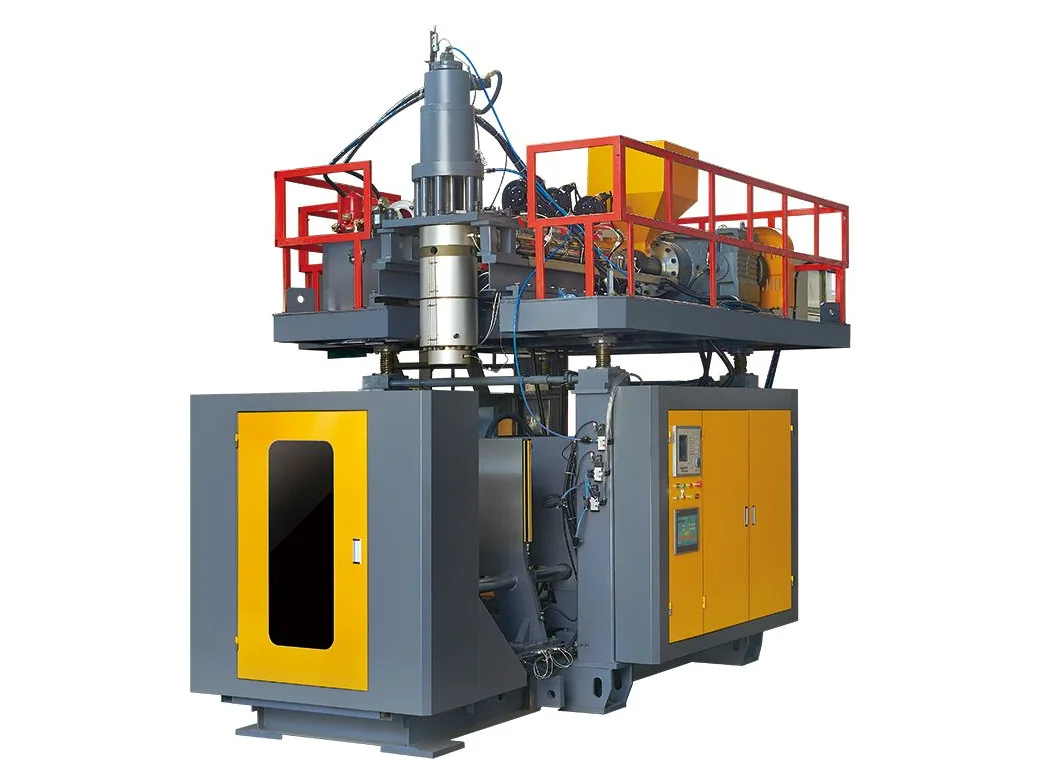
A PP bottle that fails usually fails for a boring reason: the mold was cut for HDPE, the shrinkage allowance was never rechecked, and the cooling time was copied from the last job. The machine itself is rarely the problem. If you are quoting PP containers — bottles, wide-mouth jars, handle jugs — the decision that matters is which settings, tooling details and acceptance tests change, and which parts of the machine stay exactly the same.
What changes when you run PP instead of HDPE?
The frame, clamp unit, extruder drive and control system do not change. What changes is the process window: PP needs its own melt-temperature setting, its own shrinkage allowance (about 1.5–2.0% is the usual starting point), a cooling check before cycle time is fixed, and a die and mold review. Confirm all four on the resin datasheet and a trial.
Shrinkage: the number that decides whether the mold is right
PP mold shrinkage is commonly quoted at roughly 1.5–2.0%, but that is a range, not a guarantee, and it moves with grade, wall thickness, melt temperature, mold temperature and cooling time. Two consequences follow. First, a mold cut for HDPE should not be assumed to deliver a PP part in tolerance — cavity dimensions, neck and thread, and the base radius all need checking against the PP datasheet. Second, the acceptance drawing has to state which dimensions are critical, because you cannot hold every dimension to the same tolerance once shrinkage moves.
For containers in the 0.1–16 L range, start from thesingle-station 0–16 L series, and compare thedouble-station 0–16 L seriesonce the cavity count is fixed.
Melt temperature, cooling and the die gap
The extruder does not need to be replaced for PP, but the temperature profile does need to be set for it. PP and HDPE do not share a melt window, and the correct setpoint depends on the grade — a homopolymer and a copolymer will not run identically. Set the barrel and head profile from the resin supplier's data, then judge the parison: a parison that sags, curls or draws down unevenly is telling you the melt is too hot or the die gap is wrong, not that the machine is too small.
Cooling is where PP projects usually lose money first. The part has to be firm enough to hold its shape at take-off, and PP keeps shrinking after ejection, so a part measured hot will not match a part measured after conditioning. Fix the cycle time from measured part temperature and a measured cycle, not from the HDPE job next door. If the mold has no independent cooling circuits on the neck and body, that is a tooling conversation before it is a machine conversation.
Two machine details are worth confirming before the trial. The die gap and wall-thickness programmer need enough adjustment range to profile a PP parison, and clamp force must be checked against mold projection area and blowing pressure rather than container volume. Neither is a reason to change the frame; both are reasons to write the specification down before the order.
PP vs HDPE: what to check before you commit
| Decision point | PP | HDPE baseline | What it changes |
|---|---|---|---|
| Mold shrinkage | About 1.5–2.0% as a starting range; confirm on the resin datasheet | Do not carry over the HDPE allowance unchecked | Cavity size, neck thread, trial part |
| Melt temperature | Own profile, set from the grade data | The HDPE profile is a reference only | Barrel and head heaters, parison quality |
| Cooling | Verify with measured part temperature and wall thickness | Do not copy the HDPE cycle time | Cycle time, mold circuits, chiller load |
| Stiffness and drop impact | Test the finished part: drop, stack, top-load | Same tests, different result | Wall profile, acceptance criteria |
| Output reference | ES-5LS 65–80 kg/h; ES-10LS 80–100 kg/h | Same published figures | Cavity count and cycle plan |
| Clamp check | Check against mold projection area and blow pressure | Same rule for both | Whether the clamp is enough |
Swipe the table to see all columns →
What this means for the ES-5LS and ES-10LS
On the single-station range, the ES-5LS is rated 65–80 kg/h with a 100 kN clamp and a 320 × 380 mm platen; the ES-10LS is rated 80–100 kg/h with a 110 kN clamp and a 450 × 480 mm platen. For PP, published output is the plasticizing ceiling, not a promise — the real number comes from cavities × good parts per cavity per cycle × cycles per hour, with the cycle taken from a measured run. A 10 L PP jar with a heavy handle can therefore sit well under the ES-10LS ceiling, while a thin-wall 5 L bottle may be limited by cooling rather than by the extruder.
If the job is to run PP in a tool that was built for HDPE, that is a separate project — seeexisting mold on a new blow molding machine. For small multi-cavity bottles, the layout and take-off side is covered in6-cavity small bottle production.
What to send for a quotation
A useful PP quotation is built from the container, not from a model number. Send these and the reply can name a model, a cavity layout and the points that still need a trial.
- Container drawing with critical dimensions marked: neck and thread, base, handle, and the tolerance that actually matters.
- PP grade and datasheet, including shrinkage, melt flow and the supplier's recommended melt temperature range.
- Target output per hour and shift pattern, so cavity count and the ES-5LS / ES-10LS choice can be checked against the plasticizing ceiling.
- Whether an existing mold must be reused, and the shrinkage allowance it was cut to.
- Container weight and wall-thickness target, plus the drop, stack and top-load tests the finished part must pass.
- Destination country and power supply, because the heater and drive configuration follows it.
Source: E-SHION product data. Specifications are subject to change without notice; customization is available.
This guide is written for production and procurement decisions. It uses published figures where available and avoids unverified performance claims.