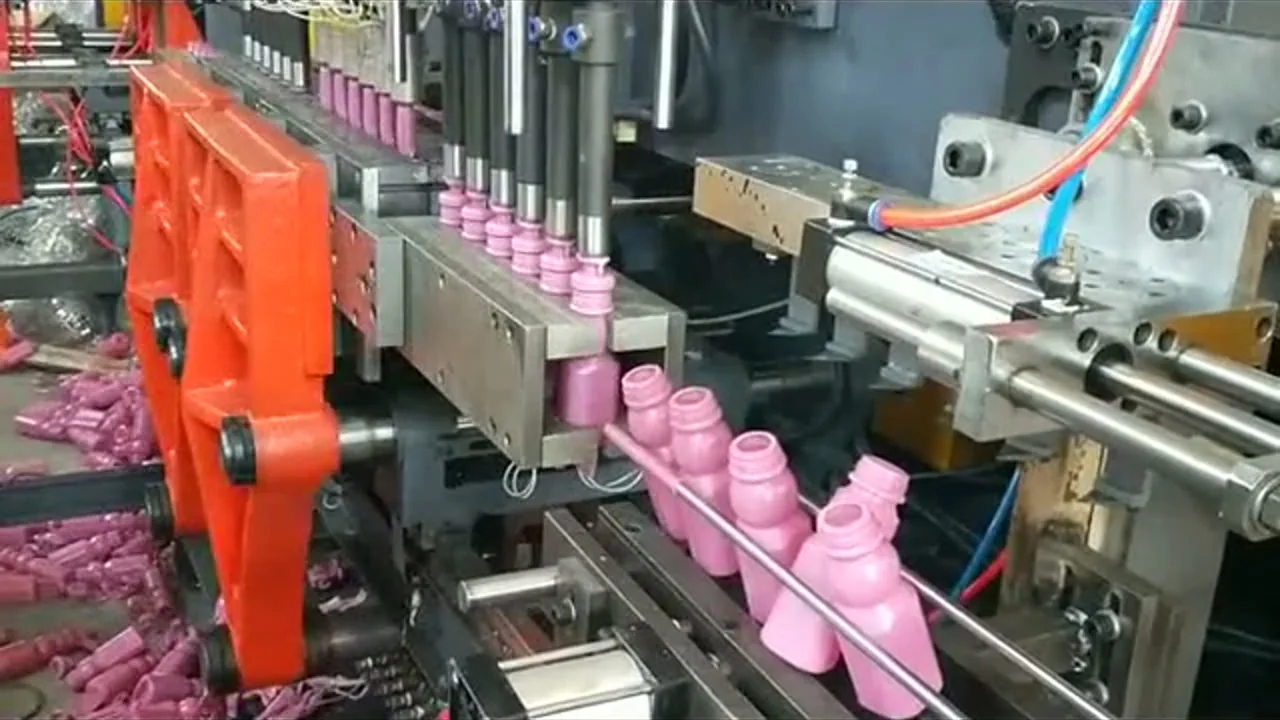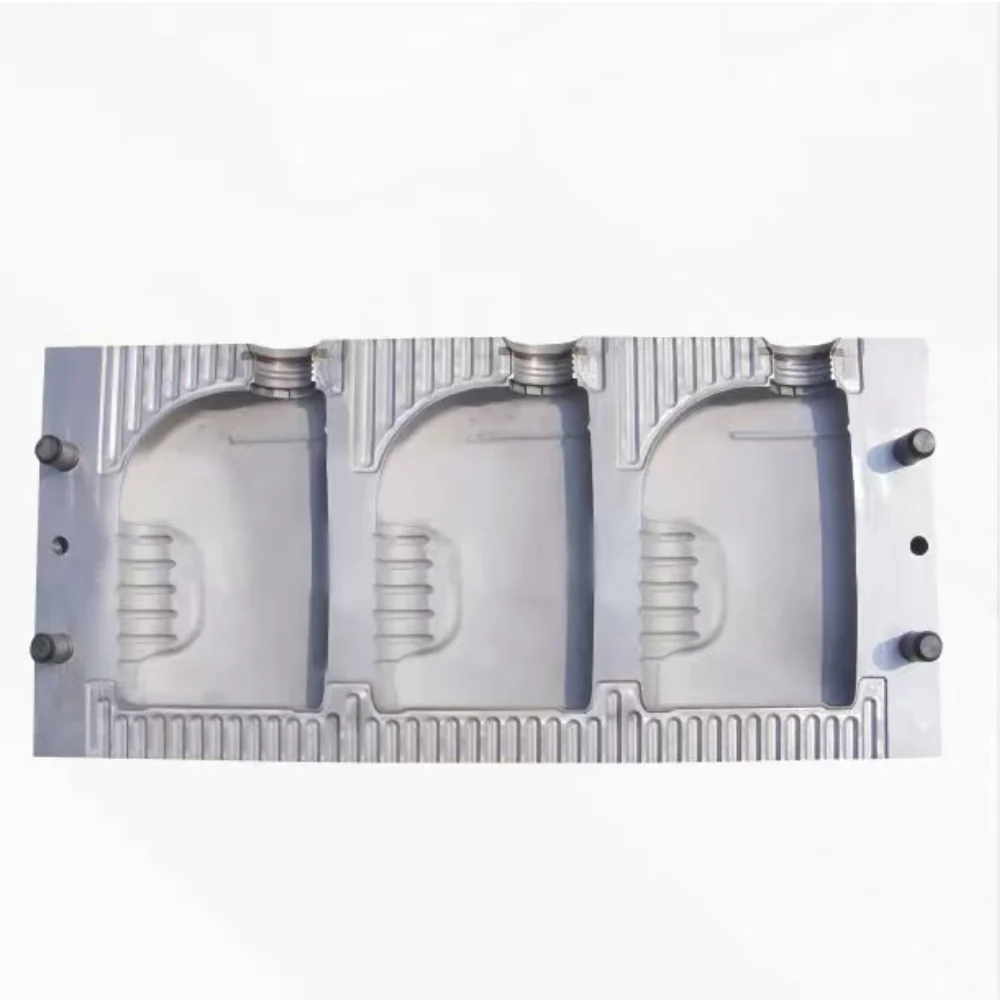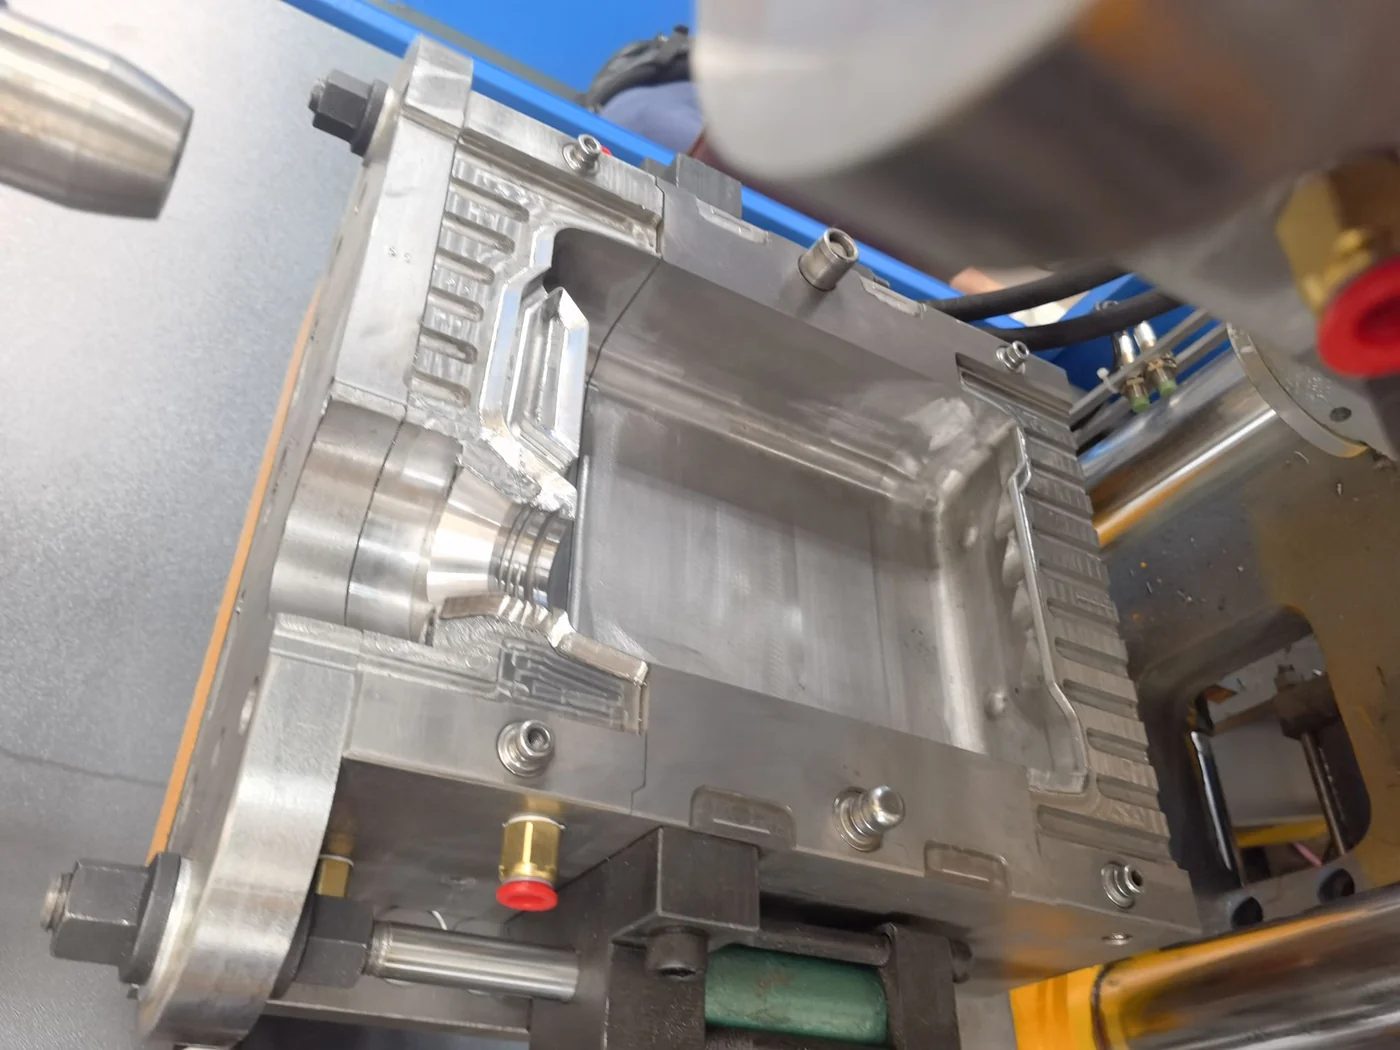
A ragged parison cut usually shows up as scrap at the neck: flash that will not trim clean, an oval neck, or a bottle that leaks at the seam. Operators reach for a new blade first, but the blade is only one of four settings on the same stop.
Set the cutter in the order the machine feels it
Set the cutter in the order the machine feels it: blade condition and gap, cut timing relative to mold close, parison support air, then neck cooling. Fix one variable per trial run and keep the first cut of each run as a photo record, so a later change can be compared against a known good cut.
Cut quality is a chain, not a single adjustment. The blade slices, the delay decides when relative to mold close, the support air keeps the parison open until the mold catches it, and neck cooling keeps the neck round through blow and ejection.
Blade and gap: slice, do not tear
- Inspect the edge in good light for nicks, a rolled edge or material build-up; a blade run against the die face is a wear item, not a setting.
- Check that the blade is square and fully seated in its holder; a blade that shifts under load cuts at a different angle every cycle.
- Check the clearance between the blade and the die face: too much tears and strings the parison, too little drags, scores and loads the drive.
- Confirm the blade grade and heat treatment against the machine drawing or with the assembly team rather than assuming a material.
A clean cut is a slice, not a tear: square edge, no lip, no string, no crushed section. Photograph the first cut of every trial on the same container; that set becomes the reference when a later batch flashes.
Cut timing, support air, neck cooling
The cut delay is set on the control and tied to the cycle you run. The target is a parison cut cleanly and still guided until the mold closes. Cut too early and the parison sags, swings or drops; cut too late and the mold closes on uncut material, pushing it into the neck, where most neck flash starts.
Parison support air, often called head support air, holds the parison from inside the die head between extrusion and mold close. Too little and it collapses or curls; too much and it balloons, so the blade meets a shape that is already wrong.
Neck cooling is the fourth setting and the one most often left out. A horseshoe cooler keeps the neck stiff through blow and ejection: too weak and the neck ovalizes under the blow pin, so flash sticks to the finish; too strong and the neck chills before the thread fills.
Symptom table: ragged, angled, stuck, flashing
| Symptom | Likely cause | First check |
|---|---|---|
| Ragged or torn cut, stringing | Dull or nicked blade, blade not seated square | Blade edge, holder seat, gap to die face |
| Angled cut, thicker on one side | Blade travel out of line or blow pin off center | Blade squareness, then blow-pin alignment |
| Parison sags or drops before mold close | Cut too early or support air too low | Cut delay against close, then support air |
| Neck flash, thick neck ring | Cut too late, weak neck cooling, short clamp force | Delay, cooler contact, clamp against projection area |
| Crushed or scored cut face | Blade clearance too tight or blade dragging | Clearance to die face and blade travel |
Swipe the table to see all columns →
Read the table left to right; the first check needs no trial run.
First-article check on an ES-5LS or ES-10LS
On the 5 L ES-5LS (100 kN clamp, 320 × 380 mm platen) and the 10 L ES-10LS (110 kN clamp, 450 × 480 mm platen), the cutter sits above the mold and the blow pin enters the neck from above or below depending on the tool. Run the first article in four steps: blade only, delay, support air, neck cooling. Inspect the cut face, neck roundness and pinch-off after each step.
Clamp force belongs in the same check. Verify it against the mold projection area and blowing pressure, not container volume: a wide 10 L body can need more clamp than a tall 10 L bottle. When the cut looks angled but the blade is square, check blow-pin alignment before touching the delay.
Cut quality also depends on the parison;how a parison formsexplains the basics. The5 L and 10 L single-station rangelists the models, anddouble-station machinesadd a second cut sequence to the timing check.
What to send for a quotation
- Container drawing with neck finish, weight and wall-thickness target.
- Material, regrind percentage, current model and screw diameter.
- Cavity count, measured output per hour and the cycle time you run.
- Photos of the cut face, neck and parison just before mold close.
- Cutter and blow-pin arrangement if you are matching an existing line.
- Destination port, power supply and auxiliaries already on site.
Source: E-SHION product data. Specifications are subject to change without notice; customization is available.
This guide is written for production and procurement decisions. It uses published figures where available and avoids unverified performance claims.