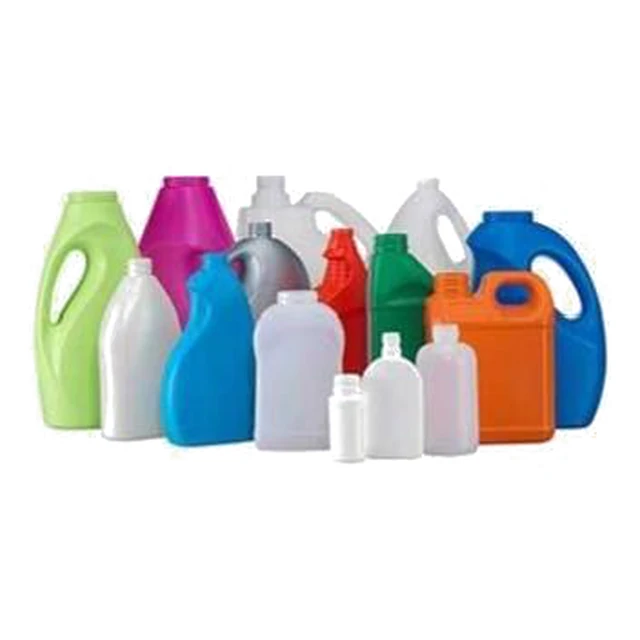
A detergent bottle is judged after filling, not after blowing. A 3 L HDPE bottle with an integral handle can leave the mold looking perfect, then bow at the base, ovalise at the neck or crack along a seam after a few weeks in storage with surfactant inside. By then the mold is cut, the machine is installed and the first pallet is already in a warehouse. The decisions that prevent that are made before the mold drawing is approved, and they begin with the handle and the filled weight.
Size the machine from the handle and the filled weight
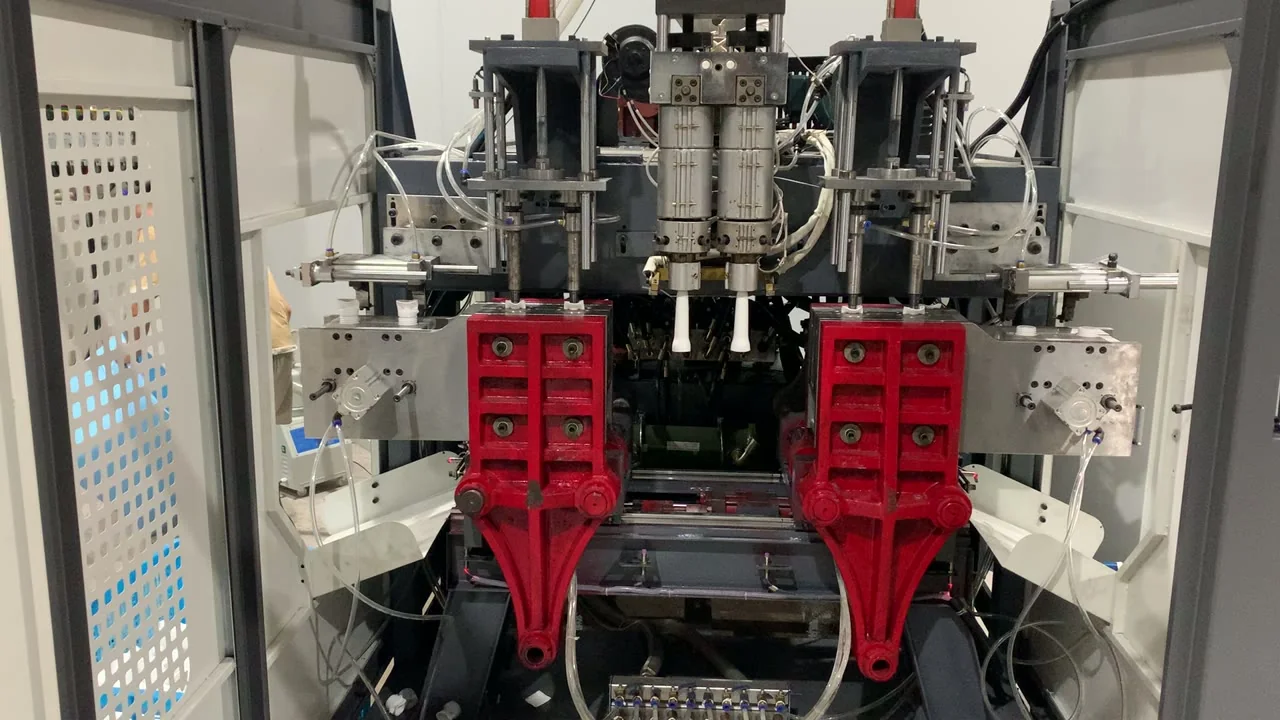
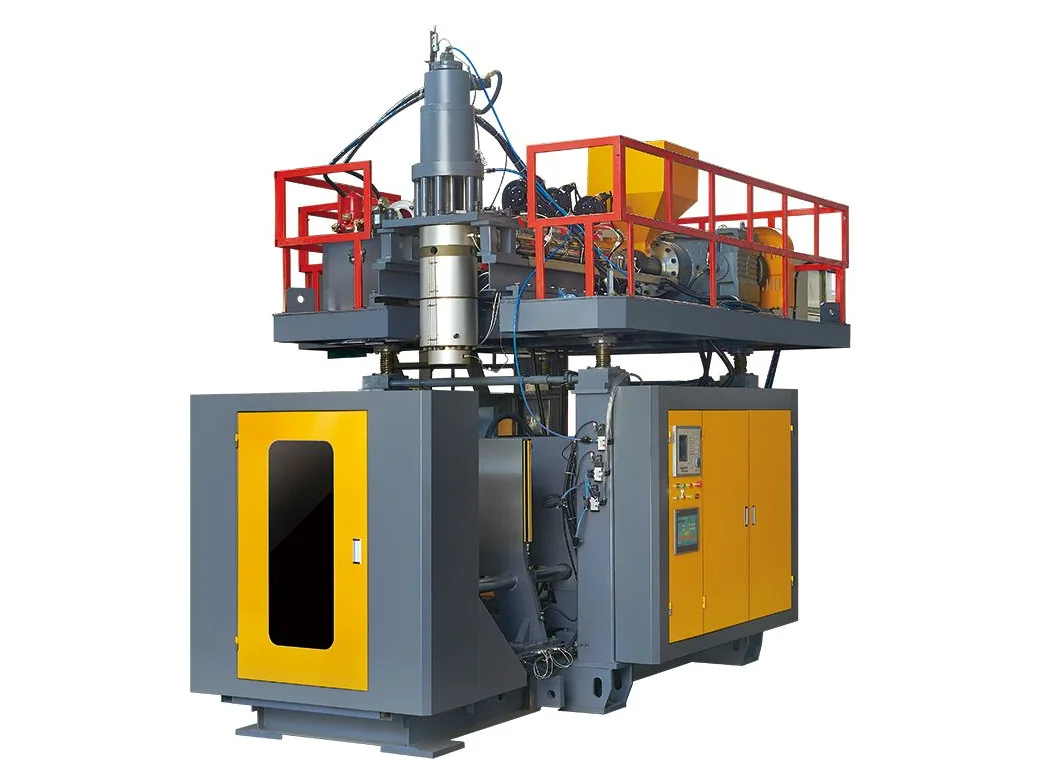
For 2–5 L detergent bottles, start with the ES-10LS and ES-16LS single-station machines: 110 kN and 155 kN clamp, 450 × 480 mm and 500 × 490 mm platens. The handle and filled weight decide the mold and clamp, not the nominal litre figure.
An empty bottle weighs little. Filled, it carries its volume in kilograms, and the handle bridge, neck and base corners take that load through the wall. A handled bottle also needs a wider mold footprint than a round bottle of the same volume, and handle flash adds projected area. Clamp force must be checked against projection area and blowing pressure, not the litre rating. A machine rated for 10 L can still be wrong for a wide-based 5 L bottle.
For 3–5 L handled bottles, two to four cavities is the usual planning range; the exact layout depends on the mold footprint and the extruder's plasticising capacity. Detergent bottles also need stiffer walls than water bottles of the same size: a thin panel that looks acceptable empty will deflect under the filled weight and can crack at the base radius. Agree the wall profile at the drawing stage.
If your range starts at 1–2 L, the same single-station family covers it:0.1–16 L single-station machines, or the0.1–16 L double-station rangefor higher volume. The1–2 L bottle production guidecovers the smaller end.
ES-10LS or ES-16LS: match the platen to the mold
Both models are single-station machines in the 0.1–16 L series. The published parameters below are a starting point; confirm the final configuration against your mold drawing and quotation.
| Item | ES-10LS | ES-16LS |
|---|---|---|
| Typical bottle tier | 2–3 L, including handled | 4–5 L, including handled |
| Clamp force | 110 kN | 155 kN |
| Platen size | 450 × 480 mm | 500 × 490 mm |
| Screw diameter | 70–75 mm | 75 mm |
| Output | 80–100 kg/h | 100–120 kg/h |
| Installed power | 38–48 kW | 48–55 kW |
| Machine weight | 6.5 t | 7 t |
| Planned cavities, handled bottles | 2–4, confirm with mold drawing | 2–4, confirm with mold drawing |
Swipe the table to see all columns →
A compact 5 L bottle with a narrow base can fit the ES-10LS platen; a wide-based 5 L or a four-cavity 3 L layout usually needs the ES-16LS. Place the actual mold drawing on the platen drawing and compare clamp force with projected area times blowing pressure. Volume alone tells you very little.
Mold details that decide whether the bottle stays straight
Most warping and handle failures are designed in before the machine is switched on. These are the points to settle on the mold drawing:
- Handle root radius and wall thickness: a sharp internal corner concentrates stress under the filled load.
- Handle bridge clearance: enough room for the parison to blow into the handle without thinning the bridge.
- Base design: a slight inward dome and a defined heel reduce rocking and base cracking.
- Neck and thread alignment: check ovality after blowing, not only after trimming.
- Pinch-off and deflashing: a clean seam at the handle and base is part of the strength, not just the finish.
The same logic applies to larger containers in the family; see the25 L lubricant bottle production notes.
Stress cracking is a resin and wall-thickness problem
Detergent contains surfactants that attack HDPE under load. Environmental stress cracking usually starts where stress is highest and the wall is thinnest: the base radius, the handle root or a seam. It is not a machine fault in the first place, and it does not show up in a short blow-off test. The resin grade, the wall profile and the molded-in stress all contribute.
Before the mold is approved, run a validation sequence with production-intent resin and the real product:
- Confirm the HDPE grade with the detergent supplier, including the surfactant system and any fragrance or chlorine load.
- Blow sample bottles and measure wall thickness at the base radius, handle root and neck.
- Fill, cap to the specified torque and store at the temperature and duration your customer requires; inspect for cracks and base deformation.
- Drop filled bottles from the height your standard requires and record where each failure occurs.
Record the results against the mold drawing. If a crack appears at the handle root, the fix is usually a radius and wall change, not a machine setting. Confirm the acceptance criteria with your customer before the trial, so a pass or fail is not decided after the fact.
What to send for a quotation
A useful quotation needs the container, not just the keyword. Send these items and the reply can include a model, a cavity layout and the auxiliaries you still need:
- Bottle drawing or 3D file, with the handle position and base profile.
- Nominal volume, filled weight and the detergent type or resin grade.
- Target output per hour and the number of cavities you want to try.
- Wall-thickness requirement at the base, handle and neck.
- Destination country, power supply and any labelling or drop-test standard.
If you are still comparing suppliers, use thefactory tour checklistbefore you book travel, and send questions through thecontact page.
Source: E-SHION product data. Specifications are subject to change without notice; customization is available.
This guide is written for production and procurement decisions. It uses published figures where available and avoids unverified performance claims.