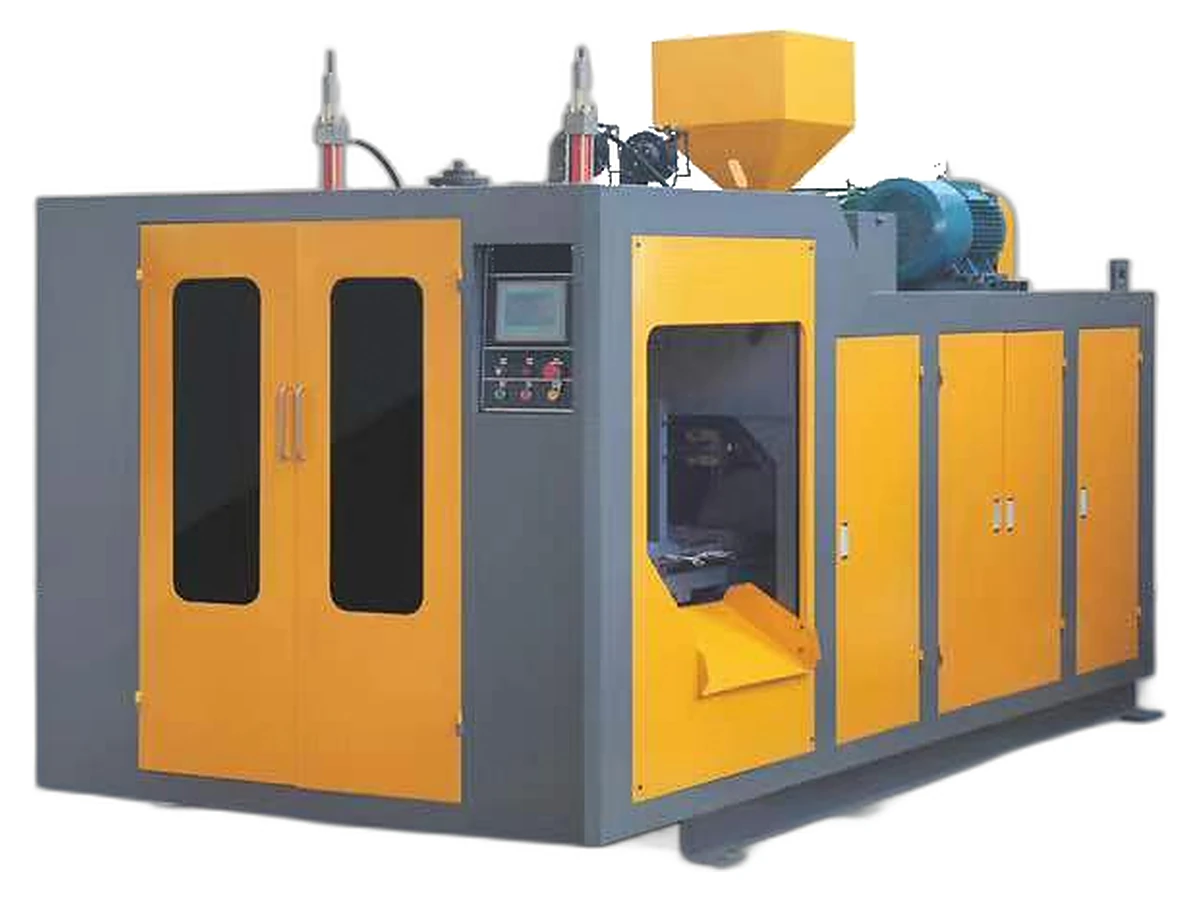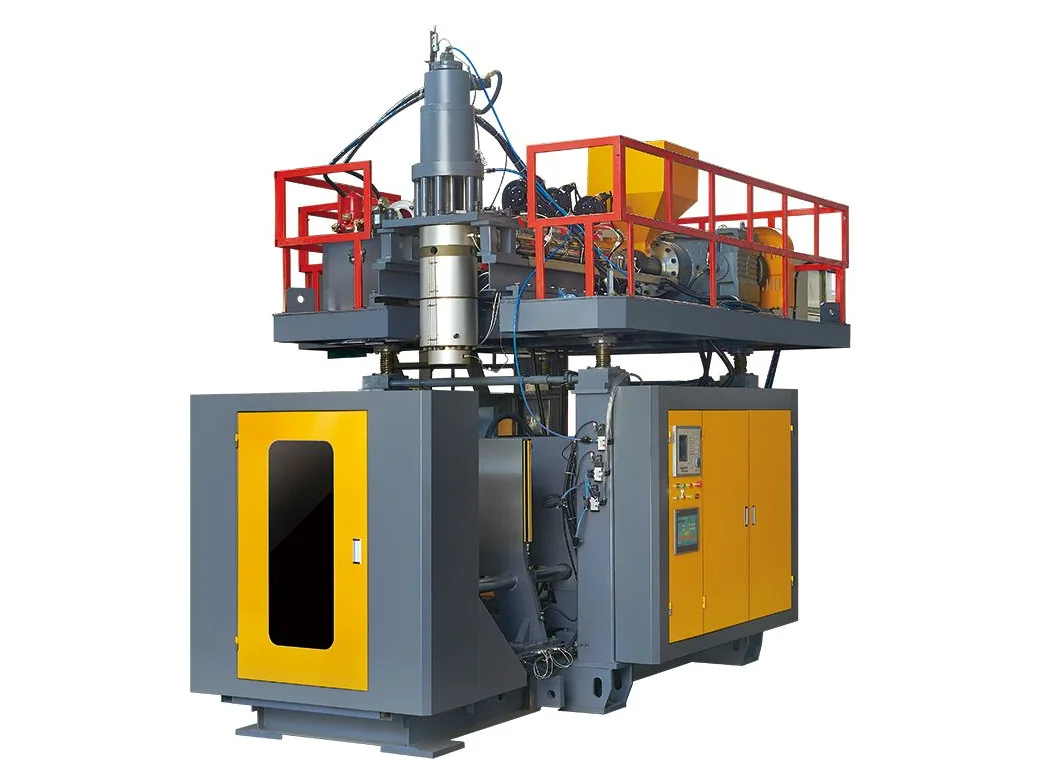
A cold start is where a blow molding line quietly loses money. The first parisons swing, wall thickness drifts, and the scrap bin fills while the barrel is still catching up to its setpoints. A hot stop can be worse: resin left in a warm barrel may degrade, and the clean-up lands on the next shift. The machine model sets the ceiling; the startup and shutdown sheet decides how much of that money you keep.
What is the correct startup sequence for a blow molding machine?
Bring every zone to its set temperature, hold until readings are stable, verify each zone against its setpoint, purge the old melt, and check the first parison before accepting production. Startup is a verification sequence, not a timer: your machine manual and the resin data sheet set the temperatures and the soak time.
The order below is deliberately general; your manual and the resin data sheet carry the numbers: barrel profile, die-head temperature, soak time and purge method. The order itself should not be general — a skipped step is how a line starts making scrap and then blames the mold.
- Confirm utilities before heaters: compressed air pressure and dew point, cooling water flow and temperature, hydraulic oil level, hopper and dryer, mold water circuits.
- Enter barrel and die-head setpoints from the manual for the resin you are running, not from the last job.
- Heat soak until every zone is stable, then verify each zone against its setpoint instead of trusting the display.
- Purge at low screw speed until the parison is clean and uniform; melt that sat in the barrel overnight is not production material.
- Check the first parison for centering, sag and thickness distribution, and log the values that worked.
Which zones should you verify before the first parison?
A controller can hold a setpoint and still be wrong about the melt, because it reads a thermocouple, not the plastic. Check the zones that decide wall thickness and whether the parison forms at all:
- Feed zone and the first barrel zones: cold resin here shows up as output surging.
- Metering zone and screw tip: this is the temperature the parison leaves with.
- Die-head body and die-gap area: a cold die head gives a rough surface and uneven thickness.
- Neck and shoulder area of the mold, plus mold cooling water in and out.
- Heater bands and thermocouples: a failed band reads low, so the controller drives its neighbours harder and the profile drifts.
If one zone lags, stop and find out why. It is usually a failed heater band, a loose thermocouple, or a die head that simply needs longer to soak — three different fixes, and only one of them is waiting.
How do startup and shutdown differ by material?
The machine is the same; the resin is not. HDPE and PP can be left with a purge slug, PVC must not sit hot, and PETG needs a low-temperature purge. Treat the table as a decision framework and confirm setpoints and purge compound against the manual and the resin data sheet.
| Resin | Startup focus | Normal shutdown | Weekend or long stop |
|---|---|---|---|
| HDPE | Bring zones up together; purge until the parison is clean. Moisture control per the data sheet. | Purge a slug of the same resin, leave the barrel full, heaters off. | Short soak, purge, check the first parison, then run. |
| PP | Same sequence as HDPE; watch parison sag as the die head warms. | Purge slug of the same resin; keep the barrel full. | Short soak, purge, inspect the first parison, resume. |
| PVC | Heat-sensitive: use the manual profile and keep melt moving; confirm the purge compound. | Purge PVC out completely with the specified compound. Do not leave PVC hot in the barrel. | Purge before you walk away; follow the cleaning sequence. |
| PETG | Dry per the data sheet; control melt temperature for clarity. | Low-temperature purge; do not let PETG set in the barrel. | Purge on stop, not on restart; confirm with the manual. |
Swipe the table to see all columns →
Read the PVC row twice. PVC does not forgive a hot barrel, and a degraded barrel means a full clean-out, not a few scrapped bottles. If the plant runs PVC and HDPE on one machine, keep the changeover procedure at the machine and name the purging compound.
Still matching resin to container? Thematerial selection guidecovers the practical differences, and thesingle-station 0–16 L serieslists the models and clamp data behind these steps.
What does a stable start look like on the floor?
Take a 5 L HDPE bottle on a single-station machine. A good start has a parison that hangs straight and centred, a die gap that is not adjusted every few cycles, and first-bottle wall thickness already inside tolerance. If the operator is still chasing thickness after ten cycles, the problem is usually temperature stability or die centering, not the mold.
How do you handle a weekend stop and restart?
A weekend stop is not a shutdown; it is a pause that still needs a procedure. Restart is where small problems become a shift of scrap, so keep the cold-start order and add the checks that only matter after a stop.
- Before stopping: purge, leave the barrel per the material rule above, and switch off heaters in the manual order.
- On restart, check heater bands and thermocouples first; one that failed over the weekend is cheap to find early.
- Confirm mold water, air pressure and hopper condition before you heat.
- Soak, verify zones, purge, then put the first parison through the same check card.
- Measure wall thickness on the first five bottles, not just the first, and log the restart date, zone readings and corrections.
What to send for a quotation
A useful quotation needs more than a container volume. Send these and the machine, mold and startup support can be quoted together instead of over three rounds.
- Container drawing: volume, weight, neck finish, wall-thickness tolerance, handle or insert.
- Resin and grade, plus whether you will run regrind and at what ratio.
- Cavity count and planned output per shift.
- Machine model you are considering, or the container range if you have not chosen.
- Site utilities: power and voltage, compressed air, cooling water, floor space.
- Destination port and whether you need installation and operator training on site.
New to the process? Thefactory tour checklistshows what to inspect before you order, anddetergent bottle productionfollows a typical HDPE bottle project end to end. To talk through your container,contact us
Source: E-SHION product data. Specifications are subject to change without notice; customization is available.
This guide is written for production and procurement decisions. It uses published figures where available and avoids unverified performance claims.