The neck is where a blow molded bottle fails quietly. The body can look right and the container can still leak because the thread does not match the cap or the sealing face is not flat. By then the mold steel is cut. Neck dimensions are cheaper to settle on a drawing than on a finished mold, so fix them from the cap backwards.
Fix the neck from the cap, not from a generic table
There is no single universal neck standard for blow molded industrial containers. E-SHION builds the neck to the customer's cap drawing or a physical cap sample. Before mold steel is cut, confirm five items: thread profile, sealing method, bore, neck height and the tolerances that will be inspected on the first article.
Sealing is the first decision because it decides which surface must be controlled. A flat cap with a liner seals on the top face of the rim; a plug-style cap seals inside the bore; a cap with a molded gasket seals on a shoulder or step. Each type puts the critical dimension in a different place: rim flatness, bore diameter or seat depth. Mix them up and the thread can match while the bottle still leaks.
Blow molded threads are usually coarse and single-start, because the parison must inflate into the thread and the mold must release the part without stripping a fine profile. The drawing needs the major and minor diameter, pitch, thread length, and where the thread starts relative to the parting line. If the cap has a tamper-evident band, its groove belongs on the same drawing.
What goes on the neck drawing
A drawing that a mold shop can cut and a QC team can inspect usually carries the items below. The values are project-specific, so do not copy them from another bottle.
| Neck feature | What the mold drawing must state | How the first article is checked |
|---|---|---|
| Sealing face | Seal type (top face, plug or gasket seat), face width, flatness limit | Flatness and visual check on the trimmed rim, then a cap fit with the production liner |
| Thread | Profile, major and minor diameter, pitch, start position, thread length | Go/no-go gauge or measured profile, plus a hand fit and torque check with the production cap |
| Bore | Nominal bore and tolerance; entry chamfer if a plug cap is used | Bore measured in two directions at the top and lower in the bore |
| Neck height | Height from a stated datum, usually the shoulder or support bead | Height measured from the same datum on a sectioned part |
| Roundness | Maximum ovality and the diameter at which it is measured | Two-axis measurement of neck OD and ID on the cooled first article |
| Neck wall | Minimum wall thickness at the thread and below it | Sectioned part measured at several points around the neck |
| Parting line | Parting line position, allowed flash and trim-edge condition | Visual check and a straight-edge check on the sealing rim |
Swipe the table to see all columns →
Why the molded neck moves
Three things move the neck between the drawing and the finished bottle. Shrinkage: HDPE and PETG shrink as they cool, and the thick neck does not always shrink at the same rate as the body. Die centering and parison sag: a parison that is not centered in the neck insert pushes wall thickness to one side and can pull the bore oval. Trimming: on wide-mouth jars and handled jerrycans the cut edge becomes the sealing face, so a dull or misaligned blade leaves a step no gasket can seal.
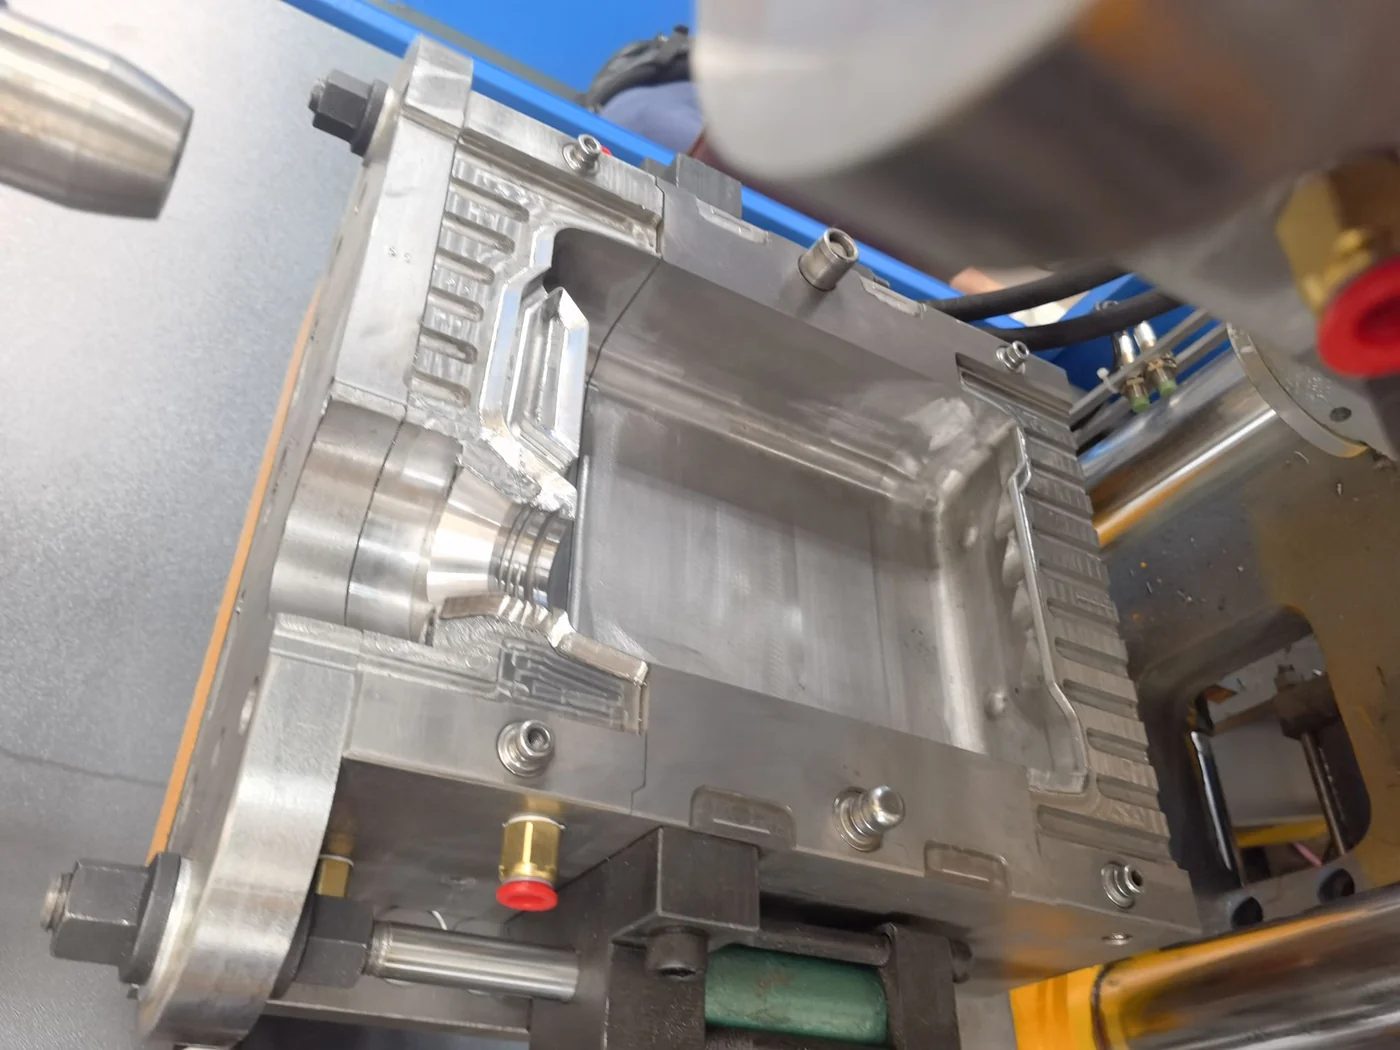
Neck tolerances should therefore describe the finished, trimmed part after cooling, not the cold mold cavity. Ask the mold maker which dimensions are set in steel and which by the trim tool, and inspect both.
First-article check: measure, then fit the cap
On the first article, section one bottle and measure the neck wall at several points. Measure bore and thread in two directions, and check the trimmed rim with a straight edge. Then fit the production cap with its liner, apply the torque your filling line uses and run the required leak test. Record the results against the drawing, not against a feeling that the cap fits nicely.
On a wide-mouth jar the trimmed rim is itself the sealing face, so ovality, flatness and neck wall thickness are the three checks that predict sealing. If the cap rocks on the rim or the liner compresses unevenly, look at the rim before blaming the thread.
The neck is not a standalone dimension; it is set together with wall-thickness control and machine choice. For the 0.1–16 L range seesingle-station blow molding machines, and for the measurement side seehow bottle wall thickness is measured.
What to send for a quotation
- The cap drawing, or a production cap with the liner and tamper-evident band as used on the line
- Container drawing: nominal volume, body diameter, overall height, neck position, handle type
- Material and layer structure (HDPE, PP, PETG or multi-layer), with any recycled-content target
- Filling data: product, fill temperature, closure torque, leak-test method, conveyor height
- Annual volume, target cavity count and the date you need the first article
- One bottle that seals well and one that leaks, if available; the pair is the fastest reference
Send these to doris@e-shionmachine.com or WhatsApp +86 151 6778 9726. If the cap is not chosen yet, send two or three candidates; the neck can be designed around the sealing method you actually intend to use.
Source: E-SHION product data. Specifications are subject to change without notice; customization is available.
This guide is written for production and procurement decisions. It uses published figures where available and avoids unverified performance claims.