
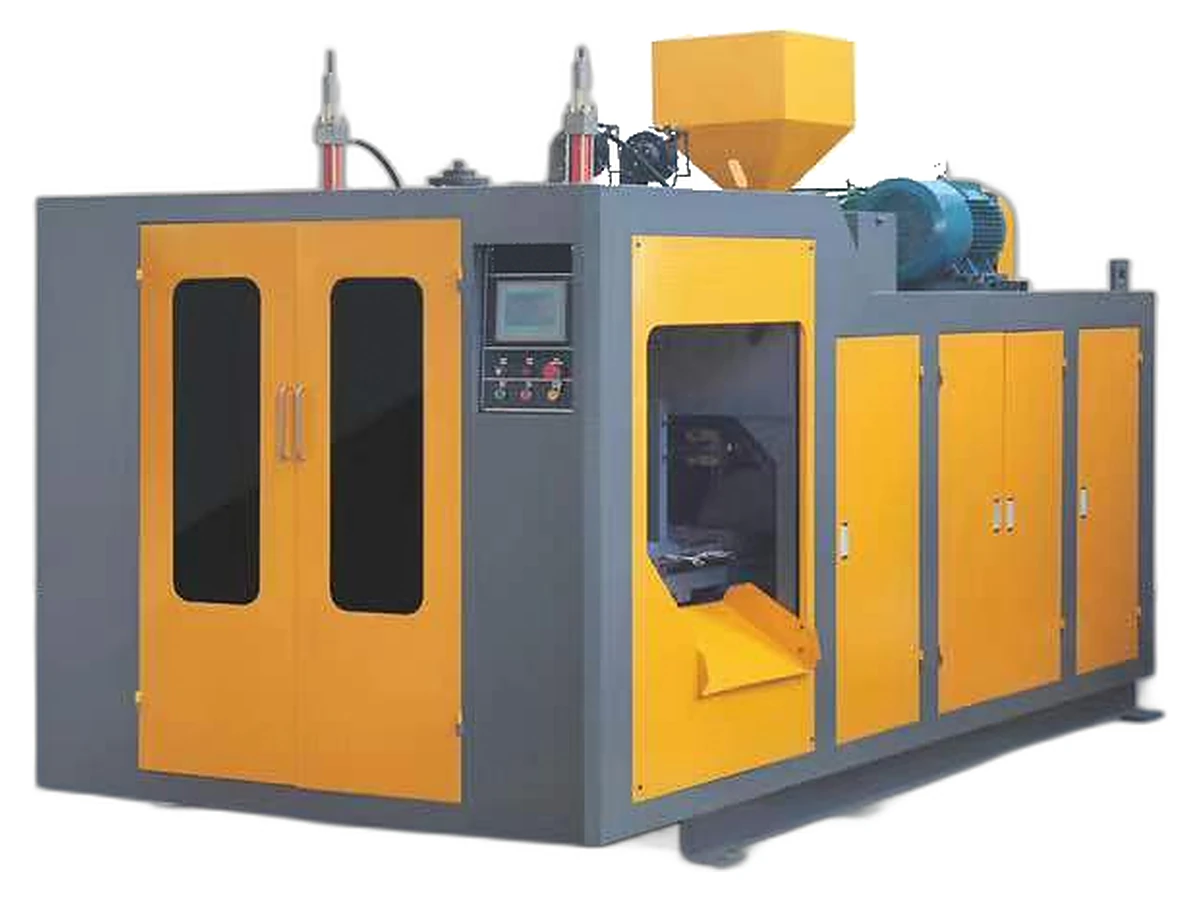
A new operator can run a blow molding machine for a full shift and still not know why the scrap bin is full. The machine rarely fails all at once. It drifts: the oil warms up, a die gap moves, a blow pin wears, a guard switch gets bypassed because it kept stopping the cycle. These twelve checkpoints catch the drift before it reaches the pallet.
What Should a Blow Molding Operation Checklist Cover?
A workable checklist has three phases and twelve checkpoints: four before the first parison, five while the machine runs, and three at shutdown. Every checkpoint records a value — a gauge reading, a bottle weight, a temperature — not a tick box that gets filled in without anyone looking at the machine.
Split the list by phase, because each phase protects something different. Warm-up protects the hydraulic system and the die head. Running checks protect wall thickness and the pinch-off seam. Shutdown protects the next shift and the oil in the tank. An undivided list loses that logic, and operators end up checking whatever is easiest to reach.
Startup and Warm-Up: Checkpoints 1–4
- Guards and interlocks. Close every guard, test the emergency stop and the front-gate limit switch, and confirm no switch is bypassed. Finish this before the barrel heats, while walking around the machine is still safe.
- Utilities. Record compressed air pressure, cooling water flow and temperature, and supply voltage. Compare each with the value in the machine documentation. Low air pressure shows up later as a weak blow and an incomplete bottle.
- Hydraulic oil. Check level and temperature, then warm up under low load until the oil reaches its working range. Cold oil makes the clamp sluggish and holds the pressure gauge low even when the pump is healthy.
- Barrel and die head. Let every zone soak at setpoint before purging, and check that the die head zones agree with each other. A die head hot on one side and cold on the other bends the parison before it reaches the mold.
Warm-up failures usually show in the tank first.Hydraulic oil temperature in blow moldingcovers what a rising reading means before the clamp starts to wander.
Running: Checkpoints 5–9
Production checks move from the panel to the parison and the bottle. Most scrap is generated here, and most of it is visible here first.
| Checkpoint | What to record | Why it matters |
|---|---|---|
| Parison | Length, straightness and sag at the die | Sag thins the base and stretches the neck |
| Clamp and mold | Clamping force against mold projection area and blow pressure | Too little gives flash and a weak seam; too much marks the mold |
| Blow and venting | Blow pressure, blow-pin alignment, air escape at the seam | Trapped air and an off-centre pin cause holes and short corners |
| Wall thickness and weight | Weight per cavity, plus a section cut at neck, body and base | Weight drift is the first sign of a moving die gap |
| Cycle and output | Measured cycle time; output = cavities × good parts per cavity per cycle × cycles per hour | Shows the real rate, not the rate on the quotation |
Swipe the table to see all columns →
Weigh at least one bottle from every cavity at the start of the run, then at fixed intervals through the shift. Weight is the cheapest proxy for wall thickness on the line, and a slow drift is easier to correct than a rejected pallet. When weight moves, check die-gap profile, die centering and barrel temperatures before touching the clamp.
Shutdown and Handover: Checkpoints 10–12
Checkpoint 10 is the stop sequence: run the parison out, purge the barrel if the machine will stand idle, and shut the heaters down in the order the manual gives. Checkpoint 11 is depressurising — pump off, hydraulic pressure released, water drained from the air line and the mold circuit. Checkpoint 12 is the log: oil temperature, pressures, bottle weight, scrap count, alarms, and anything the next crew should not have to rediscover.
Training is won or lost at the same three points. E-SHION's operation procedure keeps the phases separate so a trainer signs off four startup checks in one session and adds the running checks only when they hold. The machine in the clip is a 30 L unit on a production mold; the order of the checks is the same on a smaller machine, and only the numbers on the gauges change.
What to Send for a Quotation
If you are choosing a machine and writing the checklist at the same time, send the following in one message. The answer can then be specific to a model instead of a range.
- Container drawing: volume, neck finish, maximum diameter and target weight, with a wall-thickness section if you have one.
- Material and layer structure: PE, PP, HDPE, HDPP, PC, PVC or PETG, and whether the container needs a barrier layer.
- Cavity count and target output per hour, so the model is sized on extruder capacity, not on the mold alone.
- Mold projection area and blow pressure, so clamping force can be calculated rather than estimated.
- Shift pattern, operators per shift, and whether the procedure and training should be part of the handover.
- Destination port and voltage/frequency, which affect the electrical configuration.
The same checklist runs on a 5 L and a 10 L line;5L vs 10L jerrycan machineexplains where the two differ in clamp and output. Models and current data are on thesingle-station 0–16L rangepage, orsend the container detailsand we will answer directly.
Source: E-SHION product data. Specifications are subject to change without notice; customization is available.
This guide is written for production and procurement decisions. It uses published figures where available and avoids unverified performance claims.



