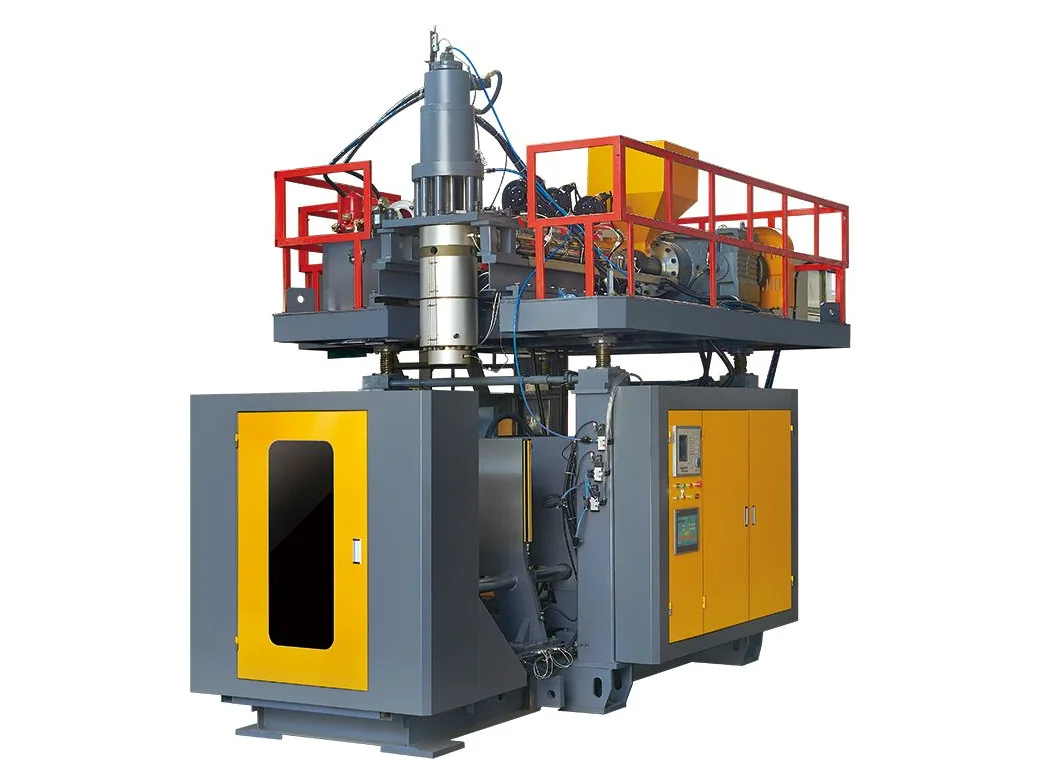
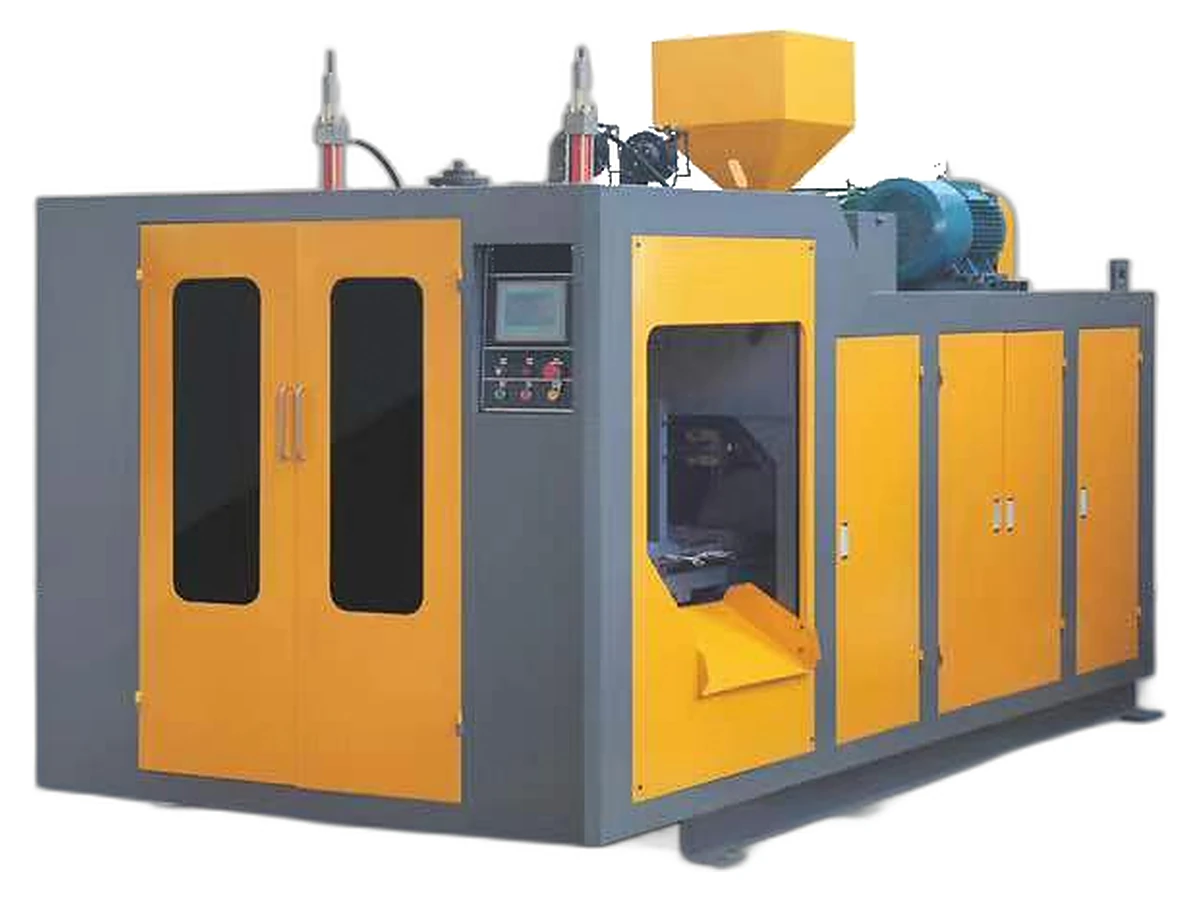
A second blow molding machine is easy to quote and hard to justify. For a plant that wants 5 L, 10 L, 15 L and 20 L jerrycans from one machine, the real question is not whether the control stores four recipes — it is whether four molds physically fit, and how much production time disappears each time one is swapped. Get the changeover wrong and one machine costs more than two.
Can one machine run 5 L, 10 L, 15 L and 20 L containers?
Usually yes, but the permission comes from the iron, not the software. A machine sized for 20 L, such as the ES-30L in the 20–50 L series, can carry smaller molds for 5 L and 10 L work, provided each mold fits the platen, fits inside the daylight, and matches the extrusion head center distance.
The 0–16 L series tops out at 16 L, so if 20 L is on your three-year plan, size the machine for 20 L from the start rather than adding a second machine later. There is a cost in the other direction: a large platen running a small mold needs adapter or spacer plates so the mold sits on the centerline and the clamp closes on steel, not air.
Head center distance is the limit buyers forget. A 4-cavity 5 L mold and a 2-cavity 20 L mold rarely share the same cavity spacing, and the head can only feed parisons where it is built to. If the spacing does not match, you are changing a head, not a mold — a different project with a different budget.
Three limits: platen, daylight and head center distance
Check these before you discuss cycle time. Platen size sets the largest mold footprint the clamp can hold; daylight, the maximum open distance between platens, sets the tallest mold; head center distance sets how far apart the parisons can be. Clamp force then has to be checked against the mold's projection area and blowing pressure, not against container volume.
- Platen: the mold footprint plus clamp plates must sit inside the platen face and clear the tie bars.
- Daylight: mold height plus adapter plates must open far enough to release the container and close far enough to clamp.
- Head center distance: cavity spacing must match the die head layout, or the parisons will not land in the mold.
- Mold weight: confirm the maximum mold weight for the model against the drawing; a large water-cooled mold can be heavier than the clamp was designed for.
| Model | Container range | Clamp force | Platen size |
|---|---|---|---|
| ES-5LS | 5 L | 100 kN | 320 × 380 mm |
| ES-10LS | 10 L | 110 kN | 450 × 480 mm |
| ES-16LS | 16 L | 155 kN | 500 × 490 mm |
| ES-30L | 30 L | 215 kN | 580 × 740 mm |
| ES-50L | 50 L | 260 kN | 880 × 780 mm |
Swipe the table to see all columns →
Read the table as a starting filter, not a guarantee. The platen figure says whether a mold can be mounted; it does not give the maximum mold weight, the daylight, or whether the head can be re-tooled for a smaller parison. Those answers come from the model drawing and the mold drawing, checked together.
The changeover, in four stages
Time a changeover in four stages and the number stops being a mystery. Most plants quote one figure — about half a shift — which nobody can improve because nobody knows where it goes.
- Mold out: disconnect water, blow air and line connections, unclamp, lift the mold out and move it to storage. Time is driven by mold weight, lifting equipment and quick-release fittings.
- Mold in: set the new mold on the centerline, fit adapter plates if the mold is smaller than the platen, clamp and reconnect services. Alignment, not force, is the slow part.
- Head and parison setup: change the die head tooling if needed, set the die gap and parison profile, and bring temperatures back into the process window. This is usually the longest stage and the one planning forgets.
- Trial and first-off: run until wall thickness, pinch-off and neck dimensions meet the drawing, then release production. Everything before that point is scrap.
What a changeover really costs
Changeover cost is labor plus lost machine time plus scrap, and scrap is usually the largest part. Frequency matters as much as duration: a plant changing molds weekly can absorb a long setup, while one rotating four sizes every other day cannot. Every changeover also restarts the process — barrel and head must stabilise, the parison must hang straight, and wall thickness must return inside the drawing before the first container can be sold.
The arithmetic is simple once you have your own numbers: scrap equals cavities times settling cycles. A 4-cavity mold that needs 40 cycles before parts pass inspection sends up to 160 containers to the grinder, and on a 20 L container that is a visible pile of material. Measure the settling cycles on your machine, with your mold and your material; nobody else's figure transfers.
Before you compare models, readblow mold cost and lead timeand the5 L machine price breakdown, look at the20–50 L single-station series, then send your mold list through thecontact page.
What to send for a quotation
A quotation for mixed-size production is only as good as the mold data behind it. Send these and the answer comes back with limits instead of guesses.
- Container drawings for each size: volume, neck finish, weight, wall thickness and critical dimensions.
- Annual volume per size, and how often you expect to change molds.
- Existing mold data: footprint, height, weight, cavity count and projection area.
- Material and layer structure, including whether regrind has to be used.
- Plant services: voltage, compressed air, cooling water and lifting capacity.
- Destination market, so voltage and documents are right the first time.
Source: E-SHION product data. Specifications are subject to change without notice; customization is available.
This guide is written for production and procurement decisions. It uses published figures where available and avoids unverified performance claims.