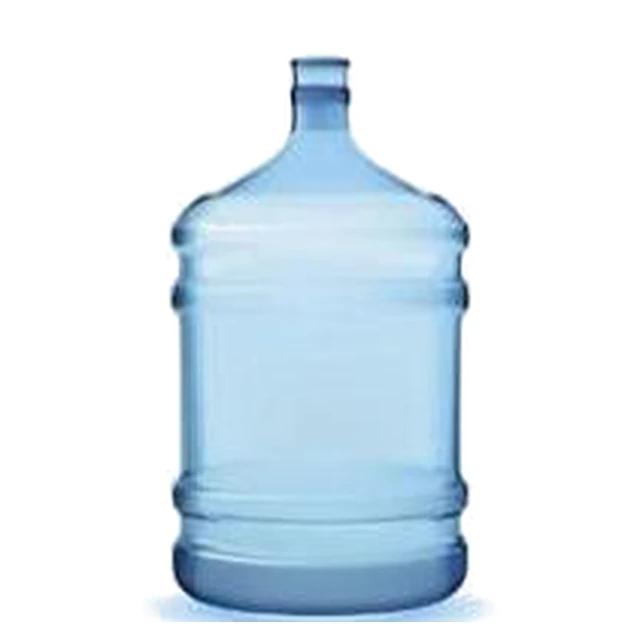
A jerrycan that passes a visual check and then weeps at the seam three weeks after filling is the most expensive defect you can ship. The machine ran, the mold looked fine, and the complaint still lands on production. Leak testing is not a final inspection ritual; it shows whether the parison, the pinch-off and the seam are under control. It only works when the method and the pass mark are agreed before the first run.
Pressure Decay or Water Bath: The Short Answer
Pressure decay is the right everyday test for HDPE jerrycans: it is fast, quantitative, and can be logged. Water immersion is the better choice when you need to see where the hole is. Whichever you use, stabilize part temperature first and agree the pass mark before the first shipment.
- Use pressure decay when the question is pass or fail and every part needs a recorded value.
- Use water immersion when the question is where the leak is, or when a new mold is being qualified.
- Use both when a part fails pressure decay and the toolmaker asks for the leak location.
- Do not compare results from the two methods unless pressure, stabilization time and pass mark were the same.
Why a Warm Jerrycan Can Look Like a Leak
Pressure decay watches the pressure inside a sealed part, and a part that is still cooling is still moving. An HDPE jerrycan demolded a few minutes earlier has not finished shrinking: the walls relax, the neck settles, and the internal volume changes. Start the test while that is happening and the gauge reads a drop that has nothing to do with a hole. The operator then either scraps a good part or loosens the reject limit until real leaks pass. The fix is unglamorous: condition parts at a controlled temperature until they stop changing, then test. How long that takes depends on wall thickness, container size and shop temperature, so measure it on your own parts.
- Record the part temperature at the test station, not only the room temperature.
- Fix a conditioning time after demolding and lengthen it for thick sections and large drums.
- Seal on the neck thread or a machined landing, never on a trimmed flash ring.
- Run the same part twice: a real leak repeats, creep usually does not.
- Log start and end pressure, not only the pass or fail result.
Pressure Decay vs Water Immersion: Method Comparison
| Point | Pressure decay | Water immersion |
|---|---|---|
| What it tells you | Pass or fail plus a pressure-drop value | Pass or fail plus the visible leak location |
| Speed | Fast enough for a line-side station | Slower; the part must be dried afterwards |
| Operator dependence | Low once the fixture and limits are fixed | Higher; someone must watch for a small bubble stream |
| Record keeping | Numeric result can be logged per part | Usually a pass or fail note plus the location |
| Best fit | HDPE jerrycans, drums and tanks in routine production | New mold qualification, failure analysis, short runs |
| Main risk | Temperature and a poor seal can mimic a leak | A small leak can be missed if the part moves |
| Moisture | No water enters the container | Parts must be dried before packing |
Swipe the table to see all columns →
Neither method replaces a filling trial. Both test the container as it sits at the station; they do not predict how a filled jerrycan behaves after weeks of stacking or in sunlight. Treat the leak test as one gate in the quality plan and pair it with a weight check and a wall-thickness section.
The Fixture Is Built Around the Neck, Not the Machine
A leak-test fixture is a sealing tool, and it lives or dies on the neck. It clamps the container, seals the opening with a face that matches the neck thread or a machined landing, and admits air through a controlled regulator. If the seal face is rough, or the neck ovality is outside the drawing, the fixture leaks at the seal and the gauge blames the bottle. Build the fixture around the neck finish actually used on the line, and check neck dimensions against the drawing before the fixture is cut. On AdBlue tank projects, the leak-test fixture is planned around the tank neck from the start, with pressure decay or water immersion chosen in the line layout and the pass mark written into the acceptance documents before shipment.
The same fixture logic applies whether the container comes off asingle-station 0–16 L lineor adouble-station 0–16 L line: the neck drawing, not the machine model, decides the seal.
Running the Test as a Sequence, Not a Single Step
A leak test only earns its place when it feeds something back. Sample one part per cavity at the start of each shift and after every material or mold change, condition it, test at the agreed pressure and record the drop. Re-test a failure once to separate creep from a real leak, then cut the part open and find the path: pinch-off, seam or neck. That location tells you what to change — die gap, blow pressure, clamp force or cooling time. On the 20–50 L platform, which covers 20 L and 25 L jerrycans and drums, the ES-30L is listed with 215 kN clamping force, a 580 × 740 mm die plate and 100–120 kg/h output; size the test station against measured cycle time so it does not become the bottleneck after take-off.
- One part per cavity per shift, plus every material or mold change.
- Condition, test at the agreed pressure, record the drop.
- Re-test failures once before scrapping.
- Cut open the failed part and name the leak path.
- Feed the path back to die gap, blow pressure, clamp force or cooling.
What to Send for a Quotation
A quotation that includes a leak-test fixture needs more than a container volume. Send the following and the machine, the fixture and the acceptance criteria can be quoted together.
- Container drawing with neck finish, thread and sealing surface dimensions.
- Material and layer structure, including any barrier or recycled content requirement.
- Target output per hour and the number of cavities you plan to run.
- Test method preference: pressure decay, water immersion, or both.
- The pass mark you want to accept, or ask us to propose one for your approval.
- Destination country, power supply, available air pressure and floor space.
Source: E-SHION product data. Specifications are subject to change without notice; customization is available.
This guide is written for production and procurement decisions. It uses published figures where available and avoids unverified performance claims.