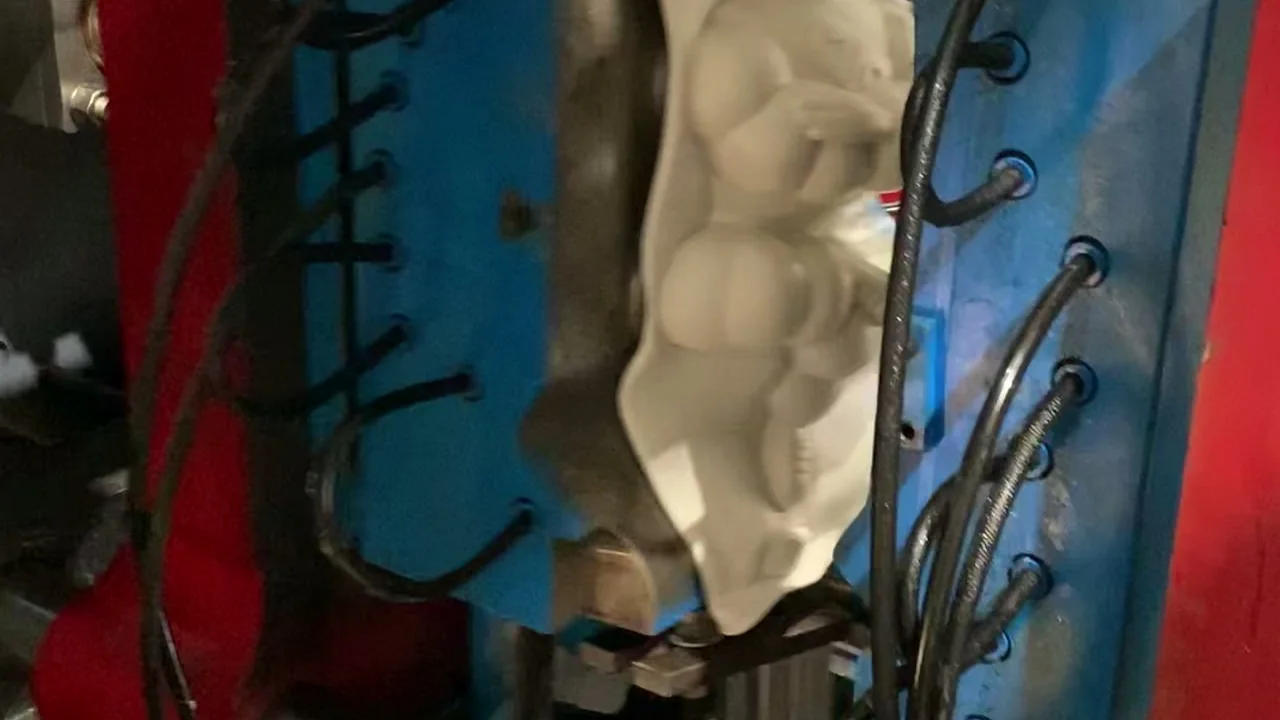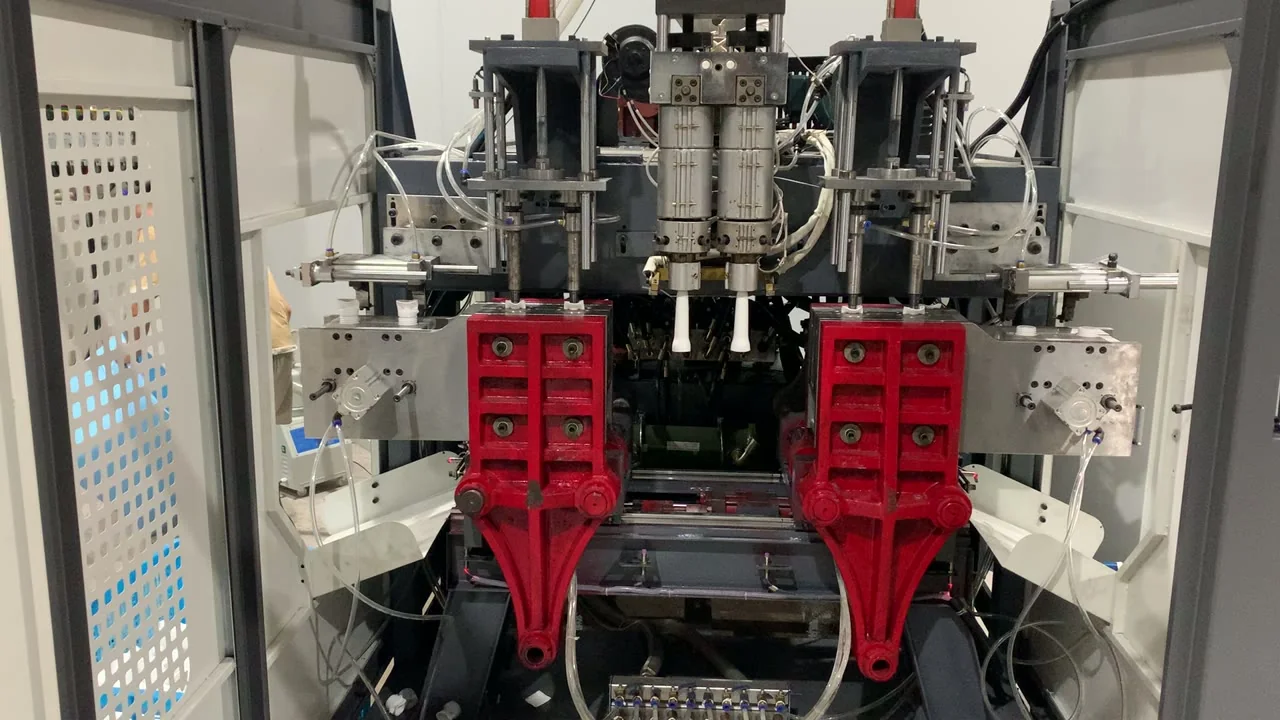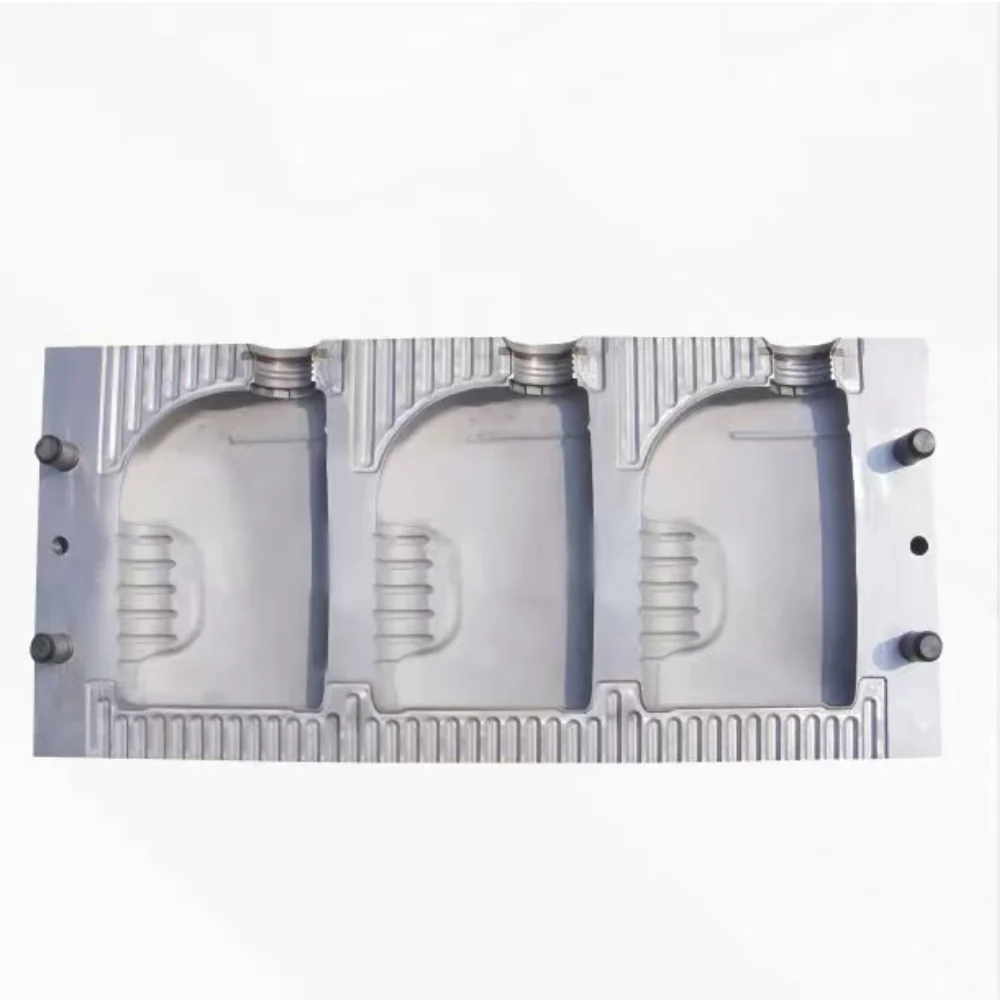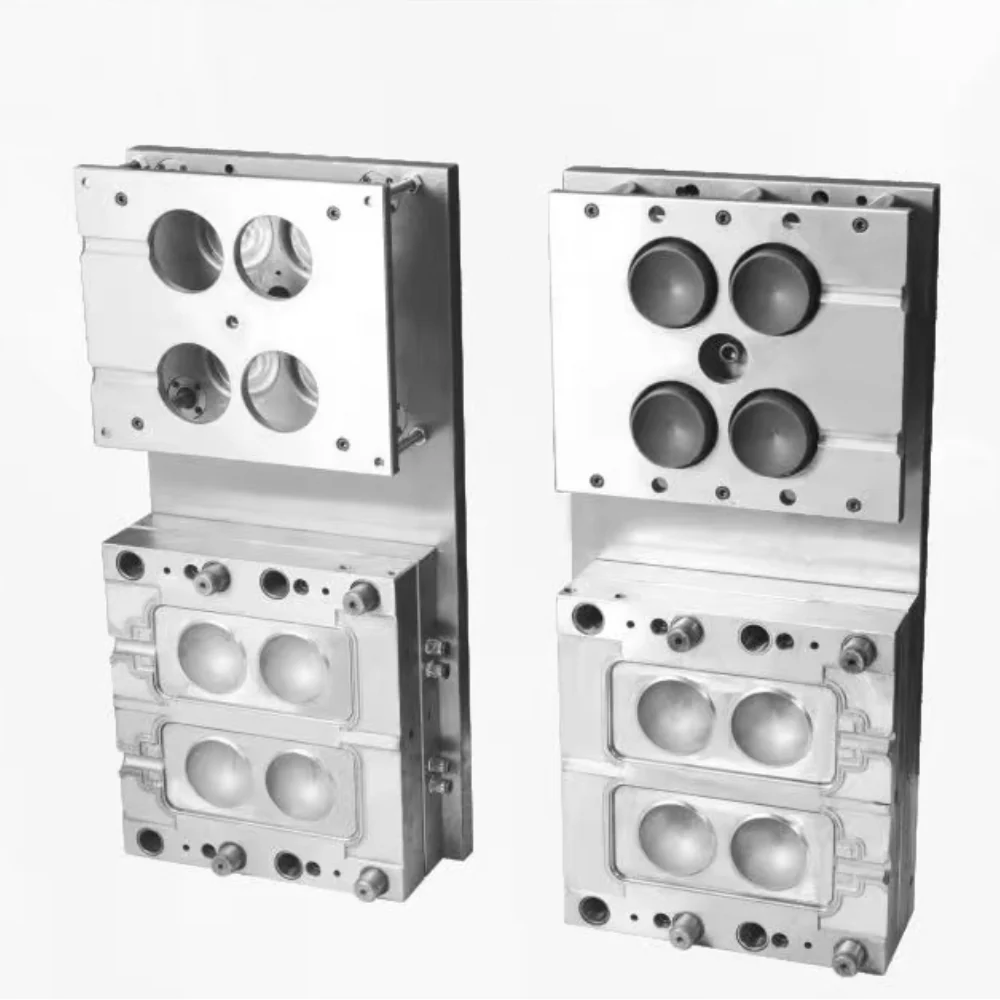
A dull patch on the shoulder of a jerrycan, a corner that never fully forms, a brown burn mark beside the pinch-off. Three different complaints, one root cause: air that was inside the cavity when the parison was clamped and had nowhere to go. Before you touch blow pressure, screw speed or cooling time, check whether the mold can breathe.
Why trapped air shows up as a dull patch, a short blow or a burn mark
Air left in the cavity does not disappear; it changes form. Where the parison never touches the wall, the surface stays dull and unpolished. Where air blocks expansion, the part comes out short or with a rounded corner. Where air is compressed hard enough, it heats and scorches the surface.
Venting is not one slot. Air leaves a blow mold along several paths at once: the parting line, the joints around cavity inserts and the blow-pin boss, the base insert, and any deep rib, recess or handle core. A mold can vent well at the parting line and still trap air in a handle eye or under a thick base, because those areas fill last and seal first.
Each vent stops working as soon as the parison covers it. Position matters more than the number of vents: a slot behind the point where the plastic has already stopped moving does nothing. The useful question is not how many vents a mold has, but whether each one sits where air is still trapped when the parison arrives.
The vent map: where air has to leave
Use the map below as a starting point for a vent check, not as a substitute for the mold drawing. Vent depth and width depend on the material, wall thickness and mold design. Take them from the drawing, and confirm any change with the mold maker before cutting.
| Container | Where air usually hides | What the operator sees | First check |
|---|---|---|---|
| 5 L jerrycan | Handle eye, shoulder beside the neck, base corners | Dull patch on the shoulder, soft or rounded handle eye | Parting line near the handle, then the blow-pin boss |
| 30 L drum | Top chime, base ring, deep label recess | Short blow at the chime, burn mark on the base ring | Base insert vents and the parting line around the chime |
| PETG clear jar | Shoulder, base edge, around the neck thread | Haze or dull spot visible through the clear wall | Insert joints, blow-pin area and cavity polish |
Swipe the table to see all columns →
The three containers fail in different places, but the check is the same: find the area that fills last, then trace back to the nearest vent.
Vent maintenance: clean and re-cut before raising pressure
Vents fail slowly. Release agent, pigment, dust and oxidized polymer build up in the slot until it is bridged over. The mold still looks clean, but the air path is closed, and a vent that measures correctly on the bench can be blind in production.
- Clean on a fixed interval, not only when a defect appears, and record the interval and the product that forced a change.
- Work along the slot with a soft scraper, brass shim or the mold maker's approved method; do not blast the cavity face by default.
- Inspect under magnification after cleaning; a slot with a bright bridge of polymer is still blocked.
- Check the parting line for bruised or peened edges that close the vent when the mold clamps.
- Re-cut only to the dimension on the mold drawing, and log the depth, the date and who did the work.
- Run a short trial after any re-cut and confirm the dull patch is gone before releasing the mold to production.
Abrasive cleaning is not a default. If blasting is proposed, it needs a written surface-finish specification and a test part first, because a clear or polished container shows every change in texture.
Matte, polished and the surface that hides the problem
Surface finish changes how a venting fault reads. A matte or textured cavity scatters light, so a shallow dull patch blends into the surrounding surface and can pass visual inspection until the part is printed or filled. A polished cavity, typical for PETG jars and clear bottles, shows every trapped-air mark as haze or shadow, even when wall thickness is correct. Judge venting on the part, not on the mold.
A 5 L jerrycan with a dull band that follows the handle outline is a common case. The band points to air trapped in the handle eye and released late, so the parting line at that height is the first place to look, then the blow-pin boss. Raising blow pressure may shrink the band and make it look repaired, but the vent is still blocked, and the defect returns on the next run. Record which change actually removed it, or the same adjustment will be repeated next month.
For the tooling side of the same defect, see the guides tohead tooling designandmold cooling channel design. For smaller bottles, the1–2 L bottle productionnotes cover the same checks at a different scale, and thesingle-station 0–16 L rangelists the machine capacity behind those tools.
What to send for a quotation
A venting problem is usually solved at the mold, but a quotation depends on the machine, the mold and the container. Send the following so the reply quotes the right model and options instead of guessing:
- Container drawing or 3D file: volume, neck finish, target wall thickness, handle and base details.
- Mold status: new or existing, cavity count, mold material, parting-line and insert layout.
- Material and color: HDPE, PP, PETG or a regrind blend, with the regrind share and masterbatch.
- Defect evidence: photos of the dull patch, short blow or burn mark, with the location marked on the container.
- Current process: gauge pressure and measured pressure at the blow pin, cycle time, parison or die-gap profile, mold temperature.
- Machine details: model, screw diameter, clamp force, and whether this mold has run on another machine.
- Output target: bottles per hour and shift pattern.
- Destination country: voltage, safety requirements and shipping documents follow the destination.
Source: E-SHION product data. Specifications are subject to change without notice; customization is available.
This guide is written for production and procurement decisions. It uses published figures where available and avoids unverified performance claims.