A PETG bottle drawing is approved, the mold is cut, and the first shots come out with a neck that will not take the cap, or a body that misses the label panel by a millimetre. Shrinkage is the usual suspect. The expensive part is not the number — it is finding out after the steel is finished.
What shrinkage should you allow for PETG?
For planning, most PETG extrusion blow molding projects sit in a mold-shrinkage band of about 0.2–0.8%. Treat that as a starting range, not a guarantee: the exact value depends on grade, wall thickness, mold temperature, cooling and how much orientation the parison sees. Confirm it with trial shots before the cavity is finished.
The band is wide because PETG is not one fixed material. Two bottles from the same mold can sit at opposite ends of it when one runs a thicker wall or a hotter mold. Put the number in the trial report with its conditions next to it, not in a rule applied to every project.
Which factors move PETG shrinkage?
Before arguing about the third decimal, fix the inputs that move the result most:
- Wall thickness: thicker sections hold more heat and shrink more in absolute terms, so a 1 mm wall and a 3 mm wall in one bottle do not move the same amount.
- Mold temperature and cooling: a hotter mold generally raises shrinkage, and uneven cooling on one side pulls the bottle out of round.
- Orientation: PETG is stretched during blowing, so hoop and axial directions can shrink differently; one number for the whole bottle is a compromise.
- Grade, colour and regrind: pigment and recycled content change how the melt relaxes, so a new colour needs a new trial, not a copied allowance.
- Moisture: resin that is not dried properly brings bubbles, haze and scattered dimensions that look like shrinkage but are not.
The neck is a special case. It is blown against a cold insert and then held by the thread and the cap, so it is restrained far more than the body. That is why the neck is normally cut to the closure drawing at nominal, while the body carries the compensation.
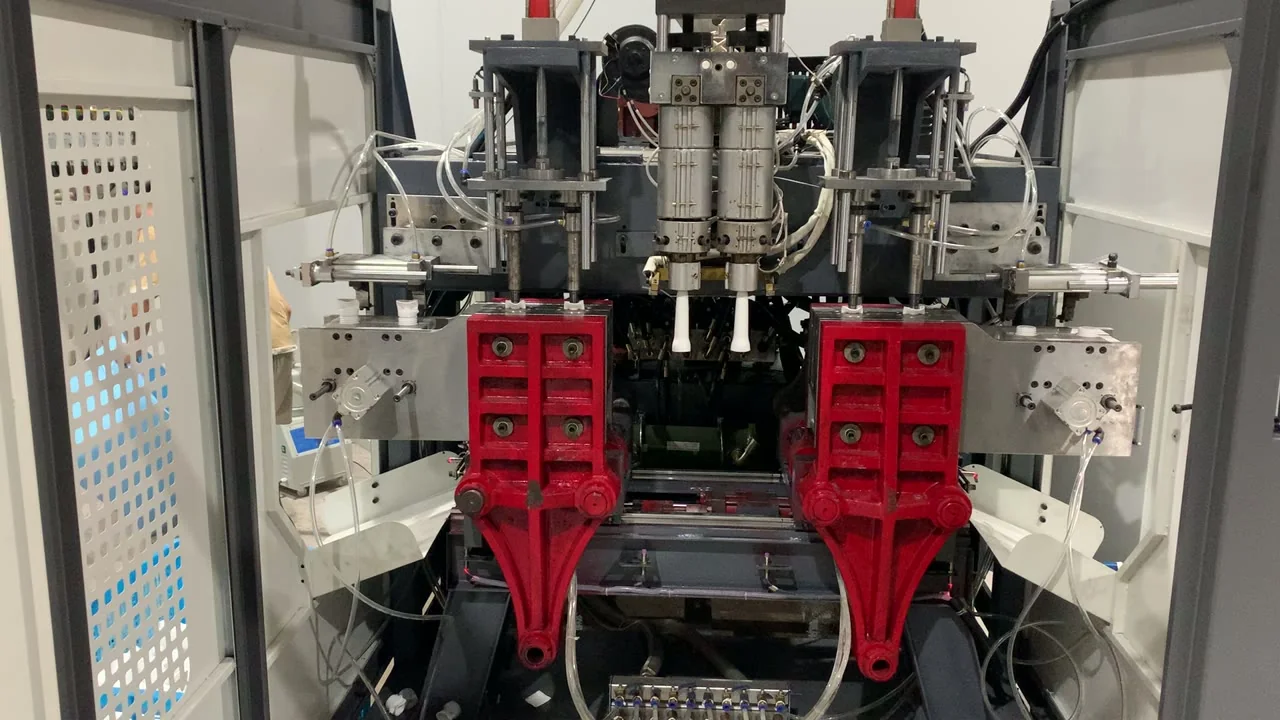
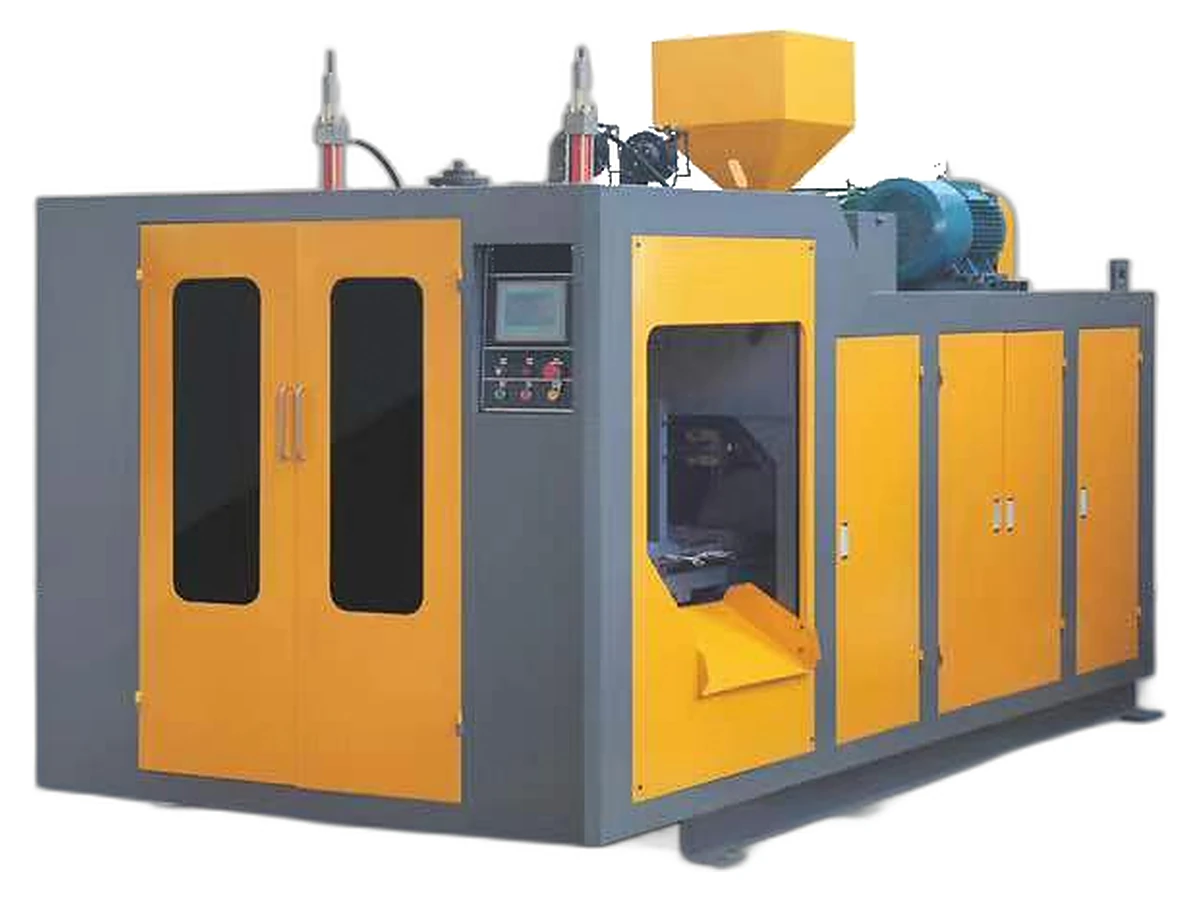
Clear PETG jars usually run on thePETG double-station series, while small jars can start from the0.1–16 L single-station range. For wall thickness and output, read1–2 L small-bottle productionfirst.
How do you apply the allowance, feature by feature?
Compensation is not one scale factor on the whole model. Go through the drawing feature by feature and write the intended allowance beside each dimension, so the mold maker and the trial team read the same instruction.
| Feature | Typical behaviour | Drawing decision |
|---|---|---|
| Neck finish and thread | Formed on a cold insert, restrained by the closure | Keep nominal; cut to the cap drawing |
| Body diameter, hoop direction | Orientation and cooling push hoop shrinkage up | Add the trial allowance; check roundness |
| Body height, axial direction | Base and shoulder limit axial movement | Use a separate axial value |
| Wall thickness and weight | Thicker sections shrink more in absolute terms | Set parison and die gap first; record both |
| Handle, insert and label panel | Local geometry changes the restraint | Confirm each feature; never scale across it |
Swipe the table to see all columns →
The practical rule is to scale the body and never the neck. If the drawing can carry only one number, put the allowance on body dimensions, hold every closure-related dimension at nominal, and verify both on the first shots.
From trial shots to a compensation table
The useful output of a PETG trial is not a single percentage but a short table: dimension, mold drawing value, measured value, direction and measurement conditions. E-SHION keeps PETG double-station trial records in that form — finished part against mold drawing, point by point — so the next tool starts from evidence.
Measure at least 24 hours after molding, at a stated room temperature, on parts that were not squeezed or trimmed hot. Mark the same points on sample and drawing — label-panel diameter, height over the base, neck bore and thread — and log the mold temperature and cycle beside them. A dimension without its conditions cannot compensate the next mold.
- Measure the first shots cold and stable, not at the take-off.
- Split the result by direction: hoop, axial and neck.
- Compare with the mold drawing, not the nominal bottle drawing.
- Feed the difference back into the cavity drawing before polishing or texturing.
- Repeat after any steel change, and keep the record with the mold.
What to send for a quotation
A PETG quotation is only as good as the drawing behind it. Send these and the reply can name a model, a cavity layout and a mold proposal instead of a general price:
- 2D and 3D bottle drawing, with the closure or neck standard named.
- Target volume, wall thickness or weight, and the neck tolerance.
- Resin grade, colour and whether regrind will be used.
- Cavity count and output per shift.
- Mold temperature control and cooling available at your plant.
- Destination country, voltage and import documents.
Source: E-SHION product data. Specifications are subject to change without notice; customization is available.
This guide is written for production and procurement decisions. It uses published figures where available and avoids unverified performance claims.