Handle problems show up as cost, not as a drawing error. A jerrycan that carries well in a sample can still need a sliding core, a wider mold or one less cavity — and once the tool is cut, that decision is expensive to reverse. On 1–20 L containers the handle form usually fixes the mold first.
Start with the handle, not the machine
Short answer: an integral handle is usually the cheaper route at volume, because it has no second part, no welding step and no joint to leak. It is only cheaper if the mold can form the undercut and the head spacing still fits. On a 5 L jerrycan, that spacing check comes before the machine choice.
The logic is simple. An integral handle is molded in the same cycle as the container: one part, one take-off, no assembly. A separate handle is its own part, molded or bought, then fitted — a second tool, a second inventory item and a joint that must survive filling, stacking and dropping.
Neither route is wrong. The mistake is choosing the machine first and meeting the handle later, when the cavity count is already in the quotation.
Three handle routes and what each does to the mold
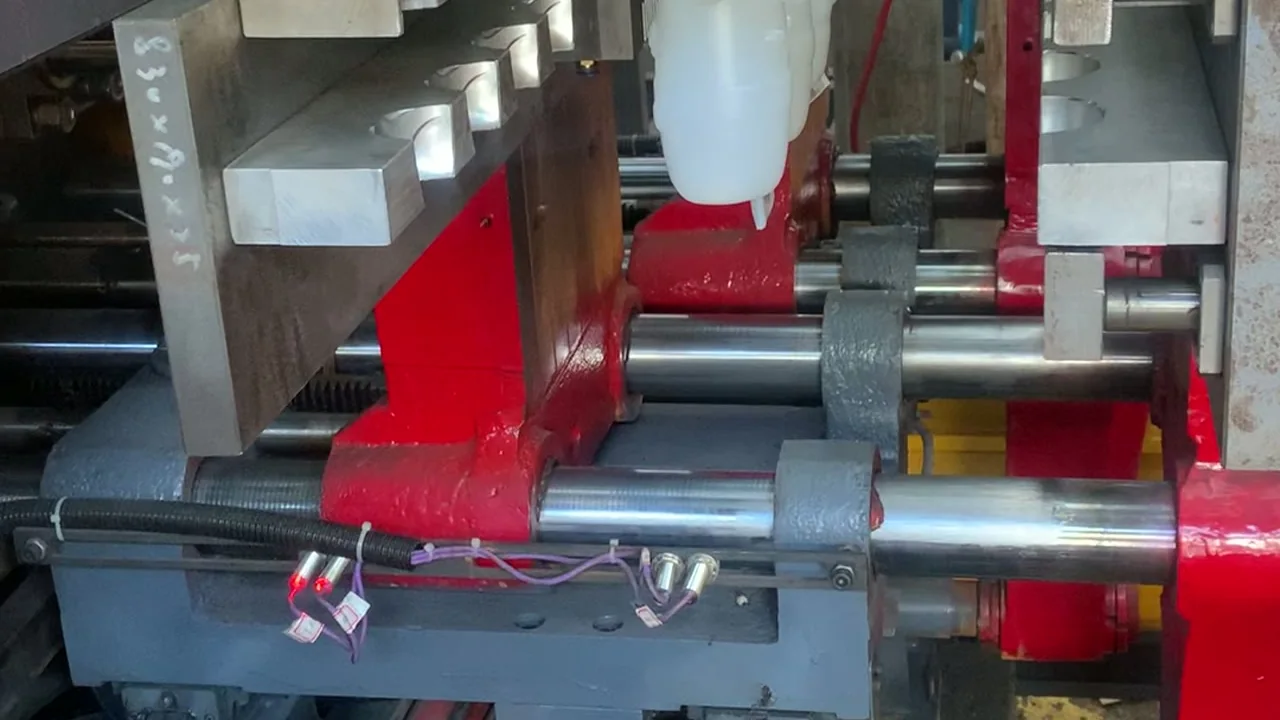
Route A is the integral open handle, the one with a real hole for four fingers. The hole is an undercut, so the mold needs a sliding core that retracts before ejection, or an insert loaded into the cavity and removed with the part. A slide adds mold height, an actuator and maintenance points; an insert adds a loading step. Both add tool cost, not machine cost.
Route B is the separate handle: molded flat in a small tool, then welded, snapped or screwed on after blow molding. The container mold stays simple, and the handle can take a different color or material. The price is an extra part, an extra step and a joint that can leak or pull out.
Route C is a molded top or side grip with no through-hole: a recess formed by the two mold halves. No slide, no insert, no second part. It suits smaller containers and short carries, but the grip is harder on a full container and it changes stacking.
The handle also sets how much trim returns to the grinder, which is whyinline regrind systemsbelong in the same conversation. If the handle costs you cavities, the machine class moves too; compare thesingle-station 0–16 L rangefirst.
| Route | How it is formed | Mold impact | Best fit | Main risk |
|---|---|---|---|---|
| Integral open handle | Slide core or insert forms the through-hole | Slide or insert station, more mold height, higher tool cost | High-volume 5–20 L hand-carried jerrycans | Undercut, parison volume, extra cooling at the handle |
| Separate handle | Second part, welded, snapped or screwed after molding | Simple container mold plus a second small tool | Low volume, colored or special-material handles | Joint is a leak path and a pull-out point |
| Molded top or side grip | Recess formed by the two mold halves, no through-hole | Simplest tool, no slide or insert | 1–10 L containers, short carry | Less comfortable when full; stacking changes |
Swipe the table to see all columns →
Cavity spacing: the check that decides the layout
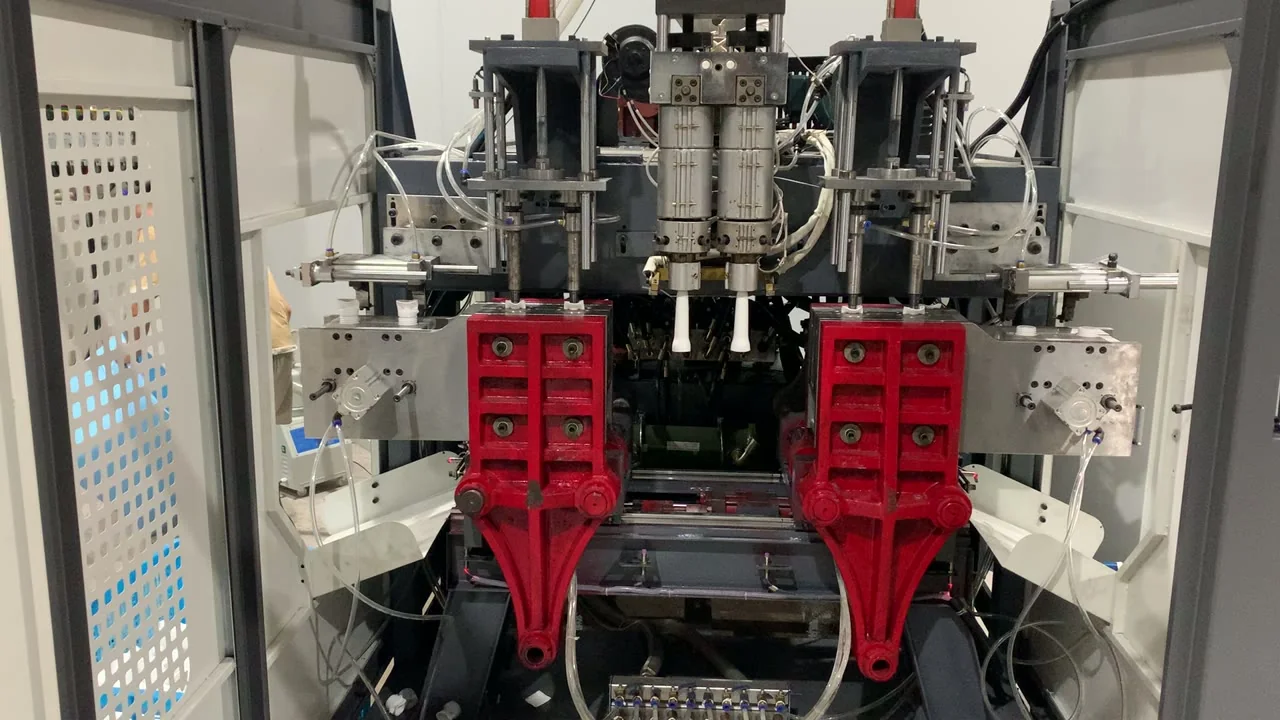
The handle must pass the head-spacing check before the machine is chosen. The ES-5LS has a 100 kN clamp, a 320 × 380 mm die plate, 65–80 kg/h output and 85 mm centre spacing at four heads. The ES-16LS has 155 kN, a 500 × 490 mm die plate and 130 mm at four heads. The ES-2LS runs 65 mm at four heads — the first arithmetic on any multi-cavity handle layout.
The container's widest point, handle included, has to sit inside that pitch. A 5 L jerrycan more than 85 mm across the handle cannot run four across at 85 mm; it runs fewer cavities or a different row. On the ES-5LS, four heads at 85 mm use 3 × 85 = 255 mm between the outer centres; if that pitch runs along the 320 mm die-plate dimension, 65 mm is left for both outer edges — tight, so the layout is confirmed on the drawing.
Clamp force follows the same logic: it is set by mold projection area and blowing pressure, not by container volume. A handle changes the projection, because the through-hole removes blown area while the extra material and slide pocket add tool area. Confirm the clamp against the projection drawing, especially on a four-cavity tool.
What to test before you approve the handle
A handle is a load path, and the only honest proof is a test on filled containers from the actual mold. Run these on the first-off samples at the shipping weight, not at nominal volume.
- Filled-weight hold: hang a full container by the handle for a fixed time, then check the handle root and any weld line for whitening or cracks.
- Static pull: pull the handle away from the body at the lifting angle and record the load and the failure point.
- Drop test: drop filled containers on a corner and on the base at your shipping height, then check handle, neck and base.
- Stack load: stack to pallet height at warehouse temperature and look for creep at the handle and the base.
- Joint leak test: on a welded or inserted handle, pressure or water test the joint, not only the body.
One example. A 5 L jerrycan at 85 mm pitch with a slide-formed handle cracks at the handle root in the drop test. The usual fix is a larger root radius or more material at the root — a mold change, not a machine setting. If the crack sits at the pinch line under the handle, the cause is more often parison temperature or clamp timing. Know which one you have before you approve the tool: the fixes live in different places.
What to send for a quotation
A handle quotation is only as good as the drawing behind it. Send six items and the reply can be a mold layout and a machine model instead of a price range.
- Container drawing with the handle in place: handle-inclusive width, height and through-hole size.
- Filled weight, product density and the capping or labeling method.
- Cavity count per cycle and planned shift output.
- Preferred handle route, or the sample to match, and whether an insert is acceptable.
- Drop height, stack height and the transport standard the container must pass.
- Material, regrind percentage and the destination country for the power supply.
Send these through thecontact pageand the spacing check, the clamp check and the mold cost can be answered together. Without them, any number is a guess with a currency sign in front of it.
Source: E-SHION product data. Specifications are subject to change without notice; customization is available.
This guide is written for production and procurement decisions. It uses published figures where available and avoids unverified performance claims.