A mold that released cleanly last month can start sticking, dragging or cooling slowly without any change to the machine settings. Most teams adjust pressure and timing first, while the cause sits in the cavity surface or the water circuit. Mold maintenance gets easier when it becomes a condition-based routine, not a calendar task.
How Often Should You Polish a Blow Mold and Clean Its Water Lines?
There is no single interval that fits every mold. Polish when release, gloss or surface finish drops; clean the water lines when temperature response slows or flow falls; inspect the pinch-off land at each mold change. Your records then set the interval for that mold.
Condition-based maintenance starts with one question at shift handover: is the container coming out the same way it did when the mold was fresh? A sticky part, a dull patch or slower warm-up is data. Note the cavity number and cycle count with it, and a pattern appears — worth more than a schedule copied from another factory.
Polish When the Part Tells You, Not When the Calendar Does
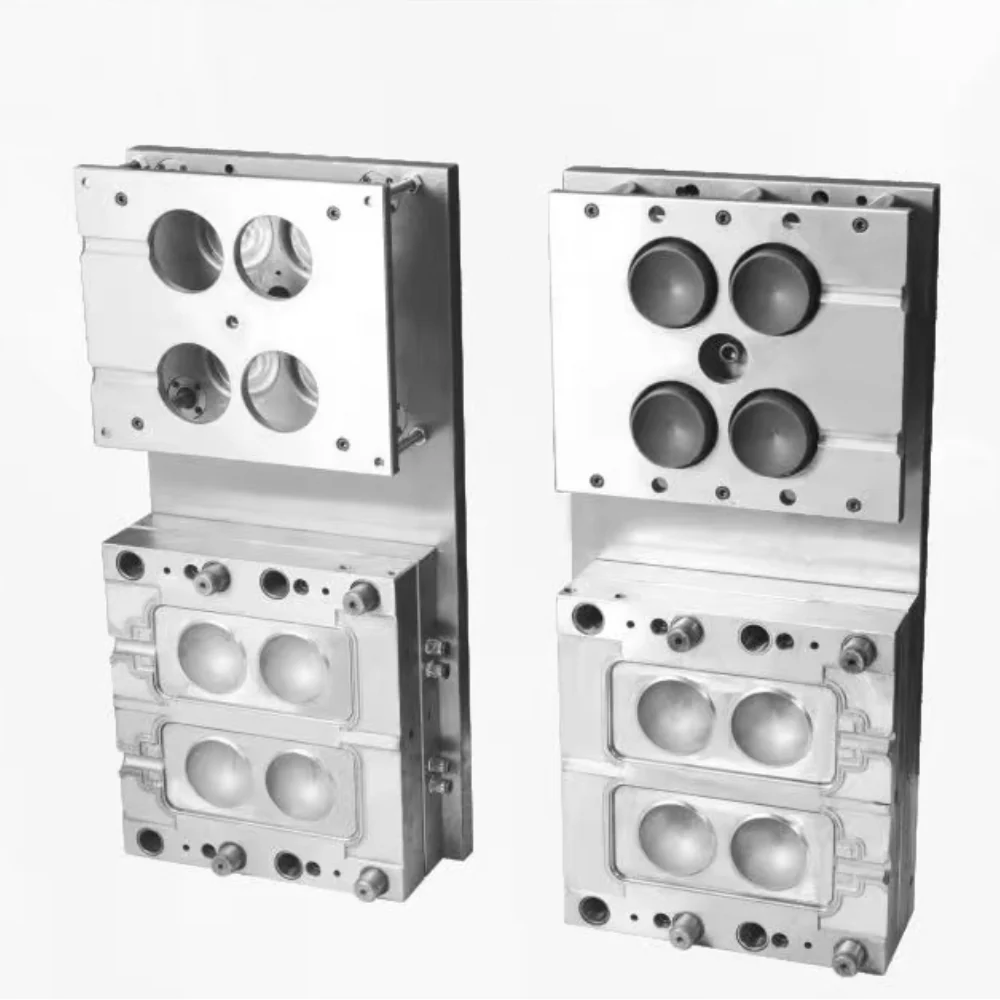
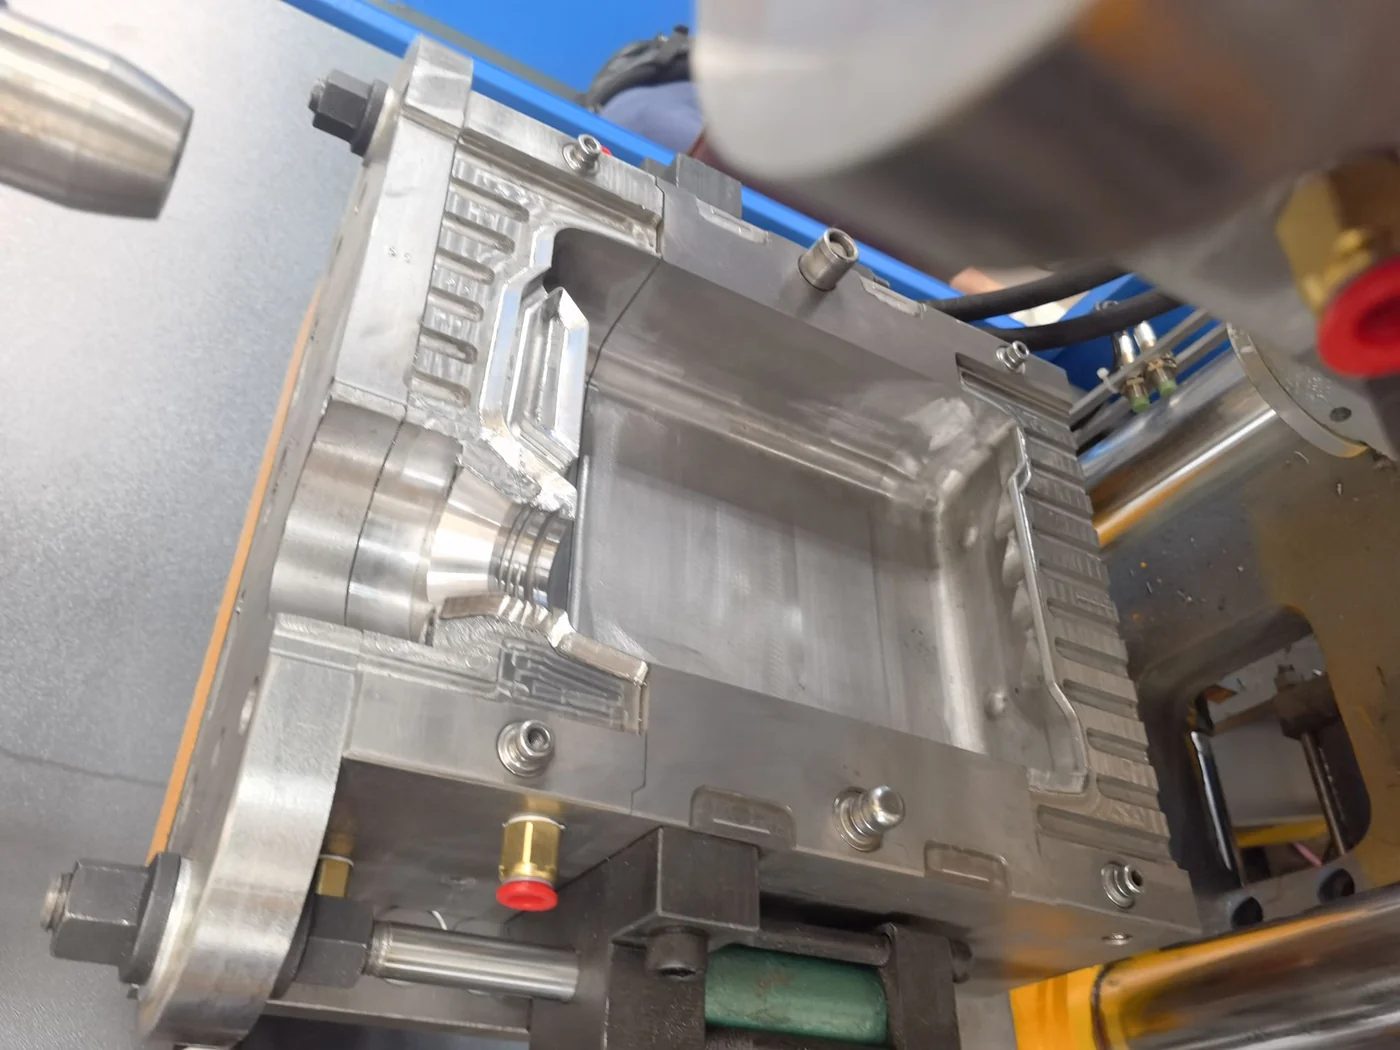
Polish for release and surface quality, not because a month has passed. The signals are practical: the part holds in the cavity and needs a knock or extra air to release, drag marks appear on the side wall, gloss falls on a clear or colored part, or a stain will not wash off. Check the cavity under low-angle light before deciding; what looks like a polish problem is sometimes a water or venting problem.
- Wash the cavity with a mild detergent, dry it, and remove grease before any abrasive touches the surface.
- Inspect under low-angle light and mark only the areas that need work; do not polish the whole cavity by habit.
- Use a soft cloth or brass tool with a fine compound, working along the cavity direction rather than across edges.
- Keep abrasive away from the pinch-off land, neck insert and sealing edges, where a small change affects fit.
- Clean all compound residue, confirm venting is open, and record the cavity, date and cycle count.
Polishing removes material, so it is maintenance, not repair. Deep scratches, cracked edges or worn pinch-off lands need a mold shop with measuring equipment, not a heavier hand with compound. Ask the mold maker which abrasives and compounds are compatible with the cavity steel before the first pass.
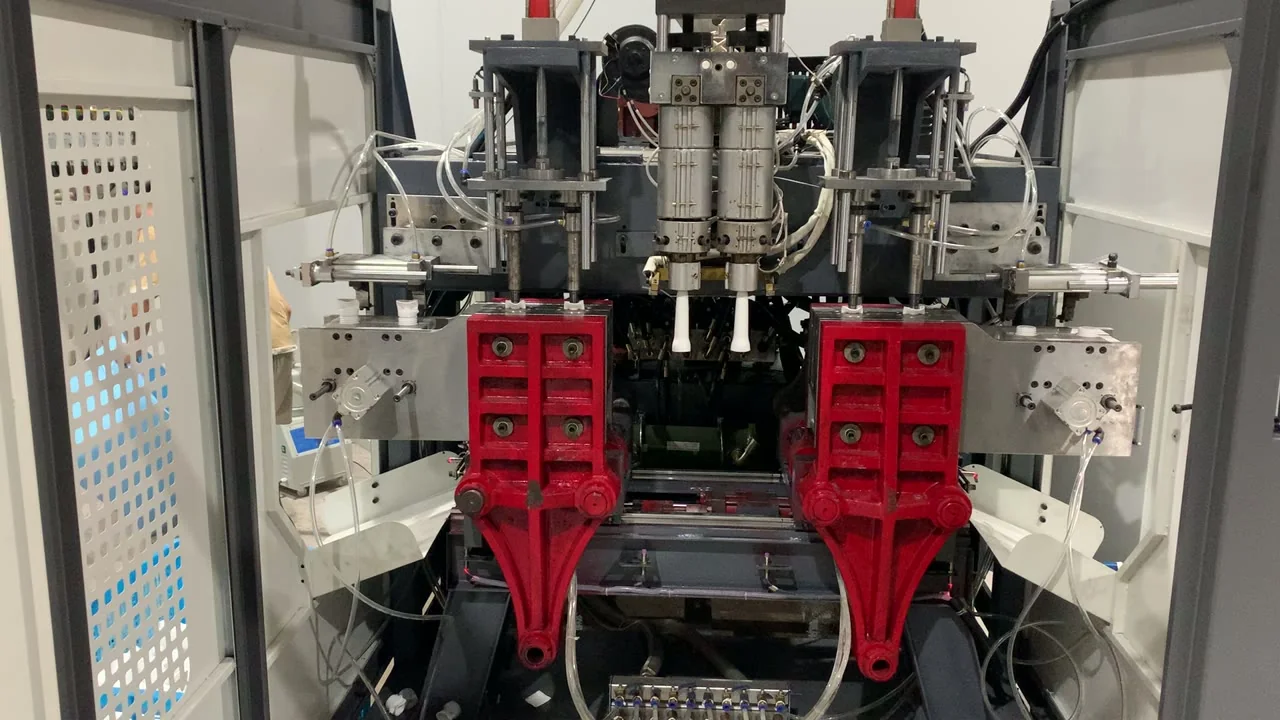
This routine applies to bothsingle-stationanddouble-stationmachines. If you are still comparing machine cost, read5L blow molding machine pricebefore you finalize a mold maintenance budget.
Water-Line Cleaning: Read the Temperature Response
Water lines rarely fail suddenly. Scale, rust and biofilm build up in the circuit, flow drops, and the mold takes longer to reach its set temperature. Watch three things: time to reach temperature at start-up, the difference between inlet and outlet temperature, and the flow in each circuit. When one drifts, flush that circuit before changing process settings.
Flush with clean water and a descaler that the mold maker confirms is compatible with the mold steel and seals. Isolate one circuit at a time, remove the fittings you can reach, flush until the water runs clear, rinse thoroughly, then reconnect. Never mix chemicals or leave descaler in the mold. Recheck flow and temperature response afterwards and log both.
| Signal | What it usually points to | First action | Record |
|---|---|---|---|
| Part sticks or drags in the cavity | Cavity surface, release or venting | Wash, inspect, polish only the affected area | Cavity no., date, cycle count |
| Gloss or clarity drops | Cavity finish or cooling | Check the cavity and water flow together | Part photo, circuit data |
| Mold reaches temperature more slowly | Reduced flow or scale in the circuit | Check flow and inlet/outlet difference, then flush | Flow and temperatures |
| Flash or a weak seam at pinch-off | Pinch-off land wear, alignment or clamp setting | Inspect and measure the land before adjusting | Photo and measurement |
| Water at a hose or manifold joint | Seal, fitting or pressure | Replace the seal and recheck | Circuit and pressure |
Swipe the table to see all columns →
Pinch-Off Land, Venting and the Checks Around the Cavity
The pinch-off land is where a maintenance routine earns its money. At every mold change, inspect it for wear, rounded edges, flash buildup and alignment marks. Check vents at the same time: a blocked vent can show as a burn mark or a short shot, and polishing will not fix it. Measure what you can and photograph the rest.
- Put a light behind the land; a worn edge shows as a bright line.
- Check vent slots with a thin feeler or air, and clean them without widening the slot.
- Confirm water fittings are tight and hoses are not kinked before the mold goes back in.
- Compare the first container after restart with the last good one from the previous run.
Mold steel and water quality change how fast all of this happens, which is why another plant's schedule is only a starting point. Hard water or long idle periods shorten the interval. Confirm the real interval from your own records and the mold maker's recommendation for that specific tool.
What to Send for a Quotation
Whether you need a machine with a new mold, a replacement mold, or a maintenance assessment, the same information shortens the quotation:
- Container drawing or sample photo with nominal volume and neck finish.
- Material and layer structure, plus any recycled content target.
- Cavity count you need and the cycle time you are measuring today.
- Photos of the current mold, cavity and water-circuit layout, with the defects you see.
- Power supply, water supply and destination port.
Not sure which checks fit your mold?Send the detailsand we will reply with a starting list.
Source: E-SHION product data. Specifications are subject to change without notice; customization is available.
This guide is written for production and procurement decisions. It uses published figures where available and avoids unverified performance claims.